
Hi everyone, I am Nivaris, and I am here to teach you a way to set up your animated character sketch to easily adjust the colors and shadows when it's finished.
This is a tutorial aimed at animators that are familiar with animating on ClipStudio Paint EX
that want to learn how to boost their coloring. It will follow the process from an animated sketch to a finished color animation. We will be using the animation folders, layer properties, and the amazing Clip Studio Paint’s Light Table.
\
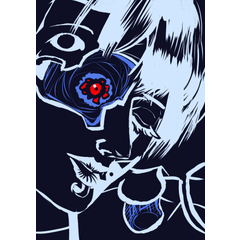
To learn we will use this cute animation:

First we will work on the lineart. This is more of a personal choice, but I like to plan the shadows in this phase.
Tip: Remember the best method for anything in art is the one that you feel most comfortable with!
Lines
In this phase we will work with two animation folders, one for lineart and the other for the guides for lights, shadows, etc. that might be deleted by the final product.
Tip: If you want to use an individual animation folder for lights, shadows, etc. That’s ok too!
We will follow the standard practices of having shadows as blue, lights as reds and other colors for effects.
Tip: You can use your own colors as long as it’s clear and comfortable for you! Also, Clip Studio Paint has an official asset for this
Onion Skin and Light Table
Having lineart and guide lines in separate folders will make coloring more comfortable but will cause conflicts with the Onion Skin, since it only works in one animation folder at a time
Tip: Onion Skin is the basic tool that allows us to see the previous and next frame relative to our current frame.
Here’s when Light Table comes to the rescue. “Light Table” is a robust and powerful tool with lots of possibilities and could have its own tutorial, but for this tutorial I will go with the basics.
We will grab the layers we need to use as reference from the lineart folder. All the layers we put here will work as reference layers, like if we were working on a light table (duh). The magic behind this tool is that you can put the same layer as a reference multiple times, changing its colors, size or position, all without affecting the original layer. Not only that, you can add references for each individual frame.
Tip: None of the references used on the light table will show up in your exported project!
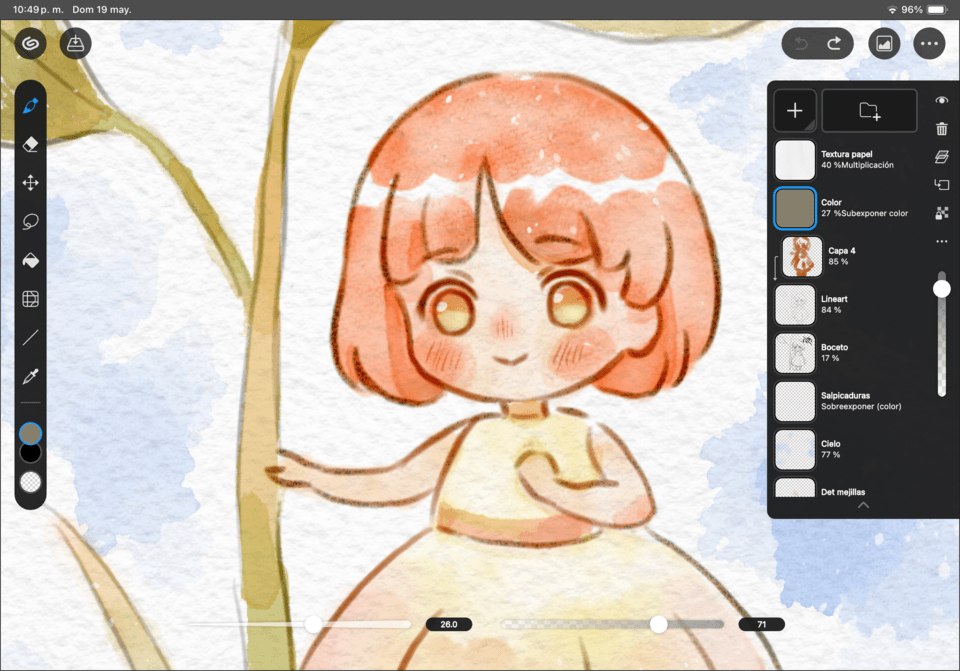
Just for fun here’s our little devil having a party!
Now that we learned how to add a layer as a reference for a frame, we can adjust the colors using the layer properties and the opacity and position using the Animation Cels controls.
I adjusted my reference layers to make them easier to read. Here, check them out!
This way we can use a more powerful tool than Onion Skin that allows us to use multiple animation folders without any troubles.

With the lineart ready we will create 3 different animation folders: lights, shadows and extra. Then it’s time to use our beloved Fill Tool to paint every frame.
\
Tip: Remember that it’s very important that the colors for the guides are clear.

Thanks to this I noticed some details and improved my shadows.
COLORING
Now is time for the secret sauce. The spicy method I figured out to be able to adjust colors easily without having to repaint all the frames if we decide to change a color.
First we need to create an animation folder for 1 color. Then we paint the body in this animation folder, using any color we want.

I’m not sure if this base color works, so I guess I must paint all the frames all over again with a new color… NO! Here's my magic trick!
Using layer properties we can now change the base color with just a few clicks. As long as you are editing the animation folder, the color changes will be applied to all frames. Now you can find the perfect color for your animation easily!

Shake it my babies!
This tutorial doesn't end here, let's say we want to have 2 colors in one animation folder instead of just 1 color.
\
I want to have the ribbon color and the body color in the same folder.
Important #1: The limit of this method is two colors per animation folder. So plan your flat colors and folder distribution very well very well
\
Important #2: It’s FUNDAMENTAL to paint both flat colors using only black and white!
I will paint the ribbon black and the body white.
Like this!
Now that we are done with the base colors we can use everything we learned with the shadows and lights. We just need to adjust the layer color in the layer properties.
\
Feel free to use any layer setting you like, you like to apply shadows with multiply? Go for it! As long as you are editing the animation folder, the color changes will be applied to all frames.
Now this is our final result: Thanks to this method I was able to adjust the colors until I found the perfect one.
\
Tip: Instead of deleting all the guide lines we used during the first step, I used some to highlight the shadows and lights. To achieve it, I painted them with a red color and added multiply to the animation folder, it added a nice touch to the animation.

Some extra spicy tips:
Spicy tip #1: Use sub view to always have your character references available.
Spicy tip #2: Auto Actions are perfect to do repetitive tasks in multiple layers. For example, adding a blur to the blush color.
That's all for today, I really enjoyed making this tutorial and I hope to bring you more in the future! If you have any doubts just comment below and I will be happy to answer.
Users who liked this post


Comment