
STEP 1:
Hey, intrepid artists! Usually, we'd start with a quick sketch, a sort of scribbled map that guides us to artistic glory. But today I decided to put an exciting spin on the process and start right from the lineart. Yes, we'll skip that part like a tightrope and land right on the final lines!
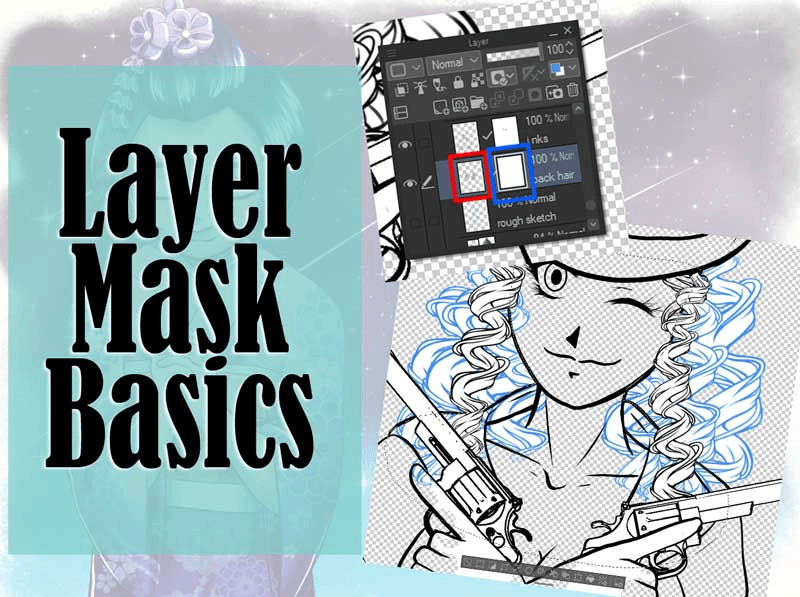
Here's the trick: I work with two different layers to keep everything under control. On one layer I draw the character's lineart, giving it life and personality. On the other layer, I create the background lineart, which is like setting the perfect stage for our star. This way, it's much easier to correct mistakes, make adjustments, and make sure everything fits together perfectly.
Step 2:
Time to add some color to life! In this step, I like to start by applying the base colors for the background. It's like painting the walls of your set before deciding what costume you're going to put on your main character.
Why start with the background, you ask? Well, it's simple: once I have the base colors for the background, I can better see what tones and shades are going to complement the character. It's like choosing the perfect color palette before dressing up for a party. Plus, working this way gives you a clearer view of the environment and atmosphere you want to create. It's like choosing the perfect backdrop for your character to shine in all their splendor!
Step 3:
It's time to bring your main character to life! Now that you've got your background nailed down, it's time to focus on the star of the show. This is where the magic really begins.
Start by painting your character, trying out different colors as if you were choosing their outfit for a red carpet. Don't be afraid to experiment and play around with combinations, because this is the time to be brave and creative. If a color doesn't quite work for you, that's okay! Change, mix, and repeat until you find the perfect combination that makes your character shine.
Think of it like a dress rehearsal: you're looking for that spark, that "Eureka!" that makes you feel like everything fits together. Once you find it, you'll know you've hit the nail on the head!
Step 4:
Let's add some drama with the shadows! In this step, we add depth and volume to our drawing, turning flat shapes into something almost tangible.
To achieve that mysterious and captivating effect, I use a dark blue color for the shadows. It's like we're invoking the essence of dusk into our drawing. Then, to blend it all together elegantly, I set the shadows layer to "Multiply" mode and adjust the opacity to 46%. Why 46%? Because it's the magic point where the shadows look soft but intense, adding that touch of realism without darkening the base colors too much. It's like turning down the lights on your artwork to create the perfect mood!
Step 5:
Now it's time for the highlights! After darkening and deepening, it's time to add a touch of brightness that will make everything sparkle with life.
For this, I choose a warm yellow color as a base, because nothing says "look how bright and cheerful it is!" like a good touch of yellow. Then, I put the layer in "Add Glow" mode and set the opacity to 16%. This is just the right touch to make the highlights look subtle and natural, as if a soft ray of sunlight is caressing your character.
Step 6:
It's time to bring your work to life with a touch of animation! To do this, we're going to organize things like a pro.
First, create a new folder specifically for the layers you're going to animate. This will keep everything in order and make it easier for you to work. Inside this animation folder, place the layers that will give movement to your scene. In this case, we're going to animate three key elements: the window, the eye lights, and the television.
Think of these elements as the protagonists of a little show within your drawing. By animating them, you're giving them a special touch that will capture attention and add a unique dynamism to your work.
At this point, I'm leaving you a video of the entire process, so that you can get an idea of how all the steps are visualized in a row.
Step 7:
We come to the final animation! This is where everything comes to life, and although it may seem complex, I assure you that it is simpler than it seems.
First, let's start with the clouds. I used a single cloud and placed it in an animation folder, but here's the trick: I put it under the layer used for the landscape colors. What did I accomplish with this? When the clouds move and leave the scene, they smoothly hide behind the top layer, creating a clean and natural transition. It's like the clouds are playing hide and seek!
For the eye glow, I wanted to give it a subtle but effective touch. I moved the light back and forth in short, slow movements, to create an almost hypnotic blink. I placed the layer on top of the folders, making sure it was shining brightly. This way, the character appears to be full of life, almost as if he's looking directly at you!
Finally, we come to the television. I wanted that classic noise effect, so I tried out the noise tool in Clip Studio. I set the variable between 2% and 3% to get that static motion. Then, I changed the placement every other frame to simulate the moving noise. The goal is simple: place the elements in the scene so that when they move, they give the illusion of animation. It's like you're operating a mini movie set inside your drawing!
I hope this mini tutorial helps guide you in getting started with your animated illustrations! With these steps, you'll be ready to bring your drawings to life and explore new creative possibilities.
Remember, animation is a powerful tool to bring movement and emotion to your works. Have fun experimenting and creating, and don't hesitate to come back if you need more tips or help! Good luck and happy animating!


Comment