
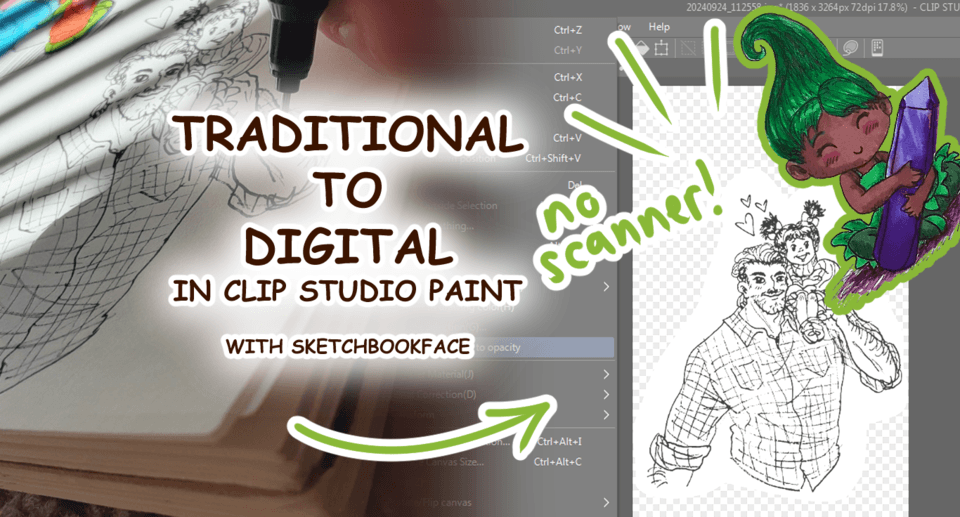
Heyyyyy! It’s Sarah again — here to share how I bring my traditional drawings into Clip Studio Paint Pro, to edit or finish digitally, so that I can use them to make stickers and other fun things!
Materials Needed
Of course, you will be using some sort of traditional mediums to start with — your sketchbook, markers, mixed-media paper, pens, ink, watercolors, pencils, paint, a napkin and a ball-point pen — whatever you’re creating with analogously.
Then there are the digitizing tools…
…but don’t worry! No scanners are required for this method; all you need is your smartphone or another photograph-taking device, and a way to get those photos into the device on which you use your CSP program! (Disclaimer: I’m not familiar with the Tablet Version of CSP — I use a laptop computer and Wacom pen tablet — so there may be fewer/more steps to get your own photos from where you take them, to your digital drawing program.)
Photograph Your Analog Artwork
Try to get the crispiest photo you can of your traditional artwork. (Make sure your camera’s lens is clean!)
Tip: Lots of even lighting is the best for getting a good photo of your traditional artwork. Natural light is great— I try to stay away from direct sunlight, though, and choose a well-lit area without dappled sunshine or beaming rays (sticking to the “shade”). Overcast days work pretty well, too. If you must use artificial lighting, be aware of the shadows and tone variation that might show up on your drawing from different angles. The more lighting variation and tone difference in the photo of your work vs. the actual work, the harder and more time-consuming it will be to smooth things over digitally in your drawing program.
Transfer Your Traditional Drawing to CSP
If you are using CSP on your smartphone or tablet, and took the photo of your work with that same device, you will probably not need to do anything other than upload the drawing from your camera roll into your drawing app. (I’m not sure exactly how that works, but I assume there is such a feature, since I’ve used MediBang Paint on my phone in a similar way many times…hehehe…shhh…)
For me, I just plugged my smartphone into my laptop computer, uploaded the photo into a folder on the computer, and then pulled the file from there into my CSP workspace.
TA-DAAAAA~
I’ve also used Google Drive as a transferring tool, especially with some of my sisters’ doodles that they wanted me to make stickers of. They would upload the photos/files of their artwork to a shared Drive folder, which I would then download onto my computer and pull into my drawing workspace. (I have to stress the CRISPINESS that was necessary, though — none of this condensed messaging app pixelation stuff.)
Edit and Finish Your Drawing in CSP
As you may have noticed, the photo of the drawing still looks a little dim compared to the other colors on the screen. So I will use a Correction Layer to even things out some more, adjusting the Brightness and Contrast a little.
Extract Your Line Art
After that, since I am only concerned with preserving the lineart for this piece, I will change the Expression Color, from Color to Monochrome, and tweak the Threshold value until I get the sensitivity I am looking for, with the least noise included.
NOTE: I make sure to Copy the layer before I make any major edits to it, so that it’s easy to go back if I don’t like the direction it’s going in!
(If you are trying to digitize a drawing that’s already colored, you may want to skip to the next section, Clean Up Art With Traditional Color Preserved.)
Then I go to Edit > Convert Brightness to Opacity to get rid of the white background.
(I had selected the drawing with the Lasso Tool and Cut it from its original layer, to isolate it better from the surrounding doodles and photo elements, before taking this step.)
Ta-Daaaaaa!
I take it a step further, and convert the new lineart layer into a Vector Layer, by Right-Clicking on the layer, and choosing Convert Layer. That opens the dialog box where you can change the type of layer — in this case, Vector. (I almost always check the little box in the lower left corner to Keep Original Layer here; this creates a copy of the layer, with the new setting as a new layer. This, again, is that mindset of being able to easily start over in a different direction if you don’t like what you did to the layer you are currently altering!)
When your lines are in Vector mode, you can use the Vector Correct Line tools (shortcut Y on mine) to Thicken and Narrow whatever lines you want to adjust, as well as dragging points on crooked lines into more desirable places (I try not to get too crazy with the perfectionism in this cleanup phase, because that takes away from the “charm” of the traditional artwork, I think.), and you can use the Vector Eraser to get cleaner, faster erasures of stray lines.
The Remove Dust tool next to the Correct Line tool takes care of the specks still hanging around the background if you have any left.
Finished!
Now I can color underneath it ~~and add too many glow layers on top~~ like I would normally do with lines I had drawn digitally.
Clean Up Art With Traditional Color Preserved
For traditionally colored artwork that you want to digitize, the steps after getting your photo into your program are a little more tricky. I still adjust the Brightness and Contrast as a first step once it’s in the workspace, and duplicate those layers! XD
Since I took this photo in nice daylight, the colors don’t need much more adjusting beyond this, but if they did, I’d use more correction layers for the Hue/Saturation/Luminosity, Level Correction, and/or Tone Curve, to tweak that until it looked right.
Next, I crop the page so that it fits the image better.
(I use the Rectangle Selection Tool and then adjust the canvas size to the selection by hitting the shortcut Ctrl+Alt+C, and hitting OK when it pops up the screen with the new canvas dimension settings — Yours may have a different shortcut, but you can also get to this window by going to Edit>Change Canvas Size.)
Then I’ll merge the COPIES of the correction layer and the original layer to edit the background out.
Now I can clean it up with the eraser and pen tools to touch up the stray marks outside the silhouette I am making, and the white spots inside the coloring, taking care not to get too perfectionistic again with this stage. (Notice that I copied the layer to work on again, in case I wanted to go back? And Save, Save, Save!)
I also added a white layer underneath the artwork, after I had the silhouette cleaned up, so that any spots I missed won’t actually be transparent when I use the PNG anywhere else.
You can double-check for stray specks by making a green (or another color you can see against) background and changing the Layer Color Effect to blue temporarily. (This can be easily turned back off, and won’t affect the colors and things in the working layer, but you can always duplicate it if you’d like to be safe!)
Export Your Finalized Files
You probably know that when you save an image as a PNG without a background, the image will be transparent! Any spots not filled in, and the area around it, will all be invisible, and you can then use this image to make stickers and other fun things!
(Just keep in mind that it’s hard to make a small image bigger without loosing quality, but it’s much easier to scale down a larger image to use a smaller version of it! When working traditionally, I would say it’s probably best to draw at a slightly larger scale than the scale your intended use for that artwork would be at, if you are creating for a specific project.)
LOOK AT HOW FUN THAT IS.
(I mimicked the sticker border effect with Border Effect in the Layer Properties box up there.)
There we have it! I hope this will clarify things for you, if you have been struggling to do something like this with your own traditional work. Happy creating!
Users who liked this post


Comment