Illustration using Figure and vector-related tools
Hello everyone! Today's tip is about flat-style illustration. The style is very popular nowaday, used widely in websites, books, presentations and product-packaging - basically everywhere imaginable. The clean, crispy and/or uniform borders is its main characteristic, and can be easily achieved using the vector-related tools in Clip Studio Paint.
1. Flat-style illustration breakdown
Note: This is by no mean a rule - just a simple observation. I also list the tools used for reference, you can learn more about them later in this tutorial.
Most of the drawing in this style is divided into smaller shapes, easily recognizable because each shape has a distinct color.
On each part there may be a texture or hand-drawn element attached, or simple shading.
Instead of colored shapes, some parts can be replaced by lineart. In most cases the line width is constant.
Finally, you can place a filter layer/noise/paper-like texture on top of the whole drawing. In this sample I used an ink-splat effect layer.
2. Useful tools and features
Note: Reading all the tools’ description below can be overwhelming, so if you want to practice first to get to know the tools, just jump to part 3 onward!
Both raster and vector drawing tools work well with the style. Vector-based tools retain the sharpness of the drawing at any scale (good for when you need your image in multiple sizes for different uses), while raster tools offer more flexibility. Luckily you can combine both with Clip Studio Paint.
VECTOR LAYERS
Everything drawn on a vector layer can be scaled without losing quality, and as such it’s quite suitable for the style. However vector layers won’t work with some tools, for example the fill tool, so you will have to either use a normal layer (raster layer) or use other workarounds.
Click the New vector layer button on the Layer tab to create a vector layer. Vector layers have a cube icon to the left of their names.
Everything drawn on a vector layer will have “invisible” control points connecting to one another, forming a line. They will become visible while you’re drawing them (with certain tools), or when you click the drawn element with the Object tool [O] or Control point tool (from Sub tool Correct line [Y]). These control points make your drawing smooth and crisp.
Here are some examples of elements drawn on a vector layer, with different tools. The lower row shows the control points.
RASTER LAYERS
They are normal layers common in drawing programs. They are versatile and can be edited in many different ways. But if you scale them they will lose their quality, especially if scaling up. You can always draw bigger to avoid losing quality, but it has to depend on the program and your computer’s capabilities. Nonetheless, sometimes you will have to rely on good ol’ raster layers - not everything can be achieved on vector layers.
To create a raster layer, click the New Raster Layer button on the Layer tab or press Ctrl + Shift + N.
SUB TOOL FIGURE [U] > DIRECT DRAWING
The Figure tools, when used on vector layers, created vectored shapes which are editable afterward. Of course you can use them on raster layers too. One benefit of figure tools is that you can draw with your mouse or finger on a phone/iPad instead of a stylus.
For Straight line, Curve, Rectangle, Ellipse and Polygon, the execution and Tool property are similar. Click, hold the mouse button/press the stylus then drag your mouse to create your shape. Afterward, moving the mouse a bit to rotate/define the curve if needed.
For Polyline, you don’t need to drag, just click to create continuous lines; click the first point to close the path.
Note: if your Tool property panel doesn't show some of the option above, click the Show [Sub tool detail palette] button to choose which value/status to display.
Use the Continuous curve/Bezier curve to draw freeform shapes.
When using the figure tool to draw a continuous curve, I use the (Cubic) Bezier curve. It’s the closest you can get to a dedicated vector drawing software, and is quite accurate and versatile.
Click with your mouse/stylus to create a linear line. Click then drag for a curve. Press [Enter] key to end or click to the starting point to close the curve. On the iPad, click outside the canvas (preferably the Bezier curve tool or another tool to draw another curve or do another action).
To undo while drawing the Bezier curve, press the [Delete] or [Backspace] key. iPad users can undo normally by tapping with two fingers.
Hold the [Shift] key while dragging the direction point to force it into 0/45/90/135/180/etc degree.
While drawing a new point, you can press the [Ctrl] key to modify old points.
The [Alt] key helps switching direction.
Note for iPad users: use the edge keyboard for modifier key operations. Swipe the left edge or right edge to pull it out (I changed the setting to a button instead of swiping).
Or you can just roughly place the Anchor points then switch to the Correct line tool to fine-tuning later.
Quadratic Bezier curve:
This is the old method of creating a vector curve on CSP. I don’t use them but they are used in some pre-made materials (more on that later). I just know that to modify them, I drag the point :D
Remember to draw on a vector layer if you want to adjust the Anchor points and Direction point afterward.
OPERATION [O] > Object
Choosing a vector line/curve with this will show its hidden Anchor points and Direction points. You can move the points as well as the whole curve, resize/rotate it with the bounding box. The operations of the points are the same as when you use the Bezier curve tool.
Change the color, brush size & shape, etc. on the Tool property [Object] tab.
You can also duplicate the curve with [Ctrl + C] then [Ctrl + V], and delete that curve when pressing the [Delete] key.
CORRECT LINE [Y]
Use these tools to modify the vector anchor points.
Control point
Desktop users have it easier since you only need to right-click the point to access these. For iPad use, switch to the Correct line tool after using other tools to draw.
[image] + short image explanation
BALLOON [T]
Vector layers can’t contain colored areas, only lines? Think again! You can do that with the balloon tool(s)! Not their intended use, but they get the job done so why not.
Note that balloons have their own Balloon layers. They are like a sub-type of vector layer which allow Fill (colored area). However these two don’t mix. Also when you place two balloons on the same layer next to each other, they will merge.
Ellipse balloon/Rounded balloon
Despite their name, they both act similar to the Rectangular, Ellipse and Polygon figure tools, with an important difference: they can use the Line/Fill toggle (figure tools only allow lines/curves on vector layers). The Rounded balloon adds a Roundness of corner parameter.
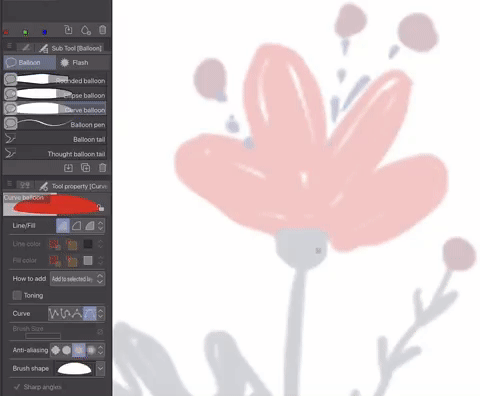
Curve balloon
Choosing Cubic Bezier and this behaves exactly like the Bezier curve tool while allowing the fill on a balloon layer. Refer to the above Bezier curve section for more details.
MATERIAL
If you’re feeling extremely lazy, the Material tab comes equipped with a large number of pre-made balloons. Just drag-and-drop them onto the canvas, change their line and fill color as you want. Use the Object tool to modify their anchor and direction points.
RULER [U]
The method to create rulers is similar to figure tools. Ruler can be used as an alternative to figure tools when you want to create smooth, continuous lines/curves on both raster and vector layers, and they can be reused later. But since drawing using rulers creates too many control points, it’s harder to modify the line.
PEN/BRUSH/AIRBRUSH/DECORATION [P] [B] (with Stabilization) + FILL [G]
Sometimes it’s faster to just directly draw with a brush instead of vector lines with anchor points. If you increase the stabilization to a very high number, your lines will be very smooth. They are also used for hand-drawn shading/texture.
To avoid gaps while using the Fill tool, increase the Area scaling number to ⅓ - ¼ of your Brush Size (only usable with raster layers).
3. Simple illustration using pre-made figures
This is a simple example to show you how the tools work together.
Open the Material [Balloon] tab. Drag-and-drop the Vibration_01 balloon (default material of CSP) to your canvas or Layer tab (the tool automatically switches to the Object tool so you can readily choose and modify vector objects).
On the Tool property [Object] tab, choose Create Fill. Change the Fill color to green. I choose Medium for Anti-aliasing since the default (None) looks a bit rough. I also scale it a bit using the nodes of the bounding box.
Switch to Curve balloon tool. On the Tool property [Curve balloon] tab, choose Create Fill, Add to selected layer (so that new balloon created will be on the same Balloon layer; if there aren’t any layers chosen already, a new Balloon layer will be created for the first balloon), Cubic Bezier, Medium Anti-aliasing. Choose a brown color.
I clicked three times to create a triangle for the tree trunk, then clicked the starting point to close the shape.
Repeat the steps three more times to draw three branches. Since the balloons overlap in one layer, they merge together.
You now have a vector tree. It looks a bit bland though so we’ll add some “texture”.
Create a new vector layer on top of the “tree trunk” Balloon layer.
Switch to the Figure tool > Straight line. Drag to make a vertical line.
I can use this simple line to decorate the tree trunk but I want to use something fancier. Select the line with the Object tool, go to the Brush shape drop-down and choose a brush you like.
If the brush you want doesn’t appear here, for example I want a brush from the Decoration tool, go to that brush’s tool property tab:
Click the Show [Sub Tool Detail palette] button on the lower right corner. On the pop-up panel, go to Brush shape and click the Register to preset button. Your brush will now appear in the Brush shape drop-down list.
I choose the Rough edged brush, increase the brush size and change the color.
Still using the Object tool to choose the line, I duplicate it into multiple instances by using Ctrl + C then Ctrl + V. I use the Object tool to move them around to make a kind of pattern.
Then I select the vector layer and click the “Clip to Layer Below” button. The tree trunk now has a zig-zag pattern.
We will use another method for the tree’s canopy. From the Material tab, I drag-and-drop the Japanese crest pattern to the Layer tab, place it above the canopy’s balloon layer. On the Layer Property tab, choose the Layer color effect and change the pattern’s color to baby green. Then clip the pattern layer to the balloon layer.
The tree is nearly finished. I go to the Material tab again and drag-and-drop the 40% 40/0 Noise Monochrome layer above all other layers and lower its opacity to around 30%.
Another example: these houses and paved road can be made with polygon tools and bubble materials only!
4. Drawing complex curve and shapes with Bezier curve
Sketch your drawing on a raster layer using any brush you’re comfortable with.
I lower the opacity of the sketch. It will be on top of other layers.
I use the Curve balloon tool to draw the red flower petals.
Click to start, then drag to create curves, click to create corners, etc. See part 2 for more details on how to use the Bezier curve.

The leaves’ color are different so you may not want their balloons on the same layer with the red flower, so that you can use a different shading/texture on them later. To do so, when choosing the Curve balloon tool, choose Create new layer when drawing the first leaf, then switch back to Add to selected layer afterward to place all the leaves on the same layer.
Create a new vector layer to draw the flower’s stem with the Figure tool > Bezier curve; another vector layer for the stamens. In general, if the curves/shapes have different color and/or brush shape, you should separate them into different layers.
Be careful with the layers’ order if you have too many shapes around. Also only merge layers of the same type (aka only merge vector layers with each other, balloon layers and raster layers too; mixing different types will turn the resulting layer into a raster layer and you can’t edit the vector curves afterward).
If you plan carefully, you can draw very complex images.
In the example above, I even add shadow using warm grey shapes set in "Multiply" mode. Plan even the colors!
5. Shading and textures
This step is very simple, yet it can and will transform your drawing to the next level! Choose one or more textured brush/air brush/decoration brush/pen/pencil/pastel - anything, a different color from the base shape, and draw on it. There are two way to do this:
1 - Create a new raster layer above the layer of the base shape and clip the new layer onto it. Do the shading on this layer. This approach can be done with all 3 types of layer (raster, vector and balloon) and the vector/balloon shapes retain editable, but it can create a lot of extra layers.
2 - Rasterize the base shapes’ layer if needed (right click then choose Rasterize), then Lock the transparent pixels. Draw directly on the rasterized layer. Your file won’t be as clustered but it’s harder to edit afterward.
I did the shading on the flower with the Dry gouache brush and the Spray paint airbrush and added a background with a balloon material with texture (light comes from above in this picture).
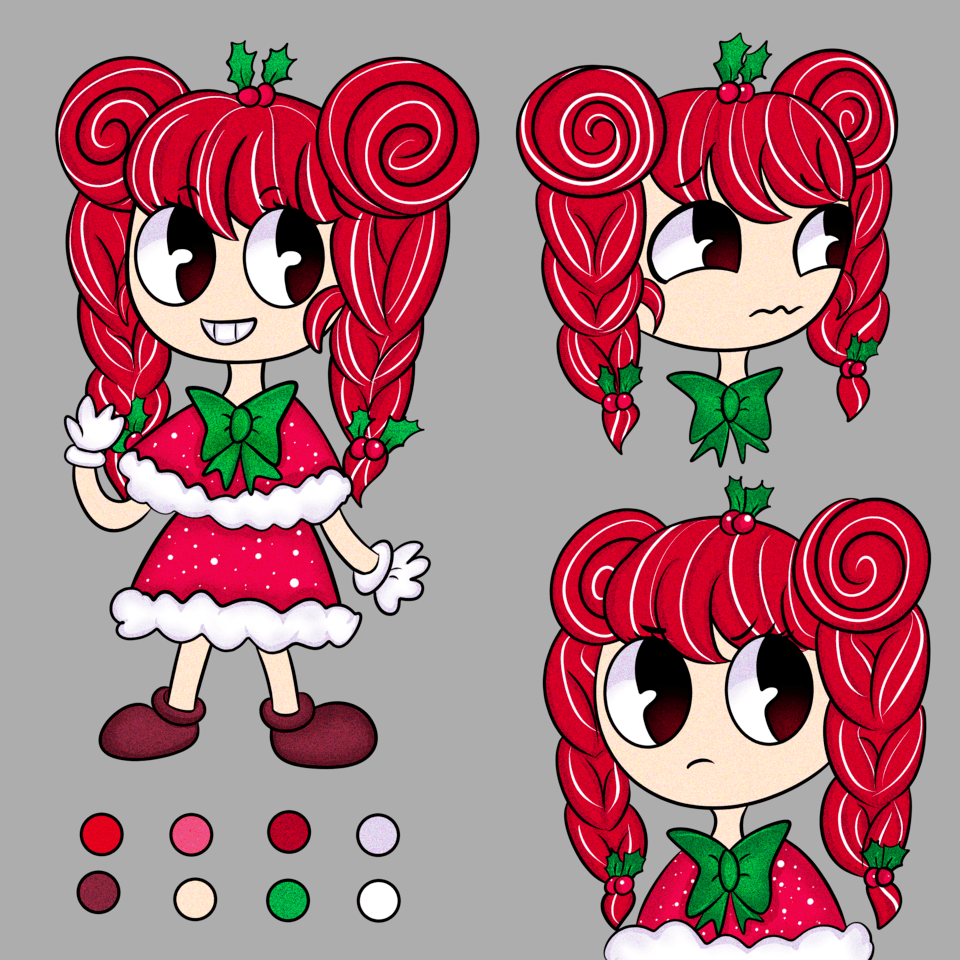
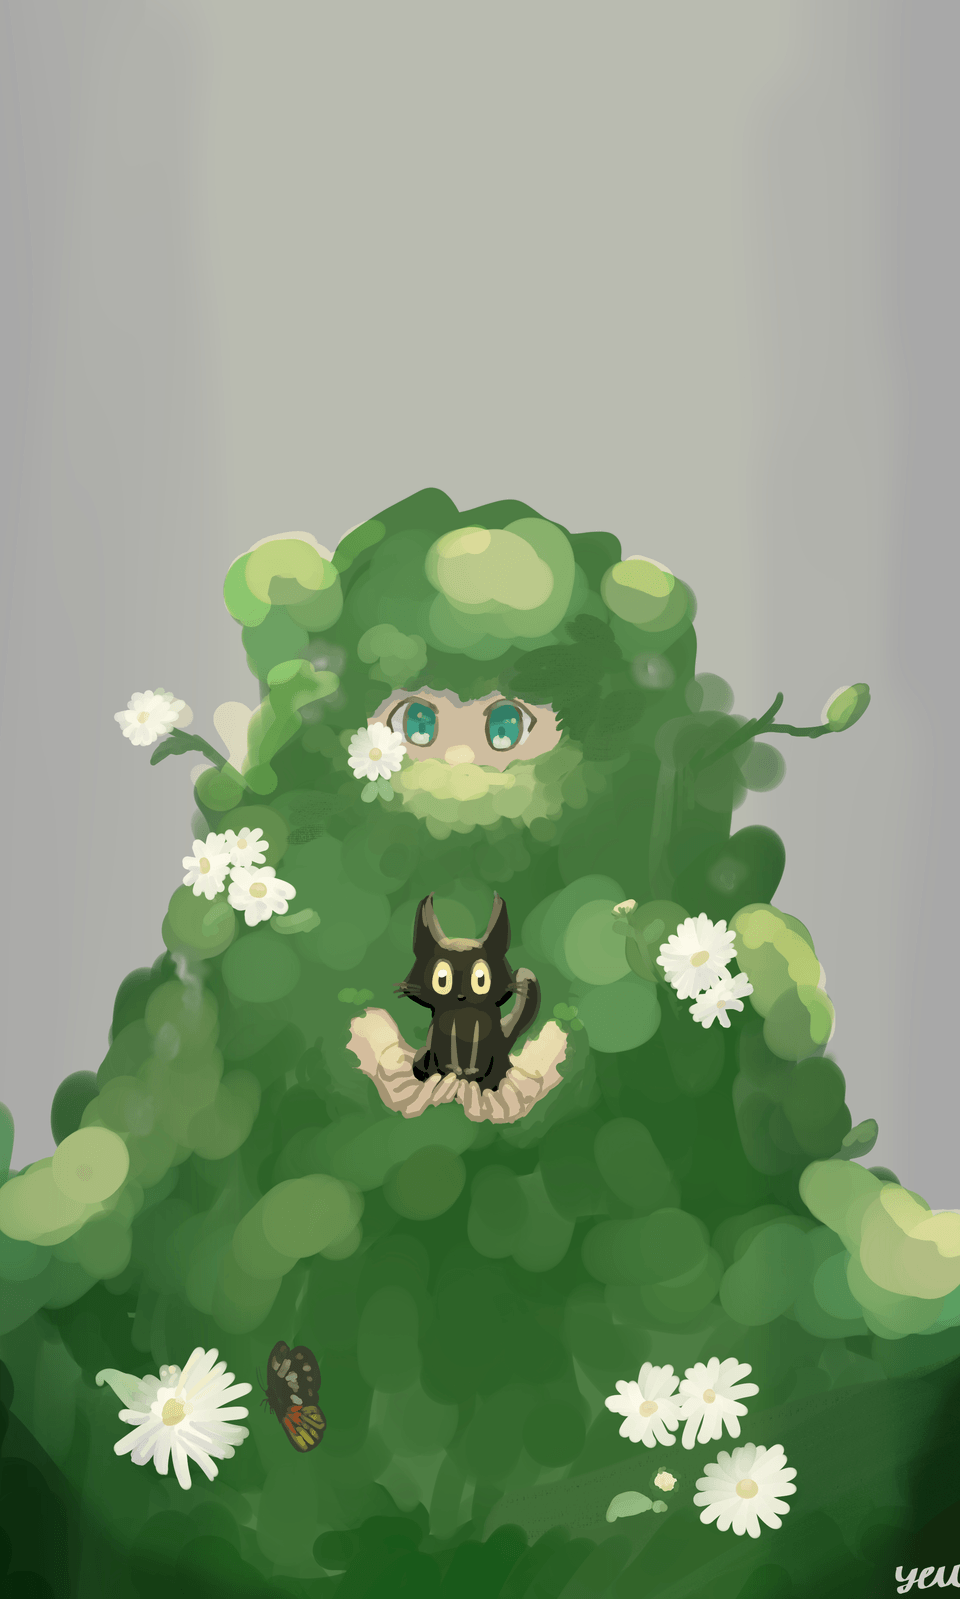
Clip Studio Paint offers a good selection of textured brushes already, but you can go to Clip Studio Asset to download even more. The flower example may look generic, but nice texture brushes plus a sophisticated color palette can really transform your flat shapes beyond expectation! Below are some of my illustrations, to show you how versatile this style can be!
Hope you can find something useful in my tutorial! If you like my tutorials, visit me at my pages! Let's have a chat:D


Comentario