
WARNING: This tutorial contains images with flashing lights.
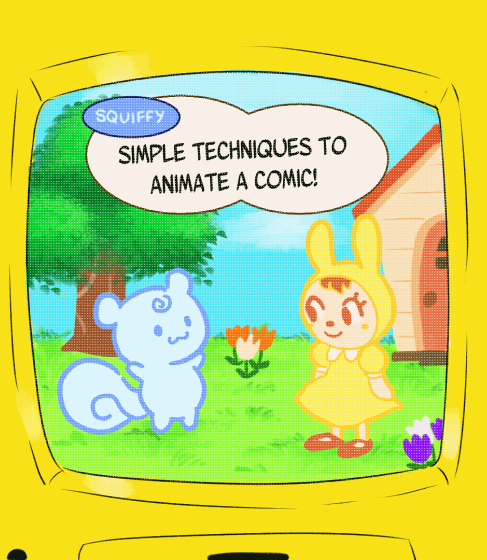
In this tutorial, I will be showing you a few ways to make your comics come to life with five easy animation tips. Don't worry if you've never animated before or if Clip Studio Paint's features seem daunting to you at first. Once you see your characters come to life, you'll be glad that you gave it a go!
To begin, make a new Illustration file and select 'Create moving illustration'. You can then select how many cels you would like and the frame rate you want to work in. The higher the frame rate number, the faster your animation will move.
For the width and height, I usually stick to 940 in width as that's the standard width of most webcomic hosting sites. Height tends to be less rigid but I find it's easier to work within 1000 pixels or less.
'Boiling'
'Boiling' is an animation term meaning that the character looks like they're always moving, even when they're static.
To get this effect, simply trace the first frame of your character.
The onion skin tool is a handy feature for tracing. It will display the previous cel in the animation timeline when the cel in front of it is selected.
Now to export the file as a GIF. Go to File > Export Animation > Animated Gif.
A window will pop up after you have selected this called Export settings. Here you can change the frame rate to whatever suits your animation best. I tend to keep mine at 10fps (frames per second).

Blinking
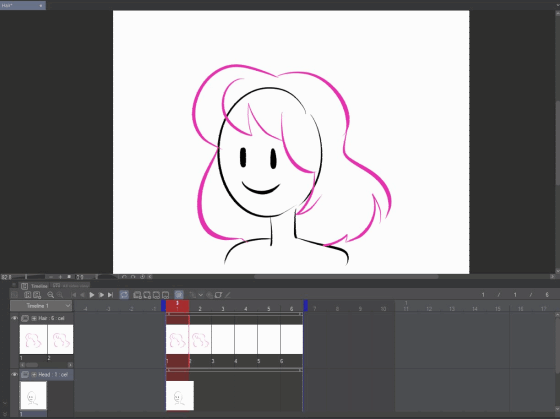
For the easiest way to make your character blink, lay out the animation timeline in this way.
Seperate the character's head and eyes in seperate layers by clicking on the New Animation Folder button. Draw the head in the bottom folder and animate the eyes in the folder above.
Drawing the eyes closed first gives the illusion of a faster blink.

Hair movement
Animating hair blowing in the breeze can be tricky, but it can give a calm, serene look to a comic panel.
Make sure your character's head and hair are on seperate layers.
Create a new animation folder with one cel in it and name the folder 'Head'. Name the folder with multiple cels in it 'hair' Make sure the head folder is underneath the hair folder.
With this technique, you can scrub through to see how each frame flows into the other. Using references to see how hair moves in the wind is very helpful if you're having trouble visualising it in your head. Using references is never cheating!

This GIF was exported at 10fps. It has a quick, snappy feel to it.

This GIF was exported at 5fps. It gives a much more 'choppy' feel to the animation. Try exporting at different frame rates to see which one suits your style or the feel of your comic best!
Disappear
For our next trick, we'll make this cat disappear!
But to do that, we'll need to learn how to use Clip Studio Paint's keyframe feature. First, select the animation folder you want to add the effect to and go to Animation > Edit Track > Enable keyframes on this layer.
After you've enabled the keyframes, click on the Graph Editor button at the very top left of the timeline and select Opacity.
Here, you can add the keyframes that will make your image transparent. To do this, click on the Add Keyframes button on the first cel (which is the number 1 at the top of the red bar) which will add the starting keyframe. Drag the red bar to where your animation ends (for me, this was at 20 seconds) and click the Add Keyframe button again. Now you have your start and end point of your animation.
Now to make the cat disappear. Make sure your first keyframe is above the number 100 at the side of the graph in the timeline. Next, drag your last keyframe under the number 0. Voila! You have made the cat disappear!

You could also do this in reverse by having the first keyframe under zero and the last keyframe above 100.
Glowing
For an effective glowing technique, be sure to select Add(Glow) on the layer options in your animation folder.
Use a soft airbrush to make the glowing effect. Make another animation folder and draw another glow in a different colour. And if there's ever a cel you want to get rid of, select it and click the Delete Specified Cels button.
This is very similar to the 'disappear' technique, except we're working with two pictures instead of one. Select the top layer (the orange glow) and add three keyframes, two below zero and one above 100 to give it a peak.
Repeat again for the bottom layer (the yellow glow) but with a slightly smaller peak.

Experiment with different colours and timing the keyframes to get the effect that suits your work best!
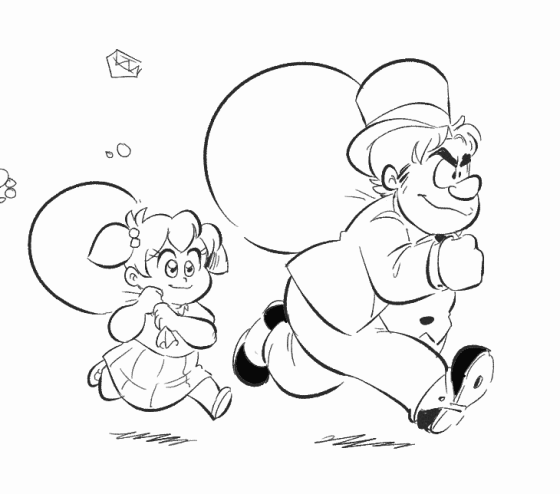
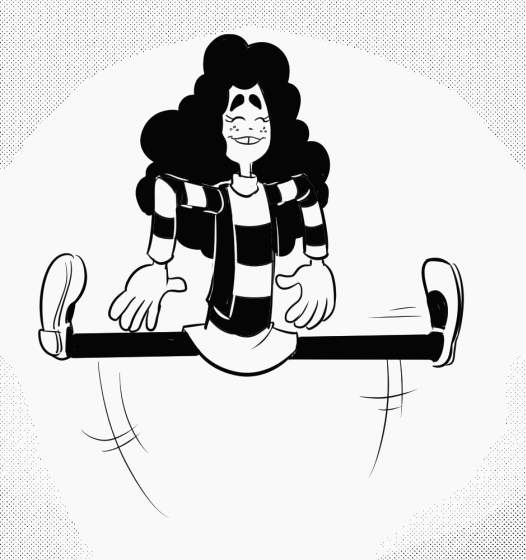
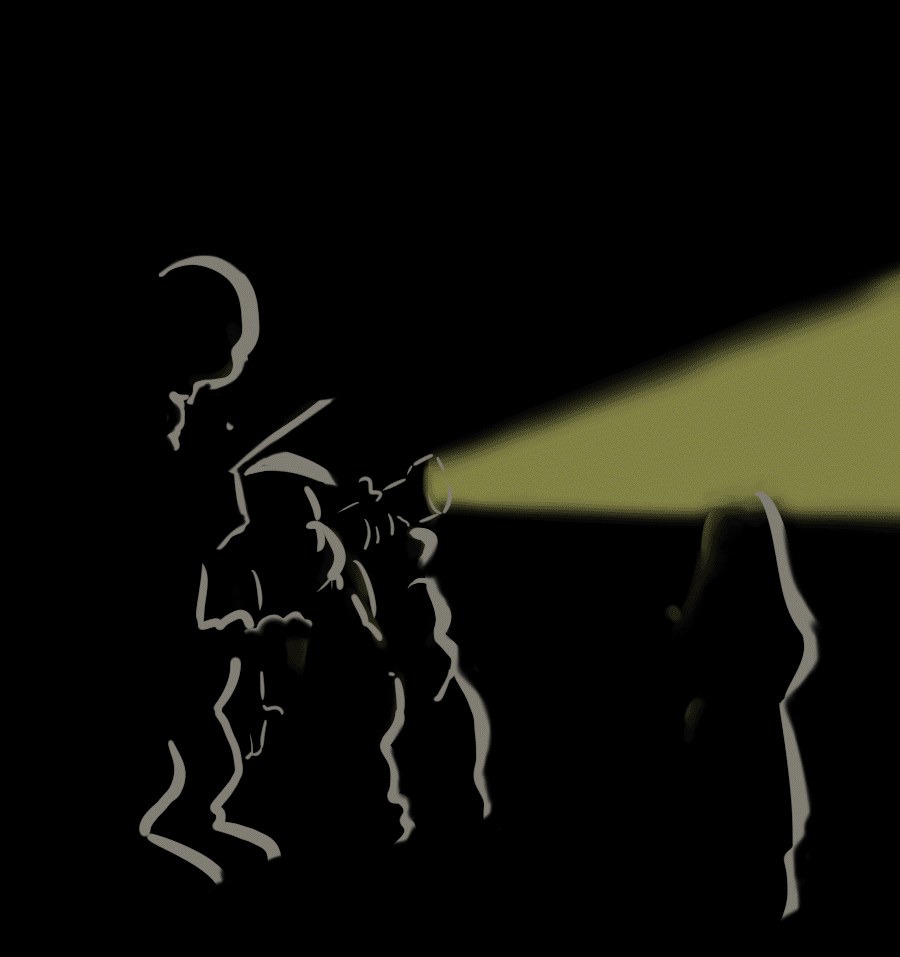
Here are just a few animated panels I have put in my comics. It's a lot of fun to experiment and add a bit of life to what would be static images. I hope this tutorial has helped you and I wish you all the best in your comic art and animation journey!

Here are the links to my comics -
Usuarios a los que les gustó esta publicación


Comentario