Sports Animation! How to Animate Basketball Loop Like a PRO!
It is very important to search for references, whether footage of real people practicing the sport or animations from other professionals. This will help you understand the mechanics of movement and details that we can't easily remember.
[1] SEARCH REFERENCES
In my research on basketball, I found information like:
the legs cannot be too close together and not too far apart, one will impair your mobility
if you have control of the ball, you need to look forward and not down, it is important to be able to pay attention to your surroundings at all times
Finally I created this first frame based on my studies. A defensive pose, i thought it was good for the animation.
Feel free to use it as a basis for your studies and follow along with this tutorial.
[2] SKETCH ANIMATION
Let's create our animation file.
Go to File > New
And check this options, let's use a 1:1 canvas (1080x1080)
ideal for media like Instagram and Twitter.
After defining two keyframes, I created a simple loop that gives a good feeling of movement.
New animation cel > Create new frames
New animation folder > Create a new timeline for frames
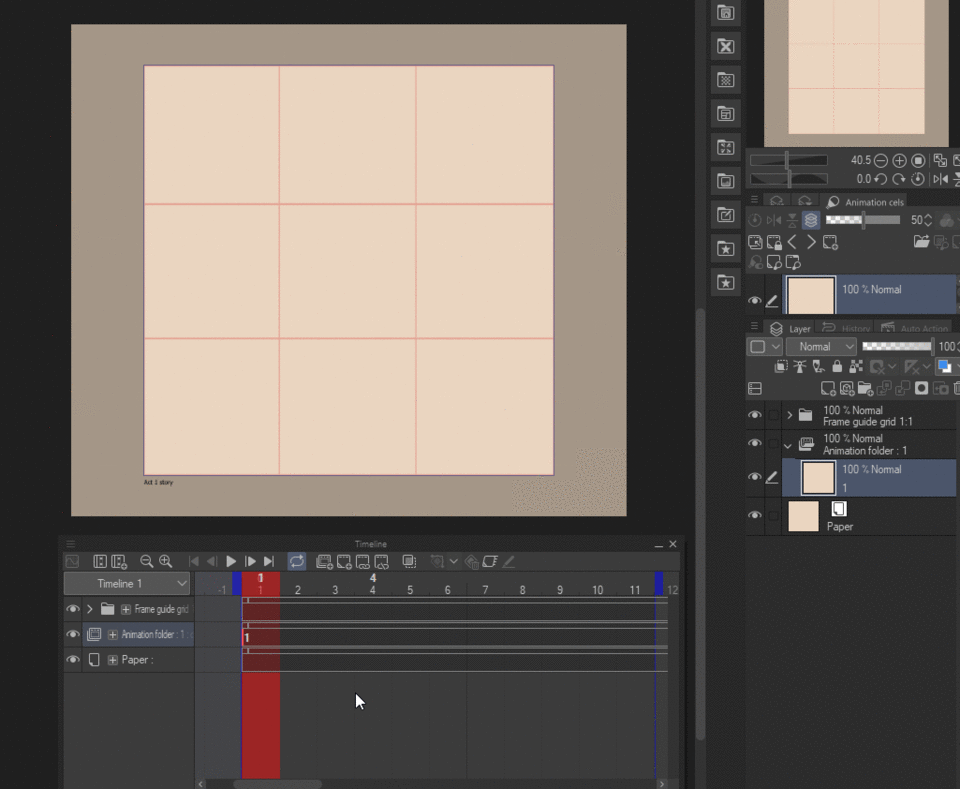
By clicking where it is indicated by the red square, you enable the Onion Skin to see the previous and next frames.
Click in... Animation > Show Animation Cels > Onion Skins Settings
To modify the opacity, color and other options of the onion skin.
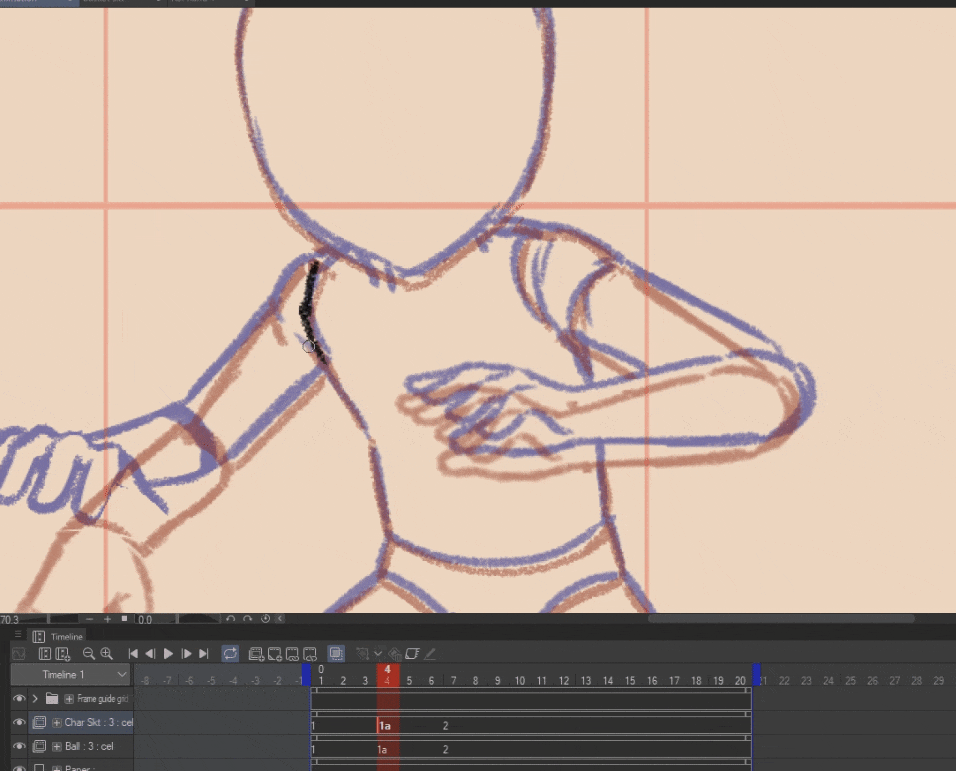
The animation uses this pattern to close the loop:
(1) Key 1
(2) Inbetween 1
(3) Key 2
(4) Inbetween 1 [same of the 2]
(5) Inbetween 2 [Inbetween in the middle of the (4) and frame (1)]
(6) Inbetween 3 [Inbetween in the middle of (5) and frame (1)]
And then ended up with a timeline something like this. Frame (1) in the end is for onion skin only. We have a 6 frame animation loop at 12fps. Even with the fps at 24fps, being in two sessions each frame we have this result.
[3] LINEART/CLEAN UP
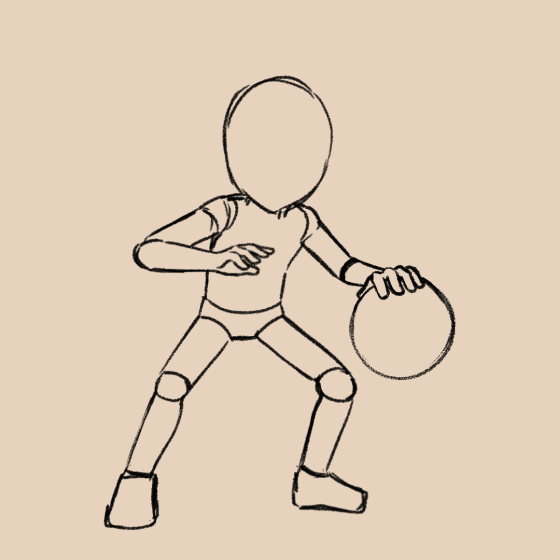
To speed up the process, I did the cleanup directly from the base. This is a bit risky if the base isn't good or doesn't have mastery of the character model. But greatly improve your speed in finishing animations. Setting keyframes and inbetween without having to sketch multiple times is a valuable tip I can give you.
Tip: Use vector layers for lineart, you have a lot more control of the line and dont lose quality making transformations.
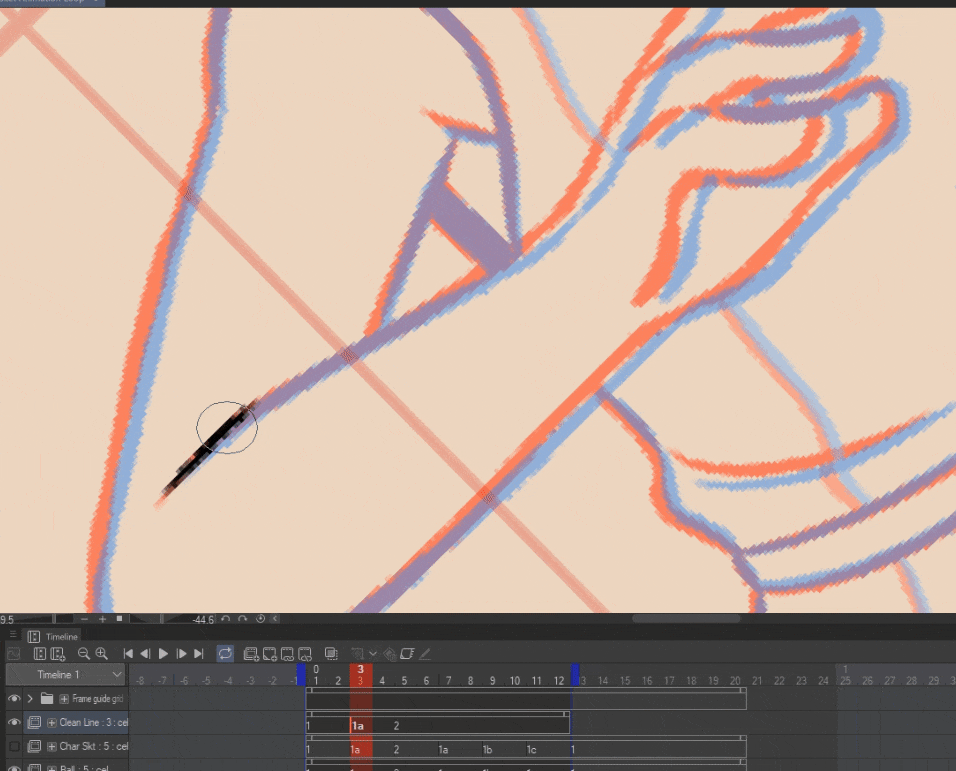
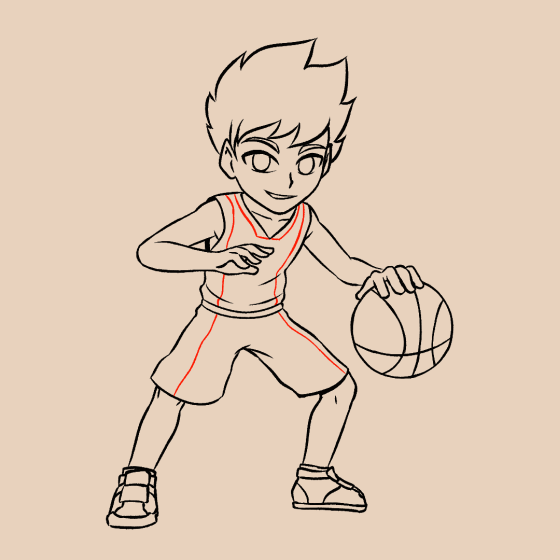
The result of the finished cleanup, I really liked it.
[4] COLORING
In the painting process, two workflows were used.
For the ball, the folder system was used:
Just create a folder with the frame number, so you can create linart, shade, base color, ... all in the same place.
You can even access the layers without opening the folders through the "Animation Cels" window.
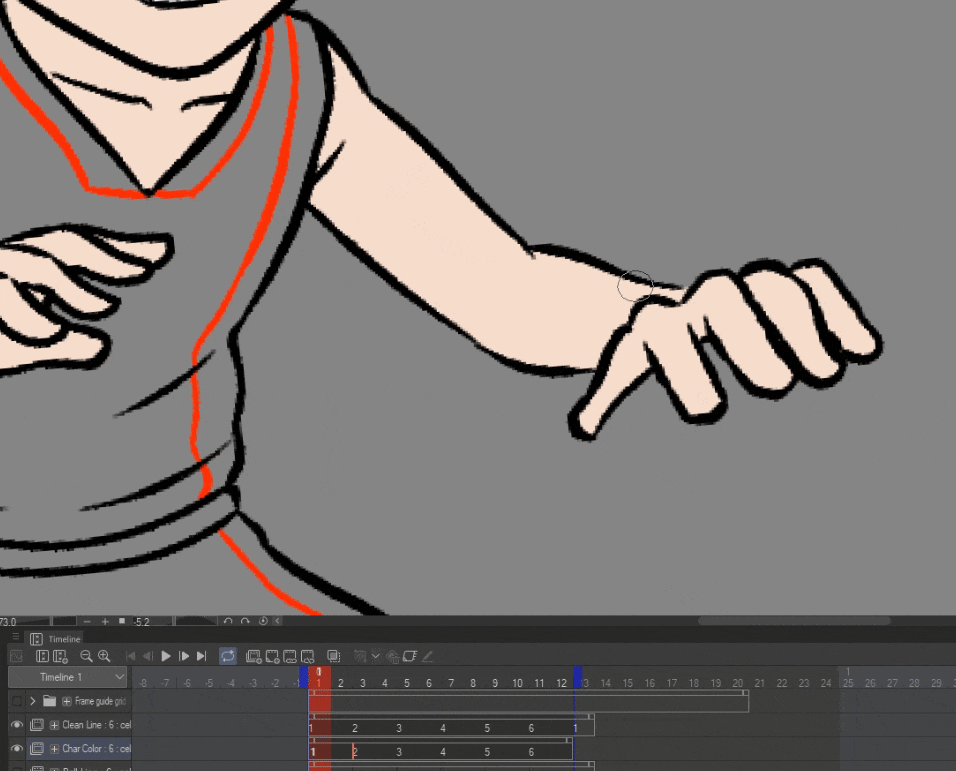
You can even access the layers without opening the folders through the "Animation Cels" window.
For the character, the animation folder system was used:
Creating an Animation Folders for the colors is like with a layer but directly on the timeline. It has some advantages over the folder system, but in projects with many elements, there can be a lot of information on the timeline.
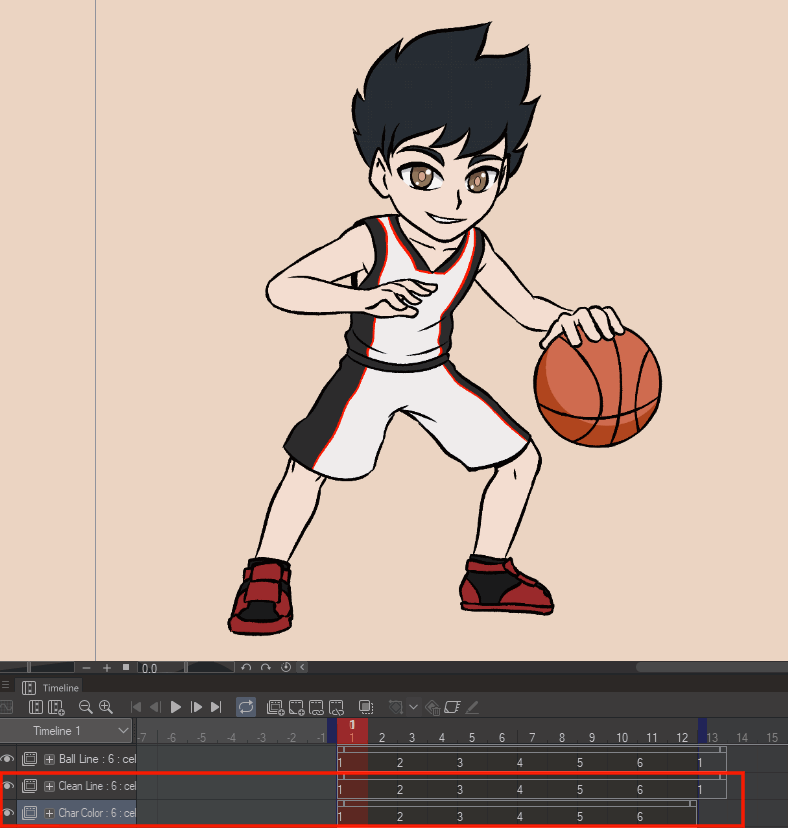
Tip: It's an excellent option for adding light and shadow effects.
Which was the method used to create the shadow of the character and the ball.
It's very practical because you can change the opacity of all the layers in a simple and fast way. With the folder system would have to change one by one.
[6] EXPORTING GIF & MP4
For exporting gif, it's super simple:
File > Export Animation > Animated Gif
Just remember to adjust to the resolution of the project, sometimes lower numbers can come for the file to be lighter.
For exporting mp4 video, it's also simple:
File > Export Animation > Movie
Choose the file name and the type can be Mp4 or Avi.
[6] THE RESULT
That was the end result! I liked it a lot and you?
I hope you may have learned something new and if you use my base animation
don't forget to tag me on social media, I'd love to see the result.

[7] BONUS
I created this free asset to help you.
It is very useful to help with framing.
Available in 1:1 and 16:9.


Commentaire