
Introduction
Selecting and Adjusting Your 3D Model
Converting to Line and Tones
Adjusting Line Art Settings
Finalizing Your Line Art
Conclusion
Welcome to this beginner-friendly guide on turning a 3D model into line art without tracing in Clip Studio Paint! This method will save you time and help you achieve clean and professional-looking line art it is very detailed oriented so those who have never used clip studio paint can follow along feel free to skip steps you already know. Let's get started!
Step 1: Selecting and Adjusting Your 3D Model
Choose a 3D Model: Open Clip Studio Paint and go to the 3D model library. Select the 3Dmodel that best fits the character or scene you want to create simply go to material and then select pose there are several poses to choose from and you can create yours too!
After clicking on it here is what your 3D model is going to look like you can see a big red cross sectional arrow and you can see an orange curved line right below it use that to adjust direction of your 3d model.
If you further want to adjust body part of your model and if you want to change the sex of your model click on the setting icon select 3D drawing figure 1 to change the sex of your model
if you want to adjust your model to make it taller, shorter , bigger hands anything you can select 3D drawing figure 2 and you can see it shows you full body of your model click on the area you want to improve and adjust it by increasing the ratio by clicking on the arrow next to 0
Step 2: Converting to Line and Tones
Go to the Layer Menu: With your 3D model adjusted to the desired pose ,go to the layer menu.
Convert to Line and Tones: Select "Convert to Line and Tones" from the Layer menu. This will open a dialog box with various settings.
Step 3: Adjusting Line Art Settings
Preview Your Line Art: In the dialog box , make sure to click on the preview button. This allows you to see how your line art will look before finalizing.
Adjust Pixel Size: Modify the pixel size of your line art to achieve the desired thickness. This is crucial for ensuring your lines are smooth and consistent.
Set Smoothness: Set the smoothness to 10 for a really smooth line art that requires minimal adjustment. This setting helps in creating clean lines. if you want similar results adjust the settings as the one on the picture i provided.
Step 4: Finalizing Your Line Art
Finalize Settings: Once you are satisfied with the preview and settings, click OK.
Refine if Necessary: You now have your line art. If needed, you can further refine the lines using Clip Studio Paint's various brush tools to add details or correct any imperfections.
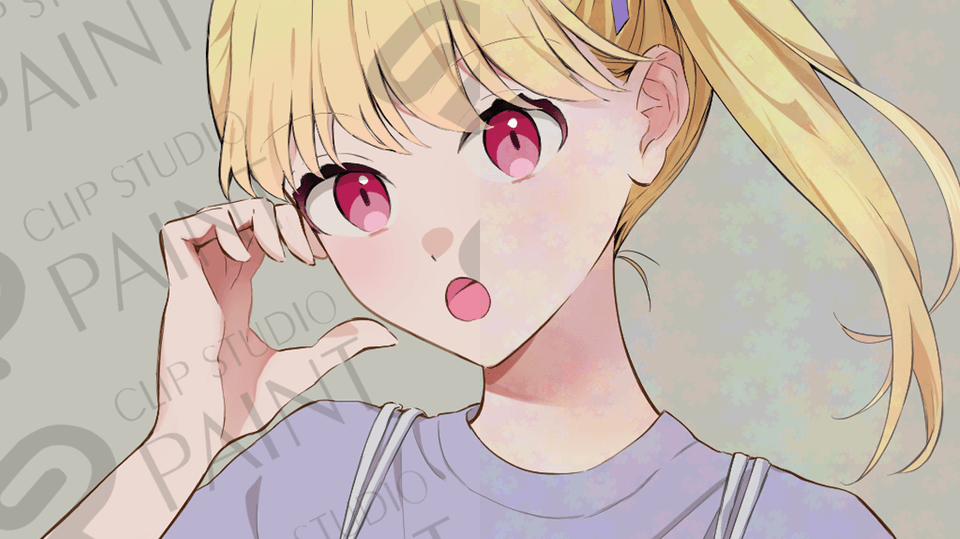
Here is a simple example of how i used the line art to make a very simple character
Conclusion
This method is efficient and helps you maintain a consistent style throughout your artwork. Feel free to experiment with different poses and settings to perfect your technique.
この投稿を「いいね!」したユーザー


コメント