Speed Painting - Tips of Making a Piece of Watercolor Art.
Introduction
Hello, my name is Konijnsate, mainly active on instagram. Actually this is my first time of making tutorial so I’m quite nervous that I can’t explain it very well 💦. But I’ll try best ✨.
So here I’m going to share my speed painting in watercolor style, where it usually took around an hour or less on my best condition.
Sketch and Lineart
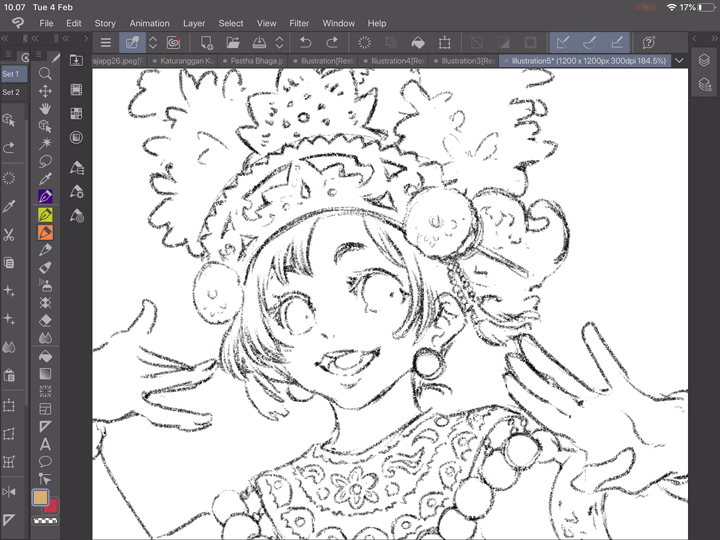
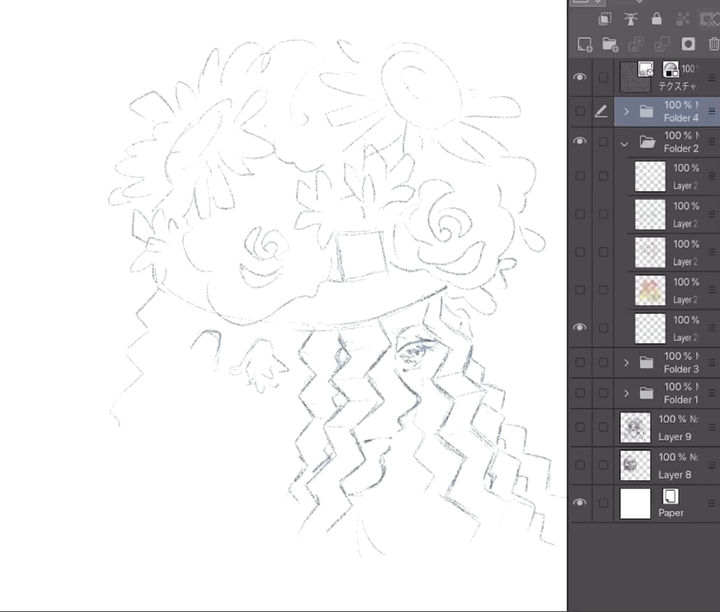
So here is the step of the process
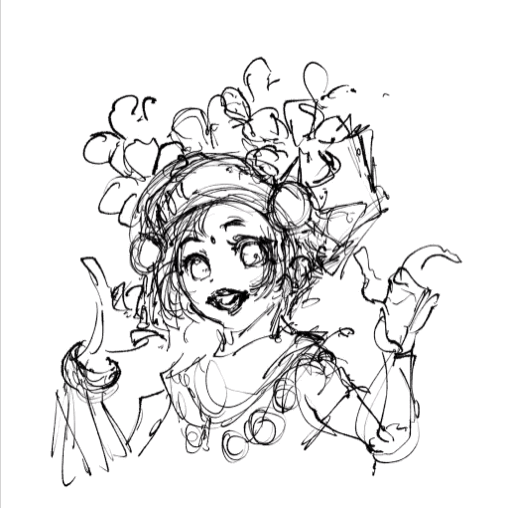
I usually created rough sketch using pen tool that I picked randomly (usually G Pen tool). Since I planned to create watercolor piece of art so I used Real Pencil tool for linearting.
I don’t think I need to explain much since you probably more curious how I did the coloring.
Watercolor Brush
Before I share you how I did the coloring, I probably need to introduce the brush I used. The brush set can be downloaded from Clip Studio Assets. I downloaded it two years ago but it took while for me to finally found out how to make it look realistic.
To be honest I’m not quite understand Japanese but still able to read some hiragana and katakana. But maybe I’m gonna give you a tips, if you don’t understand Japanese and/or can’t read Japanese text, I suggest to try all the downloaded brushes then pick only some brushes that you think You’ll need it most. Too much brush with foreign letters you hardly read will only confuse you, plus from my experience, you won’t use it all.
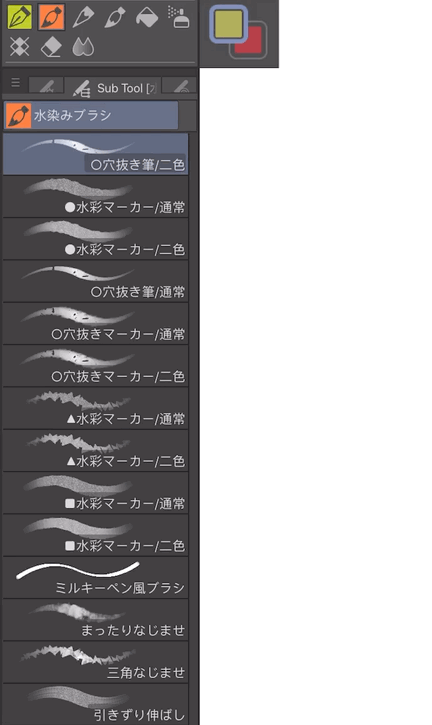
So here, the brush that I mostly use for coloring is just this one
In most case I can use only ●水彩マーカー/二色 (Watercolor Marker/Bicolor), even when I just need one color, I still prefer to use this than 通常 (Normal) one because the color is thicker.
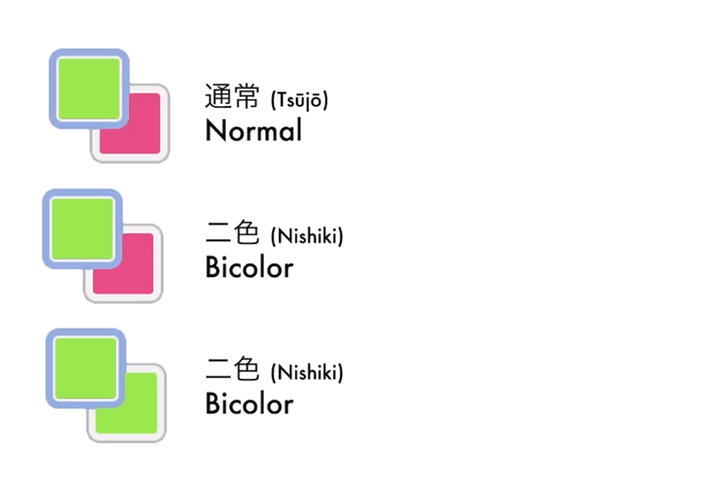
This brush is combining the Foreground and Background colors which is perfect for me to make some tone of color like this.
But for me it has flaw that it cannot make pointy shape unless it resized into smaller brush. In some case I’ll use masked layer to handle this.
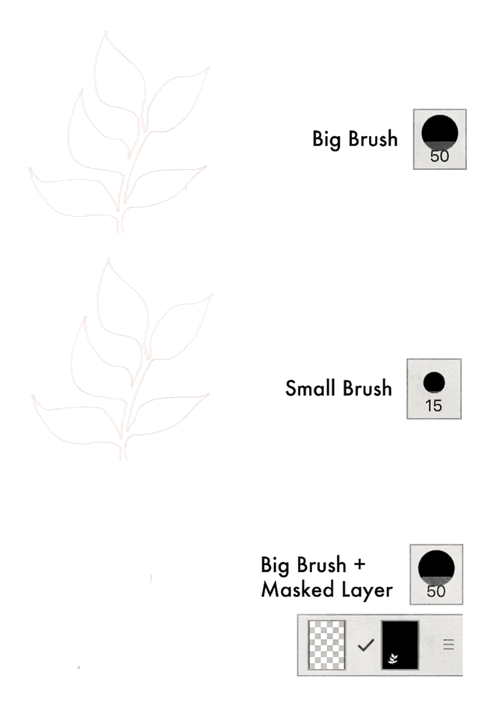
So if you saw my youtube video, you’ll see how often use this brush.
Watery Effect
I also used another tool that already provided on my ClipStudio Paint EX 1.8.9. Wet Bleed Blender can be found on Realistic Watercolor Subtool, I often used it to make Wet on Wet effect and Back-run effect (not really sure if this name is correct)
Both are using same tool but different setting, for Back-run effect I turned the [Watercolor Edges] on.
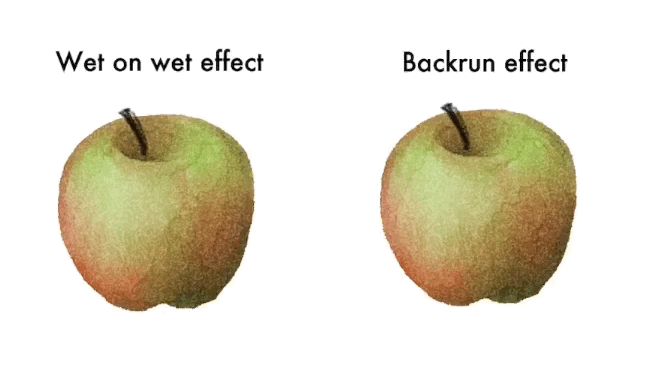
But to be honest I almost never use back-run effect because I don’t know when I would need it.
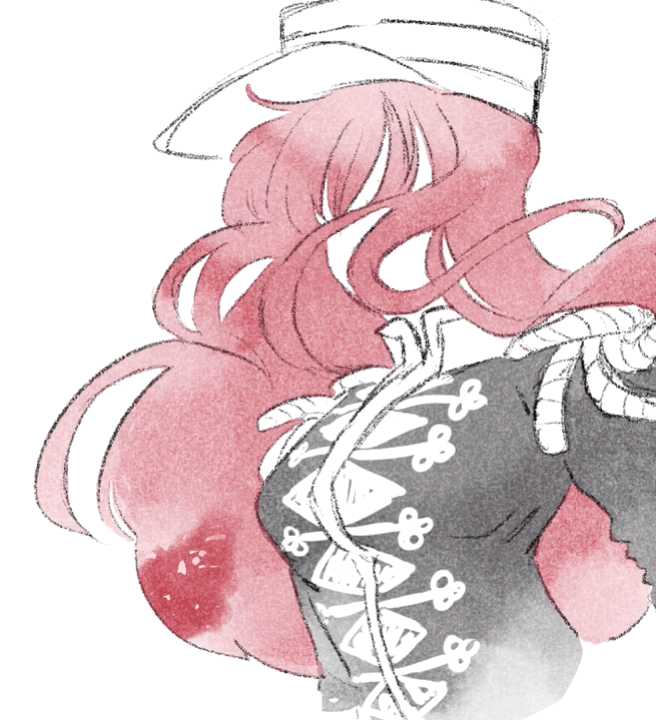
And then ○穴抜きマーカー/通常 (Holed edge marker/normal.... not really sure with the translation) this brush give somewhat salt effect
Texture
And... oh! I forgot to mention about the texture. Though some brushes already textured, but adding texture layer will give more realistic result.
There are texture layers provided as bonus when you downloaded the brush set. They’ll recommend us to use a texture set they provided.
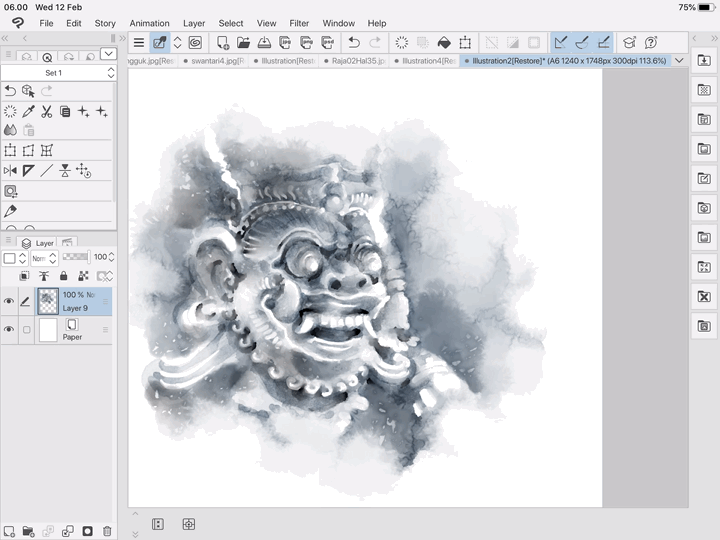
But in most case I just use a single texture layer
Working in Multiple Layer
My friend asked me whether we need to separate the layer when we use various color, I guess this is depend to what kind of result you hope to see. Working on one and separate layer resulted different effect.
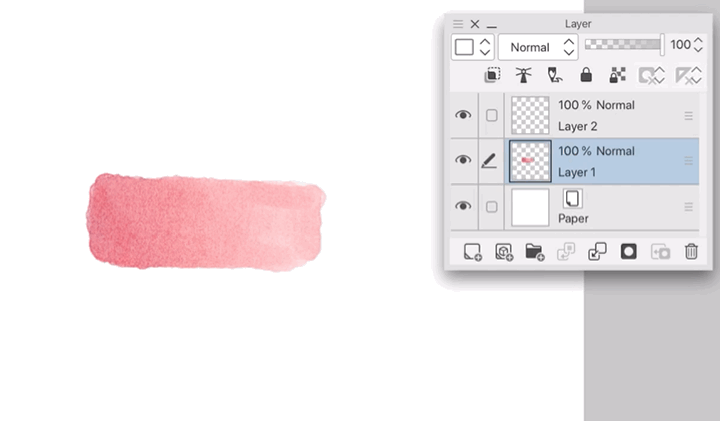
When you overlap the color, the water edge will appeared when you work in same layer. The water edge doesn’t appeared when you overlap it in separate layer.
I usually working in separate layer when I want to create shading or result a darker color.
Working in separate layer is actually similar as actual watercolor when they overlap new color new color after the previous color got dried.
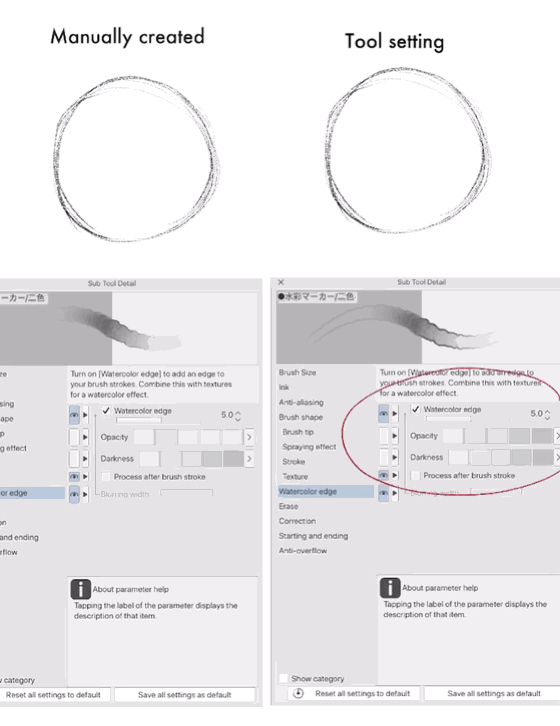
Watercolor Edges
For making Watercolor Edge usually I prefer to create it manually than using tool setting
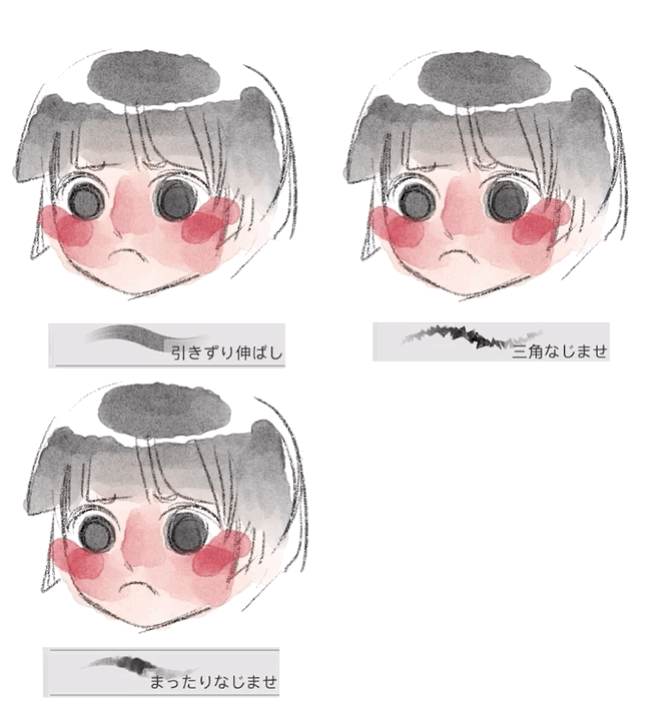
Also these are some blender that Keep the watercolor edge while blending the color.
Masking Layer
You can also create frisket effect, or masking fluid on watercolor using Masking layer.
First, draw a shape you want
Click [create selection]
Click [New Layer] then [Mask]
Make sure that you color in the layer, not in the mask.
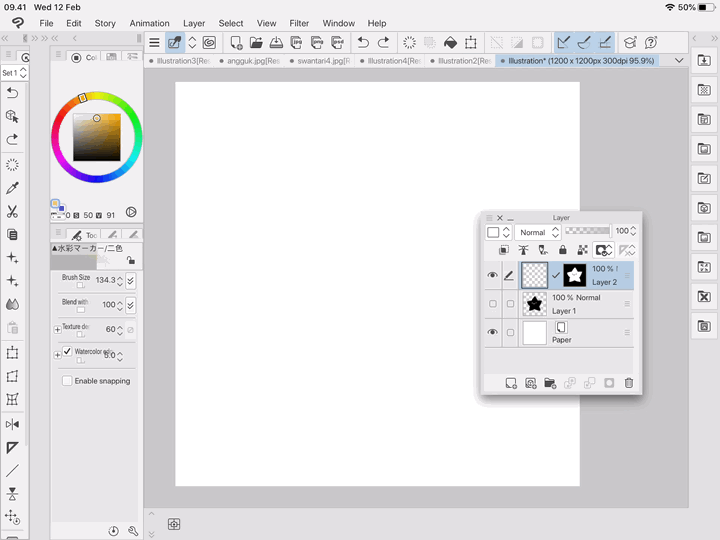
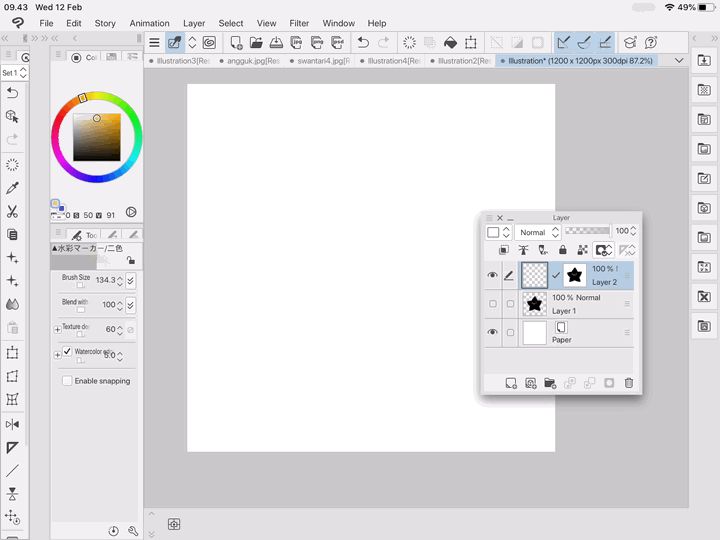
If you want to do negative painting instead, click [reverse gradient] in the mask.
And viola!
Finishing
And at last! You can white gel pen finishing using this brush
Thank you
That’s all! Sorry for any mistake I made, but I hope my tips is helpful enough. Feel free to ask or give me some feedback on the comment section uwu.






留言