Hair Animation with Bezier Curve tool
In this tutorial I will show you how I use Bezier Curve tool to easily create keyframes to animate hair. The new feature on Clip Studio (since April 2020) makes the frame by frame animation process easier than ever.
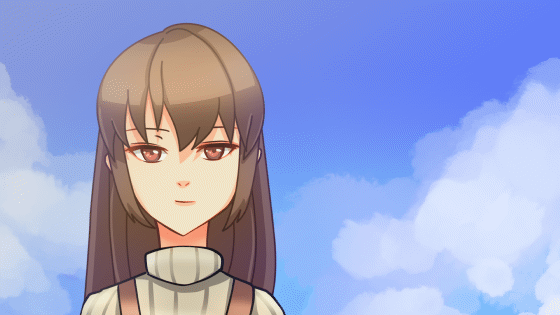
Note : Make sure you update your Clip Studio version to 1.9.9 (Update April 9 2020) or later to use the bezier curve tool.
(If you’re already used to vector manipulation in Clip Studio, this update will also change some tools' interface and vector nodes to make it easier to handle.)
Video Tutorial
Basic hair animation
Here are some beginner tips for hair movement in a breeze.
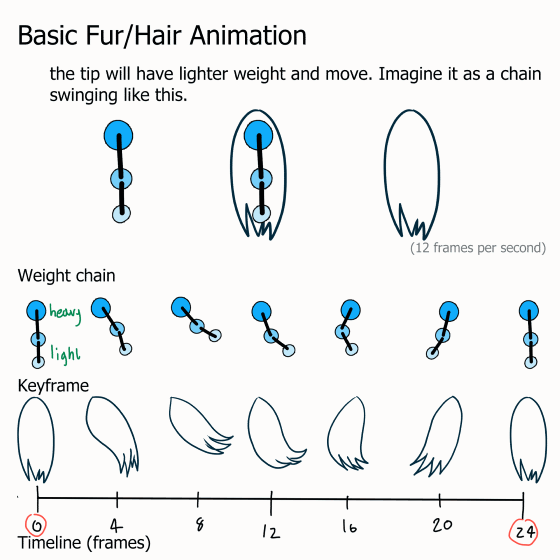
After the rough animation is finished, add the in-between keyframes for smoother movements.

With this basic, you can add the basic hair animation to the character.
First of all, separate parts of hair.
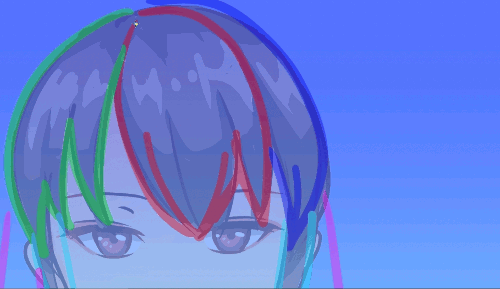
Draw the rough keyframe, apply the chain for easy movement design and draw the rough detail of the keyframe.
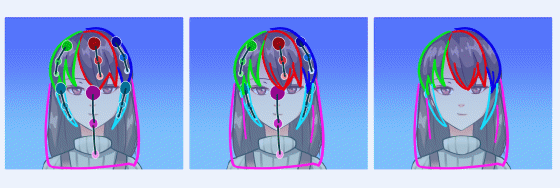
The separation parts make it easier to draw the movement.
For the color separation layers,
create new timeline with this setting
(the loop of 24 frames will take 2 seconds, which is still smooth for a limit of 24 frames [ Clip studio PRO])
Create an animation folder for the keyframes
Make a folder for the keyframes and create layers for color
Then apply layer color effect to it
Using this technique, you don’t have to pick a new color every time you draw on another part and it will be less confusing. ^_^
And when you create a new frame, the layer color will also appear in the new frame folder.
The onion skin function allows us to see what happened in previous and next frames. You can enable or disable it by clicking on the icon.
If the color is too hard to see, you can customize the onion skin function in the menu :
Animation > Show animation cels > Onion skin settings
Finish the rough keyframes.
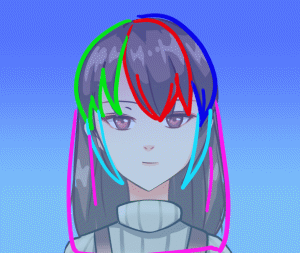
Inking with the bezier curve tool.
You can find the Bezier curve tool in Figure sub tool.
With 3 modes of curve for various usage
For this project, I will use the Cubic Bezier, because it allows you to make curves and corners together in one line, which is flexible for editing.
The circle node is for curve
and the square node is for corner
You can also convert the node type with Correct line sub tool > Control Point
And check the [Switch corner] in the tool property.
The basic control for drawing Cubic Bezier curve
Click = make corner node (square node)
Click, hold and drag = make curve (circle node)
Both nodes have arm control so that you can pull to adjust the curve of the line that is connected to the node.
Create the folder for keyframe 1 with vector layer for the ink
*[IMPORTANT!!] you have to use vector layer for ink so it allows you to edit the ink later.
Draw the keyframe with Cubic bezier curve tool
(show the sketch layer in lower opacity for reference)
Onion skin will help with the line position
To make the loop animation, when drawing the last frame, set the next frame to the first frame.
Onion skin function will make it easier to draw.
For the in-between keyframes we going to use the bezier curve to edit the existing layer instead of drawing all the keyframes
Insert new frame : this will sometimes generate some folder name because it can’t create keyframe names ‘2’ which is already used at frame 5 (but we can rename it later)
Here is my setting of onion skin :
green - next scene
pink - previous scene
Select the ink layer from previous scene, then press Ctrl+C to copy
And select target scene folder, then press Ctrl+V to paste
You can see the ink line is overlapping the pink line (previous frame)
Use the control point tool (Sub tool [Correct line]) to move the node
I recommend staying in the mode : Add control point.
you can also move, add, and remove nodes with this mode.
Click on the line to add new node (when the symbol + appears)
Hold Alt and click on the node to delete nodes (the symbol - appears)
Adjust the ink to the position between previous keyframe and next keyframes
With this technique, you will save a lot of time making in-between keyframes, and the ink will stay the same size in every keyframe.
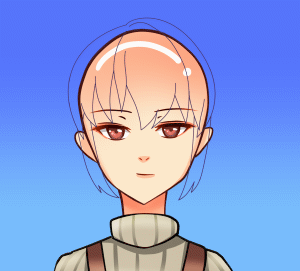
(Say hello to bald girl, heh heh)
Repeat the steps to the back hair, draw everything with no open gap in the lines for easy coloring.
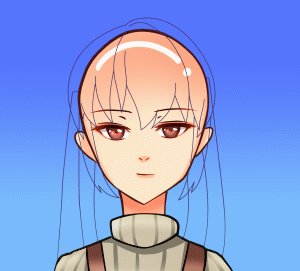
Coloring and shading
I always use my favorite tool setting from clip studio asset for filling area color.
Also you can use ‘Close and fill’ tool
Set the refer multiple option to reference layer
Create new animation folder below the ink animation folder, then set the ink folder to reference layer
You can make neat color fills with a single stroke.
Create new frame and fill the color in every frame,
also repeat the step with the back part of hair
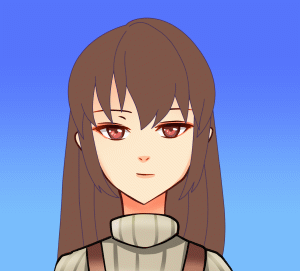
(No longer bald ~(‘ w ‘ ~))
To adjust the ink color, select the ink folder and apply the layer color effect.
You can also use layer that apply the layer keyframe as a reference layer for color fill.
Set the moving box as a reference layer and fill it frame by frame, then clip it to the base color animation folder.
I also paint (add) more details with the pen tool.
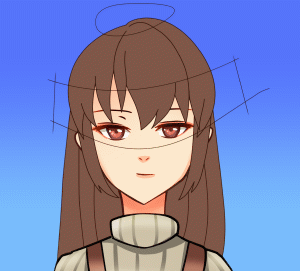
Apply it to the back hair too and done!!
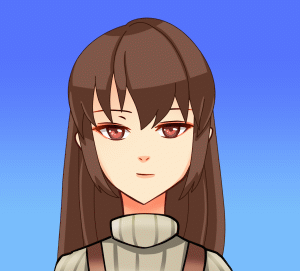
Editing techniques : drop shadow and line adjustment
To create drop shadow effect on the face, just copy the color base animation folder and move it right above the base folder
Select the animation folder and move it a bit below
Note:
make sure you click on the folder bar to move the whole folder.
(If the highlight is only on the thumbnail, it will move only one keyframe, not the whole folder)
Then apply the layer color effect
Set the mode to Multiply and reduce opacity
Here is a drop shadow effect in less than 1 minute!!!
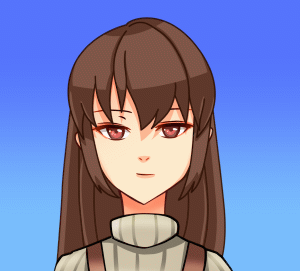
For bolder ink, I applied the border effect with the same color ink
This will appear in all frames.
Also it’s possible to edit the ink manually with sub tool [Correct line]
check my previous video about how to edit it
But it will take time editing in every frame.
Light Editing and final touch
You can notice that the drawing pops out from the background because we haven't added the light to it.
For the easy cloud, I use the brush from asset. My favorite ^-^
To apply light to the image I use the layer mode : Add(grow)
Clip to the image and adjust opacity
And for the reflective light, I use the layer mode : Hard light
And for the flare, I use gradient map with light yellow
Finished job

Enjoy animating!!!




留言