
A. Introducing
Hi, welcome to another tutorials, it’ve been a months, how do you do lately?
Talking about character art design, accessories are something small but play a role in it. It help people recognize a part of your character background, their favorite things and their style. In an artwork, it even make your picture shine and have a spotlight in it. Here is some examples of mine about drawing jewelry and accessories in artwork, let’s take a look first!
Okay, to not let you all wait for so long, let’s get started! (❁´♡`❁)
B. The Accessories
Accessories are the broad concept in the fashion industry, and also play a role in character design.
We can separate them in many ways, based on:
Their position on the body: hats, necklaces, earrings, piercings, bracelets, rings, stockings, socks,..
Theirs material: fabric, lace, leather, jewelry,..
etc.
But the things I want to say here is accessories has so many kind, not limited to the above. Everything you put on your character except the clothes, they can all be called “accessories”.
C. The Jewelry
The Jewelry is one kind of accessory, and it’s decorative object worn on your clothes or body, that are usually made from valuable metals, such as gold or silver, and precious stones.
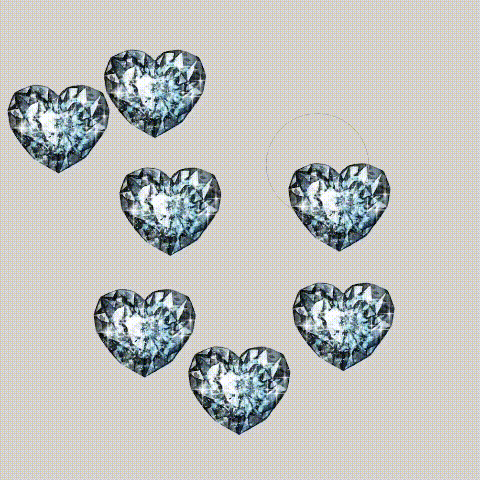
D. Creating the Diamonds Brushes
In this part, I will show you how I usually draw a precious stones in some shapes and make them into a brush which can be use later.
You can see the process of drawing these in my speed video, but I will highlight for you my favorite tool to draw them: the symmetry rulers!!
You can easily find it in the [Ruler] group. Here is the most funny things! Clip Studio allows you to set up to 16 lines for symmetry!!! It’s so convenient to draw everthings has symmetry in it! In creating these diamonds, I use the 2, 3, 4, 5, 7, and 16 lines! Check it out!
Okay then when you have the stone, let’s separate each of them into different layer to create a brush material! Let’s make a example with this heart-shape diamond!
When the objects is done, go to [Edit] > [Register Material] > [Image] to register this one to the library
This box will pop out, you can change the material’s name in order to find it easier.
Pick [USE FOR BRUSH TIP SHAPE] and choose the location to save it in, then hit [Ok].
Now for a brand new brush. First I’ll duplicate one exiting brush by clicking this icon on the sub-tools box.
Click on [Brush tip] to change it in to the material we want.
You can see I already have a grey heart in the black box. Now click to the [New/Open] icon below (next to the trash can icon) to open the select box.
Find the material by the name you set before and add it to the box.
You can delete the old one if you want, by clicking the trash can icon.
Hit [Save all settings as default] to save your brand new brush!
Here is my result!
I will upload my diamonds brush to our assets library and leave a link at the last part so you can use my brush!
It’s will be free for a limited time so get quickly download it!!!
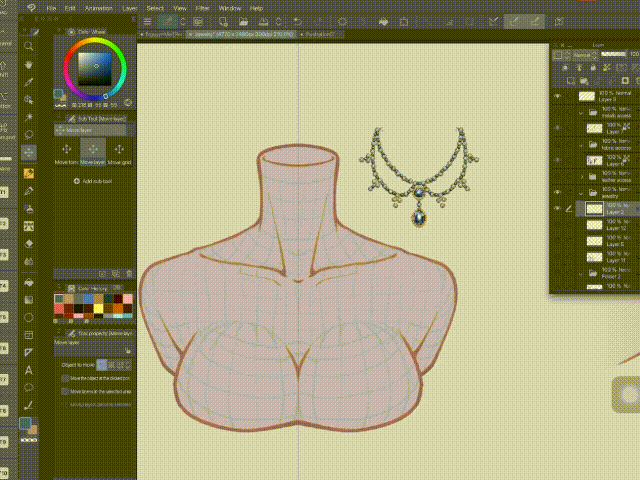
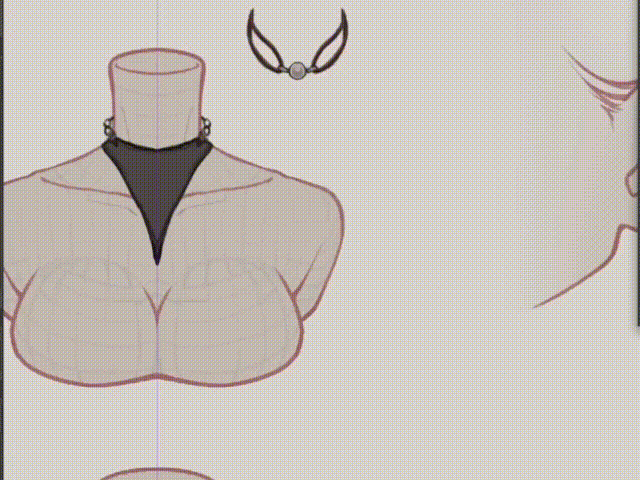
E. How I draw a jewelry necklace using my brush
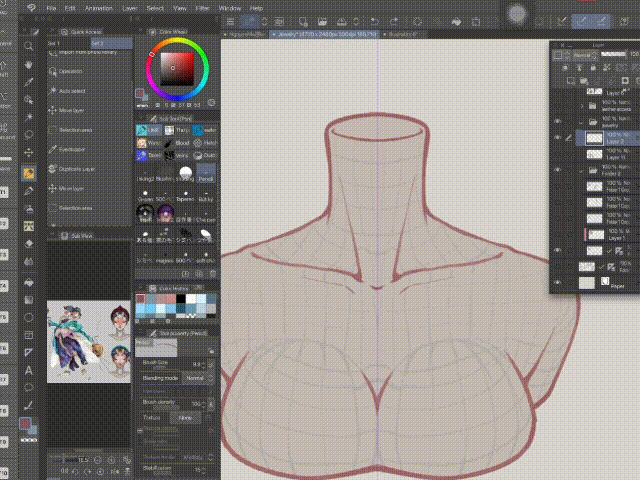
To be easier, I will sketch the shape of the necklace first. I am using a pencil and a symmetry ruler to draw it quickly!
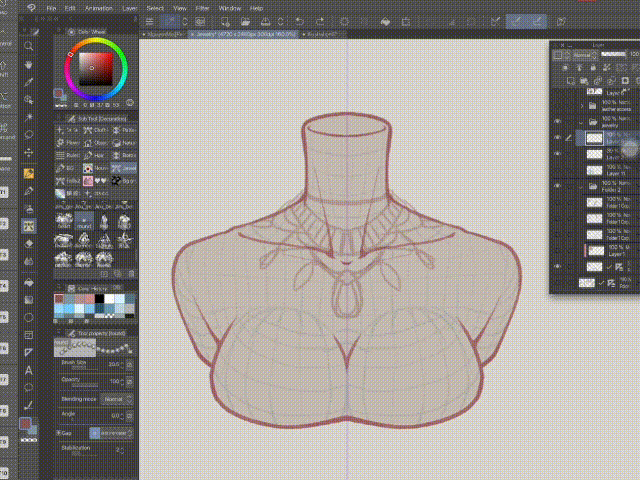
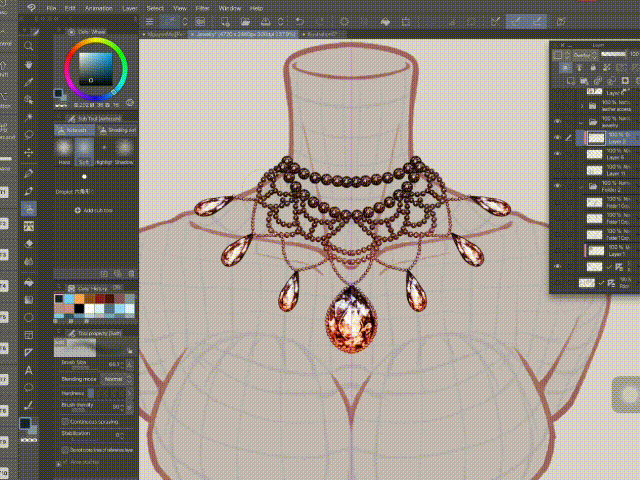
Using a string brush with a tip of round diamonds to add the stone to the necklace based on the sketch!

When it’ve done, create a new layer and [Clipping group] to it. You can use different layer mode such as [Multiply] or [Overlay} to put some color on it! Now you have it in the color you want!
Here are more examples:
When you are get used to it, you can skip the sketch and start to put on shining diamonds directly!
Yeah, we have ctrl Z anyway! ╮(╯v╰)╭
The final result:
F. The Metalic Jewels

When I paint the metalic (here is the gold) - I usually start with the rough shading (dark color) then add the reflection (the color which is darker than the based color but have higher contrast), finally, I add the highlight.
Here is the pallet I use to paint this.
With some simple shape, you can paint the basic shape first then directly paint the shadow, then apply the line after, like this:

G. Other Accessories
I also brought you some other kinds of accessories made by fabric and leather such as bows, ties, hats, earings, suspenders, belts, etc.


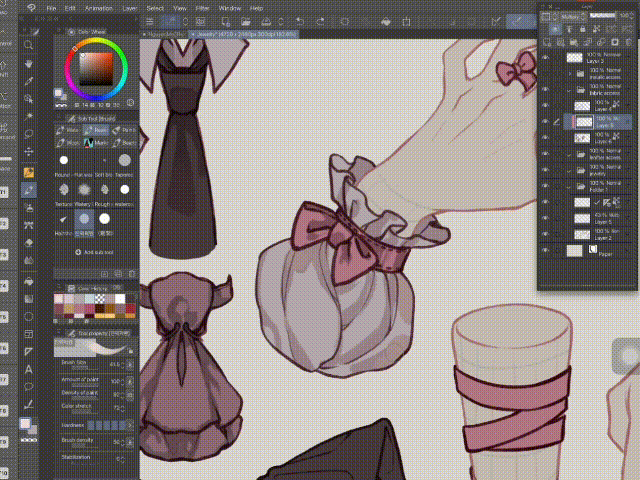
All of them are drawn in the same ways:
First I draw it in the line art
Then put a based color to it
Create a new layer that [Clipping] to it and choose [Multiply] to add the shading. I always use 2-3 different color to shading, and using a watercolor brush to blend it. I am not using the blur tool cuz I don’t want the shape of my shadings turn to blur, I want to keep the textures of them.
Create a new Clipping Layer again with [Overlay] mode to add more chroma to your painting.
Repeat those 2 last step until I get satisfied with the results!
H. Speed Painting Video
Check it out my whole process of drawing these sparking jewelry and accessories here:
I. Download my brush
Here is the link to my brush on our assets library! If you like it, please leave a like and favorite or even CP! Please get quick to download it, it will be free for a limited time!
K. Conclusion & Thank you
Hi, thank you for your patience for another long long long tutorial of mine. I hope I have expression my opinion clearly and easy to understand!
Hope my tips work for you ! And if it does, please give me a heart !!!
You can also follow me on @tokyolondon (IG, dA, weibo) or visit my FB Page @TokyoLondon.Artwork
Ah! And here is my vtuber model - Mou. She will be streaming painting and gaming soon! Hope you guys will like it!
Thank youuuu <3
對此投稿按「讚!」的用戶


留言