LAYER WORKFLOW FOR WEBTOON
Hey guys in this tutorial I'll be talking about my layer process in creating a webtoon from drafting to finalizing .I'll be talking different types of layer that I use for my sketching , coloring etc . I will also mention some of my mostly used layer functions , blending modes and correction layer. This tutorial completely beginner friendly hope you find this useful .
WHAT IS LAYER ?
layers are like transparent sheets which we can create just by clicking on ' add new layer" available in layer [menu] . The common placement of layers in creating my comic would be
layer 2 line art
layer 1 sketch
layer 3 color
the major reason to use different layer is that to edit or adjust a particular thing without disturbing the other elements .
-we can also change the order of the layer by just dragging .
-To hide a layer we can just disable it by clicking on the eye icon
-We can even name our layer by double clicking and entering the name.
-----------------------------------------------------------------------------------
SKETCH
-------------------To create a raster layer
1. Go to layer [menu] > New raster layer
2. Go to layer [menu] > new layer > raster layer
3. click on the " new raster layer " icon which is available on layer function
Raster layer is your normal layer which is perfect for sketching out your draft , to fill in color , applying filters , effects and almost everything except line art because there is much better layer for that .
The raster works with fixed pixels which brings us to the only disadvantage in the raster layer, that is If transformed the quality is affected .
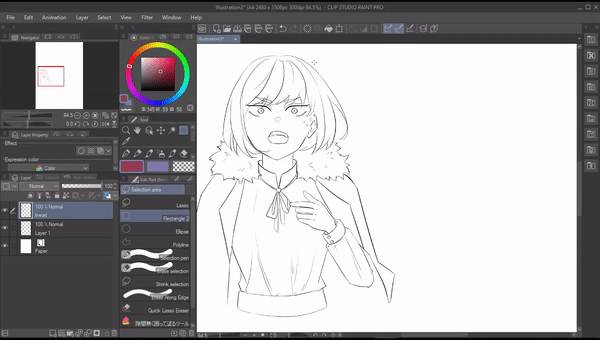
For example : let's say you want to increase the size of a line as you can see below it loses its quality .
---------
If you see in the last panel I have a background to draw . I prefer to use 3d primitives for the background to help me with perspective . Make sure you have updated your clip studio paint or else you won't be able to find the 3d primitives .
------------- First using the selection tool lets select the area where we want to drop our 3d objects . Then go to layer > new layer > 3d layer to create a 3d layer .
In the layer palette we can see that a new 3d layer has been created with a layer mask. The layer mask makes sure the 3d objects don't go out of the selected area .
In your canvas you can see a base grid surface which will act as the
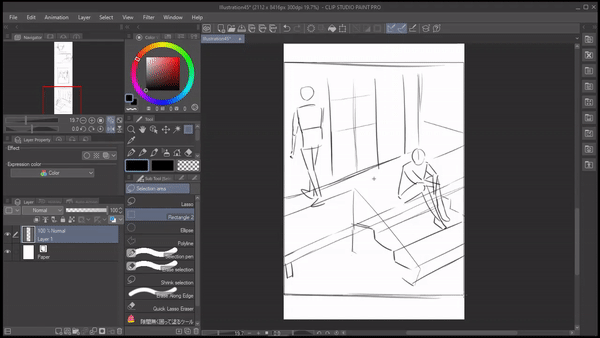
Then go to > all material > 3d > primitives and drag and drop a cube primitive . It will be automatically placed within your adjusted surface . We can change the length and width of the cube making the process of creating backgrounds much easier . Now I will just drop some more 3d objects for the background .
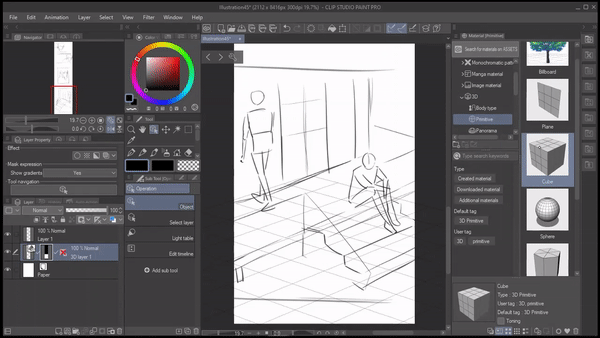
Now I'll change the color my sketch . Changing the color of sketch to blue helps me to draw the linearts much better . To do that select on " change layer color > layer color " which is available in the layer function . A "color setting " dialogue box will appear where you can select color you want to change it to and then click on ok . Now my sketches are turned to blue color .
Now I'll put all of these layers into a folder to keep the layer palette organized . To create a folder go to layer[menu] >new folder layer or just click the folder icon .we can place the layer in a folder by selecting and dragging . We can also name our folder by double clicking and entering the name or else we can even mark the folder with a color .
With this my draft process is done .
-------------------------------------------------------------------------------------------------------------------------
PANELING :
BORDER FRAME :
Border frame can be used to create panels for comics . border frame layer creates a new frame border folder in alignment with the canvas default border which we can edit and move . Frame border folders allow you to manage layers separately for each comic frame.
To create a border frame layer go to [Layer] menu > [new layer] > [frame border folder ] .
A ''new frame folder” dialogue box will appear ,
1. We can name the frame
2. Enable or disable [draw border] , I’m gonna keep it enabled
3. Enter line width , which i have set to “12.00”
4. Anti analys will help border lines be less uneven and much smother , I have set it o mid .
then click on okay .
Now we have the border. If you notice our cursor has changed to a plus sign, we can divide frame folder using this . We can also adjust the horizontal or vertical gutter under the tool property .
Now if you check on the layer palette we have two diff layers for these two divided frames (the more you divide the frame the more layer individual layers you get ) . The major benefit of using a border frame folder is that you concentrate on a single panel without worrying about any effects , filter , line , color going out of the border.
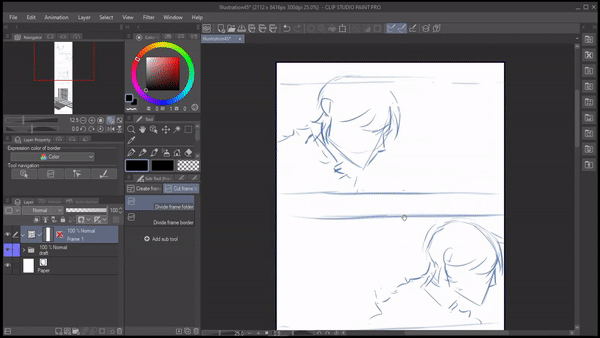
Once we have divided the frames , click on the “ operation “ tool .Now we can drag the border frame and adjust it according to however we want .
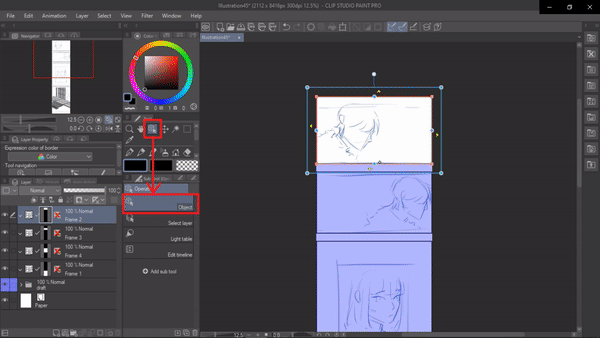
END RESULT :
-------------------------------------------------------------------------------------------------------
LINE AERT:
------------------
Vector layer is mostly suggested for lineart I'll tell you why . Unlike the raster layer , the vector layer does not have fixed pixels so quality does not decrease when transformed; it even allows you to edit lines and resize lines that have already been drawn.
To create a vector layer go to [Layer] menu > new layer > vector layer or click on the " new vector layer " icon on the layer function
One of the major benefit of using a vector layer is eraser . Csp has a special eraser called a “vector eraser” that can be used only on vector layers .
You can find the vector eraser under eraser tool , under the setting of vector eraser we have three options
First - [Erase touched areas ] - which works like a regular eraser .
Second - [Erase up to intersection]-which erases the intersecting lines this eraser is especially useful when it comes to backgrounds .
Third - [Whole line ]- which erases the whole line with just a touch .
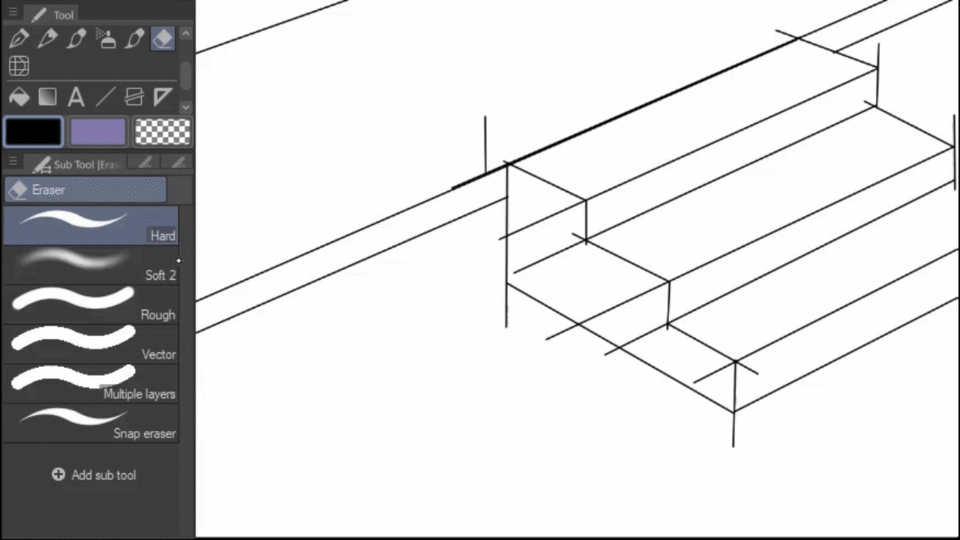
we might find a few mistakes and adjustments to be made so Instead of redrawing it we can just go to correct line and do a lot of adjustments using the control tools , we can pinch and correct the line we can also resize line width . All of these can be done without any defect on the quality .
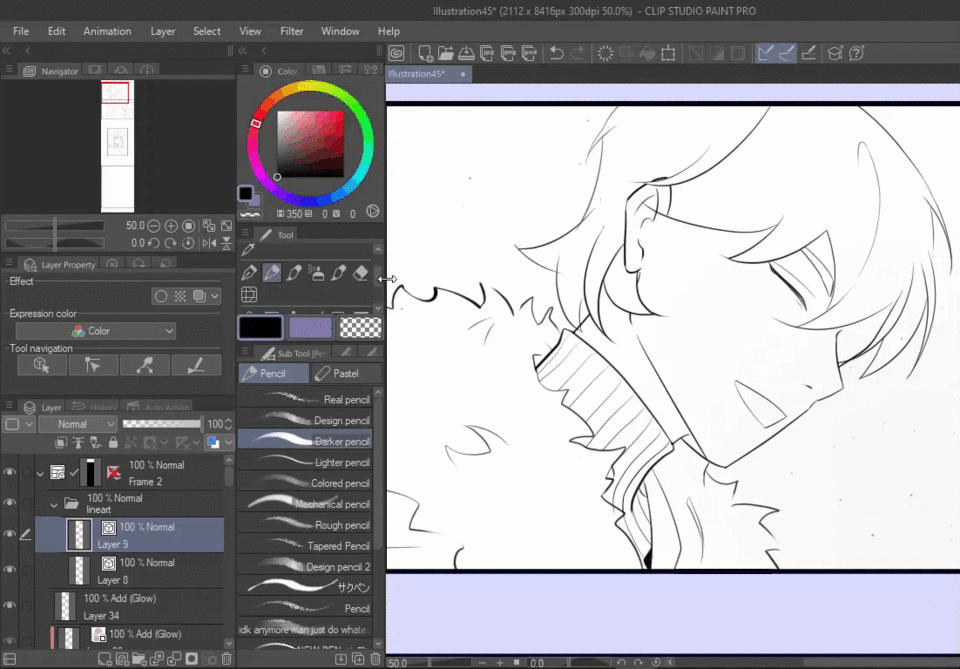
These are some of the few benefits of using a vector layer for line art . So I'll create a vector layer inside the border frame and lower the opacity of the draft folder and start drawing the line art .
LAYER BORDER :
I sometimes prefer to use a layer border which is available under [layer property] for quick linearts . The layer border creates an outline to anything you draw on the layer .
To apply a layer border effect go to layer property > effect > layer border
[Note: Make sure you’re on the layer where you want to apply the effect ]
1.Thickness of edge - used to change width of line
So using this.
2.Edge color - When we click on edge color a “ color setting “ dialogue box will appear where we change the border color.
So now I will create new vector layer and apply border effect . After applying the border layer effect I'll set the edge color to black and thickness of edge to '2' . Using the "straight line " figure tool and setting its color to white I'll start drawing the line art .
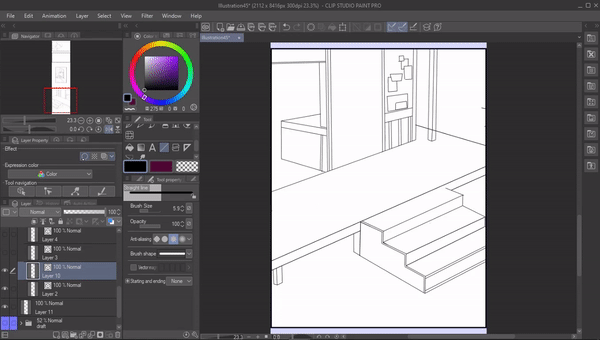
[Note] But If you try to color beneath as you can see in the picture below we cannot color beneath the layer border
To be able to color we have to rasterize the border effect layer . go to layer menu > rasterize and then go to edit [menu] > convert brightness to opacity . Now its transparent and we can color beneath it
[note : If you on a vector layer and you rasterize the layer it will turn into a raster layer ]
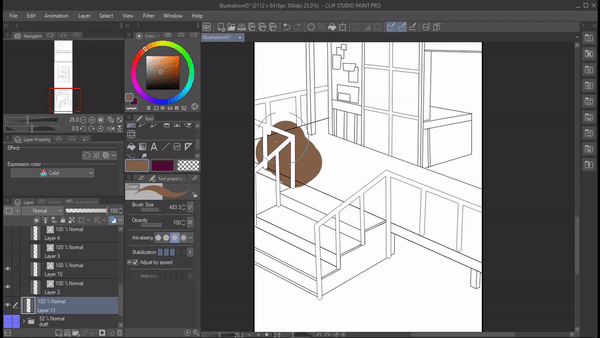
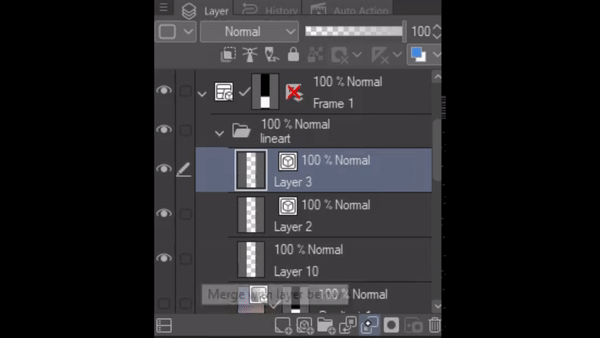
Now we're done with the line art. I sometimes combine layers so that I can keep my layers limited. We can do that by clicking on the “combine to the layer below “ icon . This will combine the layer you're on with the layer below it .
With that my line art process is done
END RESULT :
----------------------------------------------------------------------------------------------------
COLORING :
I’ll start by filling in the base colors . I use two types of layers for filling the base colors , that is gradient layer and fill layer
-----------------I use gradients if I want two transiting colors . To create a gradient layer go to layer [menu] > new layer > gradient layer . Once the layer is created we can change the colors using the main color(as foreground) and sub color (as background )
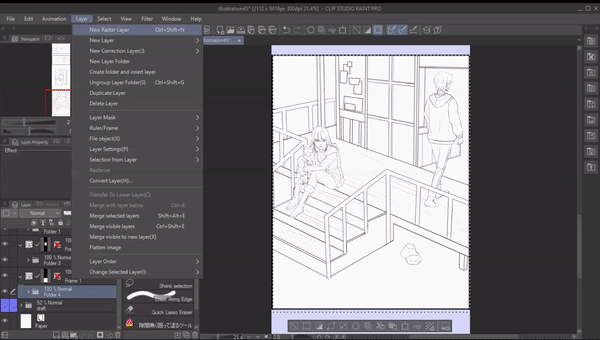
----------If I want to fill in with just a single color I can just create a “ fill layer” which is available under “ layer [menu] > new layer > Fill “ . A dialogue box will appear where we can select the color we want to fill with . If you check your layer palette a fill layer will be created .
For now I'll disable the base layer so that we can concentrate on filling the flat colors
------------------You can use a reference layer on your line art to make your coloring process easy . The main purpose of the reference layer is to help you to color inside the referred lines .
First create a new raster layer below the line art folder .
You can set a single layer as a reference layer or even the whole folder . Here I want the whole folder to be set as a reference layer , to do that make you're on the folder which you want to set as reference layer then click on the “reference layer” available in the layer function.
Now select the pen tool which you use for flat coloring. I use default available G-pen .Now go to pen setting > anti flow > enable [do not cross reference layer ] this will make sure that the colors do not exit the referred line .
Now when we color as you can see it's not exiting the referred lineart making the process much easier .
[Note: Even when you use the “fill tool” to color the flats, just make sure to keep the settings to the reference layer so that it will refer to lineart .]
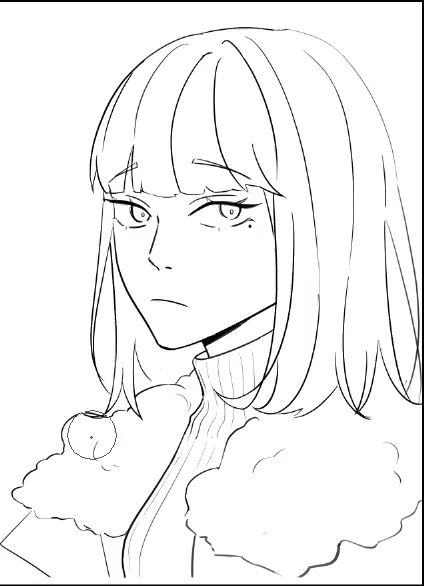
I usually have 3 layers for flats . one layer for skin , another one for hair and clothing and last one for the background Now I’ll put them all in a folder and name it .
RESULT :
Once I'm done with the flat coloring I'll remove the reference layer from the lineart folder and instead set it to "lock".
Lock - When you set a layer or folder in lock you cannot make any changes to that layer/folder . You can makes changes only when you disable it .
------------------- clipping has many benefits . when you clip to layer below anything you draw on the layer will not exit the lane of the below layer . This is really useful when you want to color without worrying about color going out of the flats .
For that I'll first create a new raster layer on top of the flat color folder and then click on the “ clip to layer below “ icon . you can see the red line in the layer indicating that you have successfully clipped it to the layer below .
Now I change the blending mode of the clipped layer
BLENDING MODE :
A blending mode is an effect you can add to a layer which will blend with the colors on lower layers as a result you will get a new blended color
You can access blending modes through the layer window . There are many blending modes but I use very few of them .
I'll start from the shadows . For shadows I use “multiply” blending mode .
It multiplies the colors of the blending layer and the base layers. After blending, the colors are darker than the originals. Which is perfect for coloring shadows , I usually choose my color for shadow according to the mood and situation of the story taking place in , here the situation takes place during night so I will be using cooler colors like blue. I will do this exact thing for all the panels
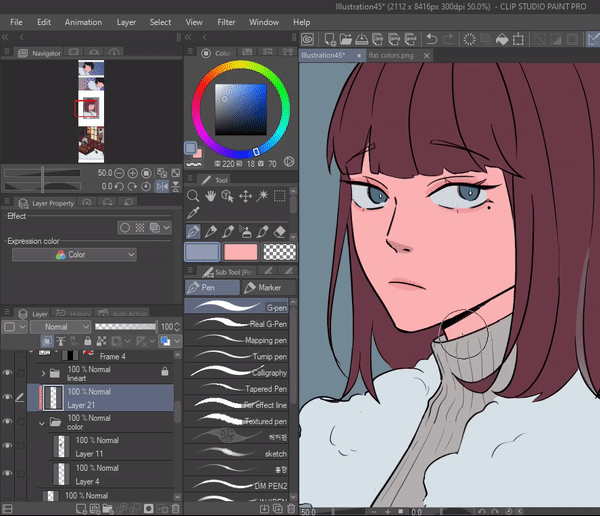
RESULT:
I again create a “multiply layer” above other layers to create a night effect. For that I use a gradient tool and select two cool colors like blue and purple and apply it on every panel and lower the opacity of the layer and erase out the areas where I want the light effect . I repeat this process for every panel
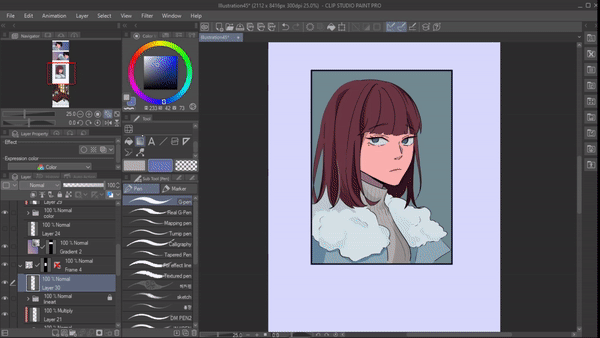
RESULT:
-------------My final step is to add some glow . I have already decided from where I want my light source to hit so according to that I’ll draw the glows .I usually use G-pen and air brush to apply glow effect
RESULT:
These are the main layers and functions I use for creating . After this I'll just some more details and end it with speech bubbles .
END Result :
--------------------------------------------------------------------------------------------------------------------
BONUS:
As a bonus I will talk about some really useful functions and features that I couldn’t mention above
Two panes :
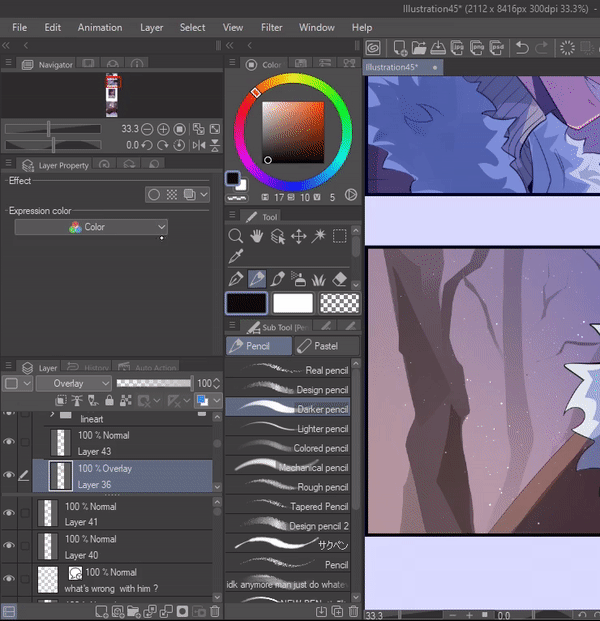
the show layer in 2 panes which divides the layer palette and displays the layers in 2 panes . This feature is useful when we have too many layers and we want to jump back and front between two layers. Now I can work on the flat color layer and lineart layer without scrolling up and down making the process faster .
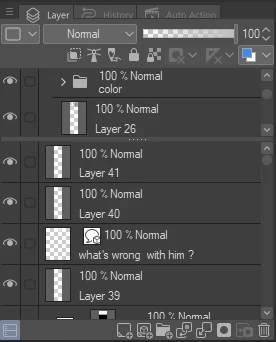
Search layer :
For example let's say that you have a line that you want to erase but since there are so many layers finding that one particular line will be hard . In that case we can just go to “operation > search layer” and select the area where the line is , if you notice the layer palette it will automatically lead you to the layer that line belongs to .
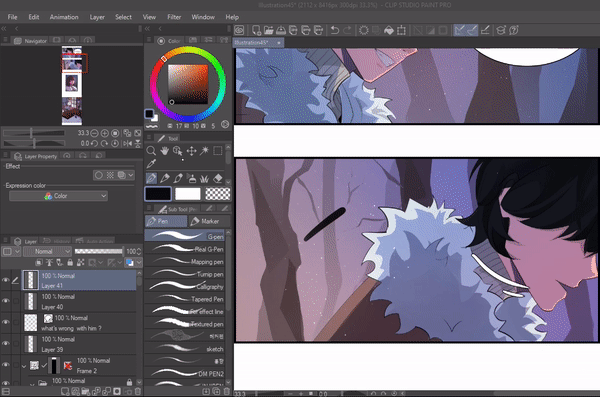
Search layer :
To access this search layer you have to first enable it by going to Window[menu] > Search layer . Using feature you can look up a same type of layers in a single layer palette
---------------------------------------------------------------------------------------------------------And that is all for this tutorial . Hope you guys find it useful


留言