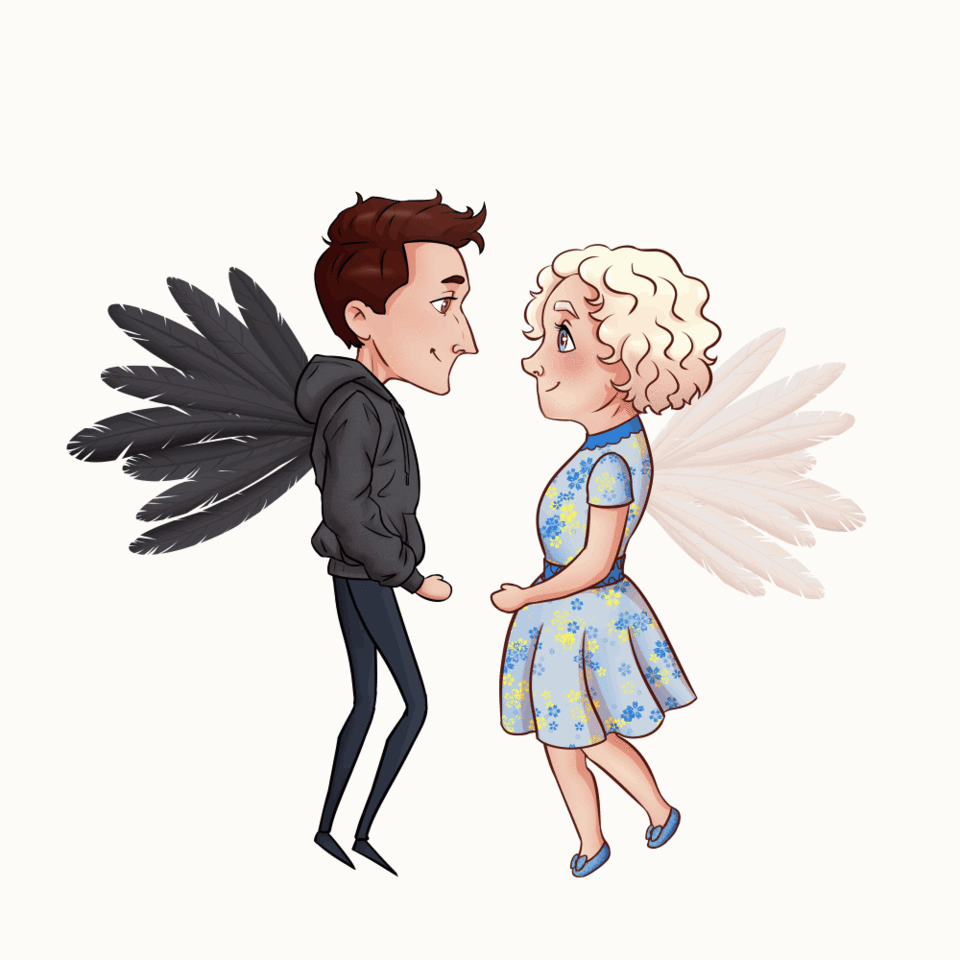
Animation for beginners in CSP using keyframes
Introduction
Hello everyone! I’m kuramoriz. In this tutorial I will show you how to create a simple animation in Clip Studio Paint using keyframes.
I hope this tutorial will help you create your own animations!
Video tutorial
You can watch the video tutorial in English here:
The video has English subtitles for your convenience. You can also enable automatic translation of subtitles into your language.
Animation that we will make in the end

Two ways to animate
Usually in 2d animation the artist has to draw manually frame by frame. And for a beginner who has never tried to animate something, it can be difficult. Just imagine: manually drawing 24 frames to get 1 second of animation!

I'll show you how to make a simple animation where you don't need to draw every frame, Clip Studio Paint will do some of the work for us! To do this, we will make animation using keyframes.
What is keyframe animation
Keyframe animation is when we tell Clip Studio Paint how an object should be positioned on one of the frames and how it should be positioned (or, in general, how it should be transformed) on one of the following frames, and everything in between is created automatically by the program.
Types of transformations in keyframe animation
We can perform different types of transformations, such as:
1. Changing position:

2. Changing size:

3. Rotating and changing the center point of rotation:

4. Changing transparency:

And, of course, we can combine them all:

The transformation in keyframe mode applies to the entire layer, so if we want to animate several objects, then they need to be placed on different layers.
Step by step process
Let me show you how you can create animation using keyframes in Clip Studio Paint.
First, you need to draw an image and prepare it a little.
As you can see in the screenshot above, I have a separate folder for the boy and a separate folder for the girl. You need to place each object that will move on a different layer. For example, I have her hand, dress, legs, eye, head and wings on separate layers. You need to draw even those parts of the image that are usually not visible in a static image, for example, behind the hand.
There are two ways to go further. The first way is to create a new animation by using the menu File-> New, and then choose Animation, and copy all your objects to a new file.
But I will create an animation right inside my original file. To do this, simply turn on the timeline in the menu Windows -> Timeline. Then click on the “New timeline” button. See the image below:
In the pop-up window, I set the frame rate to 24 frames per second and Playback time to 24 frames. I’m using Clip Studio Paint PRO, so I’m limited to 24 frames, but that is enough for creating simple gifs. If you want to have no limits, you should use Clip Studio Paint EX.
Let's start animating the girl. The first thing to do is to select our folder and click “Enable keyframes on this layer”.
Notice that now we can't draw on any layer inside this folder. That is because now we can only use the “Object” tool.
While on the first frame, click the "Add keyframe" button:
Then select any other frame and use the “Object” tool to move all the layers in this folder a little higher. New keyframe will be added automatically.
I want the girl to be in the same position on the last frame as she is on the first one. Right click on the first keyframe, choose Copy, right click on the last frame, choose Paste.
If you click through the frames, you will see that Clip Studio Paint added intermediate frames, and now the girl moves smoothly. Let's click "Play" and see!

Now let’s animate her wings. I select the layer with the wings (you can do this on the timeline or in the window with layers), then I go to the first frame and add a keyframe. I will rotate the wings in the next frames, so it’s important to set the rotation point in the first frame. We just need to move this little cross to the point around which her wings will rotate.
Then go to another frame and rotate the wings a little.
Repeat this: go to another frame and rotate the wings.
Don’t forget that you can copy keyframes one by one or several at once: select them with the mouse, right mouse button, copy, right mouse button, paste. Now the girl is waving her wings. Play animation to see the result! It’s very easy, right? :)

Similarly, I will add animation for other parts of the image: let her arms move up and down slightly, and let her legs move a little.

If you don't like the result, you can choose any keyframe from the timeline and edit the position of your image on current layer.
You can also move the keyframes themselves too, just grab them and drag.
You can delete keyframes by right-clicking on one of them (or you can select several at once) and selecting "Delete".
You can delete all keyframes on the layer by right-clicking on it and selecting “Delete all keyframes”.
Now let's make the girl blink her eyes.
I have two separate layers for opened and closed eyes.
First I need to choose the layer with closed eye and go to the first frame. If you click the “plus” button you will be able to see keyframes for the opacity property.
Keyframes for the opacity are different from the other transformations that we can apply to the layer. We can set opacity value in the Tool property palette or in the Layer palette. I set the opacity of the closed eye layer to 0.
For the open eye layer I go to the first frame too, the opacity there should be already set to 100, so I should click on the “Add keyframe” button.
Now let's say we go to frame 8, I want her to close her eye here. For that I need to change the opacity for the layer with open eye to 0, and for the layer with closed eye to 100. We will see that her eye is closed on this frame.
After that we need her to open her eye again a few frames later, so I just create new keyframes on frame 10 for opened and closed eye layers. If we play this animation, the girl will blink her eye, but since the opacity property changes smoothly, it doesn't look good.

Maybe you need to take a closer (and slower) look to see how the transparency of one layer flows into another:

To fix it, let's change the keyframe interpolation type. Select all keyframes on layer, right click and choose “Switch keyframe to hold interpolation”
In most cases, the default smooth interpolation looks prettier and more natural, but for this eye animation, hold interpolation is more suitable.
Now the change of opacity will be instant:

After that I do a similar animation for the boy.
Export animation
To save our animation, click File -> Export animation. Usually you want to export it as a GIF file or as a video file.
I will export it as a GIF.
This is the animation I got in the end:

You can also add a background on a separate layer to make the gif look even more interesting.

I hope this tutorial will help you make your own animation. Thank you for reading!


Kommentar