10 Tips of Blending Mode

-
 MVP ◆This user has contributed greatly to the management of the community, by posting many great responses to the questions asked. Once every three months, MVPs are determined based on the points earned during that period and will be recognized accordingly.
 -
 New Valuable Player (NVP) ◆These are the next-best contributors to the community after MVPs. This is awarded to users who have not yet won an MVP award, based on the number of points they have earned.
 -
 Official Expert ◆Chosen out of all MVP awardees, who are already proof of excellence, this is a testimony of outstanding correspondence in the community. After careful screening, they are appointed by CELSYS and assume their position.Note: Formally called “Evangelists”
 -
 CELSYS official moderators ◆Moderators are official CELSYS staff members who are fluent in Japanese as well as various other languages. As moderators are not experts on software or creative work, they will not be able to directly answer your questions. However, moderators will provide communication and language support to ensure that everyone can smoothly communicate with each other.
 -
 CELSYS officialThis is the official administrator account.
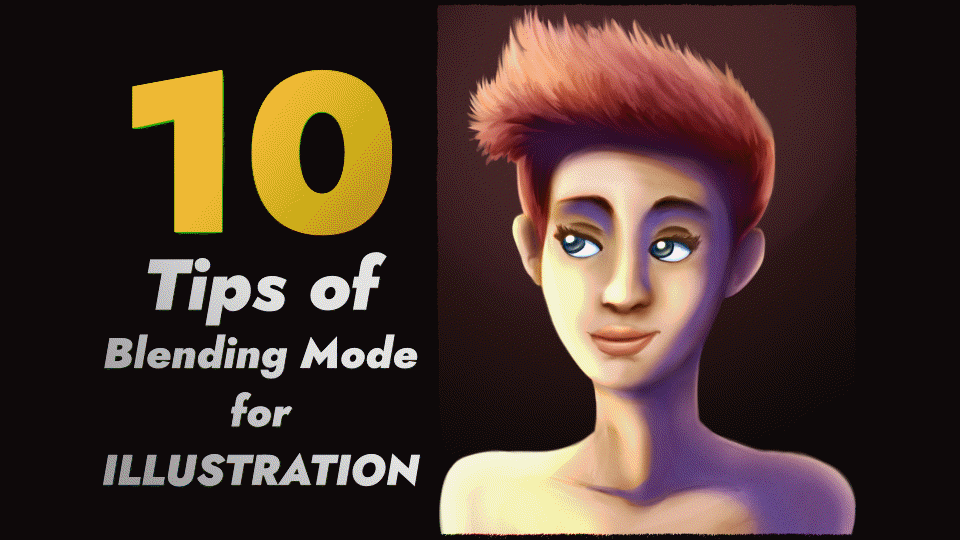
Hello and welcome to a new tip of Clip Studio Paint, dedicated to our creations and today I will explain about the use of Blending Modes
In this theme of the month, we will create a variety of results thanks to this function. We start by talking about what the fusion modes are all about and then apply that technique to get good results
YouTube Video Tutorial
I want to show the videotutorial that I prepared for better experience
Introduction about blending modes
The fusion modes are the result of combining images. Used more in photography, there are classifications in these functions: Darken modes, Lighten modes, Contrast modes and Component modes
Here are the results of the fusion modes: Apple painting (A) with the rainbow (B) and the final result (C)
1. Skin Change
1. Go to Selection and create a selection area
2. With a new layer of selection, paint with the brush the area for select
3. Create a Folder Layer > Masking > And create a layer to fill the color skin
4. Now with blends modes, select 'Multiply' > Add adjustment layer of curve > Details the masking
Variation of skin color

2. Glow + Sun
1. Duplicate the base > Gaussian Blur > Mode: Add > Low the opacity
2. Create the layer for the sun > Paint with airbrush > Mode: Add
3. Black and White
1. Add the adjustment layer HSL > Saturation in 0% > Mode: Color
EXTRA TIP
Add the curve layer and experiment the result
4. RGB Shift
1. Duplicate the base with a layer with mode Multiply and fill the color > Create separately group for Red, Green and Blue
2. For the group layers > Mode: Lighten
5. Texturize
1. Add a texture from the assets > Mode: Overlay with opacity of 40%
2. Below the base layer duplicate the same texture with mode Multiply > Change the paper color > Low the opacity of the base layer
6. Gradient Map
1. Add the gradient map layer and change the colors
2. Select the mode: Soft Light or Color
7. Old TV Look
1. Duplicate the base and add the reverse gradient
2. Mode: Multiply with 64% opacity > Duplicate with mode: Screen with 12% opacity > Duplicate with mode: Color
3. Add directional blur to the layers
EXTRA TIP
You can create black strips and with mode Color
8. Make-up
1. Create a layer and paint the area with the color for the make-up
2. Duplicate with mode Multiply and with mode Add (Glow)
EXTRA TIP
Select the layers and 'Replace color' for get another result
9. Psychedelic Effect
1. Add the curve adjustment layer and modify > Mode: Pin Light
2. Create a layer to paint color and with mode: Color
10. Glitch Effect
1. Duplicate 2 layer of the base
2. Mode: Linear Light and Directional Blur
3 Mode: Pin light and Directional Blur and change the hue
Thanks for getting here and I'm glad you read the tutorial and I hope it was useful and practical.
Users who liked this post


Comment