How to make a PIXEL ART Animation in Clip Studio PAINT
Hello! In this article I will teach you how to make a PIXEL ART Animation in Clip Studio Paint, we will make an animation cycle of a LO-FI style scene.
Remember to check out my other Clip Studio Paint Tips where you will surely learn a lot.
Pixel Art Animation that we will make
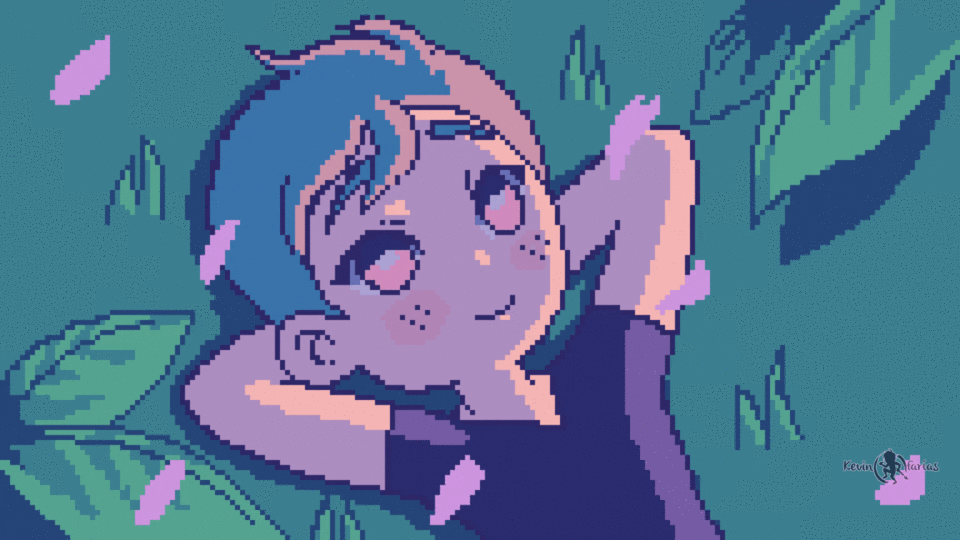
This time we will make a Pixel Art style animation that could perfectly be used for LO-FI musical animations. We will animate in a simple way a character lying on the grass at sunset interacting with other elements.
Let's go with the super tutorial and remember that you can activate the subtitles in your language, if you can't find it, leave me a comment and I will gladly add new subtitles in your language.
Tutorial: PIXEL ART Animation in Clip Studio Paint
What did you think of the tutorial?
We saw step by step how to make a pixel art style animation in an easy and simple way.
Step by step on how to make a Pixel Art animation
Now I invite you to review what you have learned, step by step, using a guide that will support what you learned in the video tutorial.
1. Pixel Art Animation Concept
This is the animation idea that I will do in Pixel Art style.
2. Creating the Project for Pixel Art Animation
File - New and we create an Illustration project with the following characteristics:
And we have created our project:
Then we go to the menu: View - Grid
At first it will look like this:
Let's go back to View - Ruler/Grid Settings:
And in the settings window we leave the following values and click accept:
And we have our project ready to start drawing and animating, don't forget to go to File - Save and save your project.
And we incorporate the guide drawing to animate on this basis:
We will use this layer as a sketch, so we activate Layer Color and lower the opacity to 50%.
3. Pixel Art style animation
I'll leave you some great brushes to draw in pixel art style.
In my case I'll use the Pen tool with the Pen G sub-tool, leaving the smoothing to a minimum:
We begin to draw the character's body, everything that will not have movement, in a raster layer outside the created animation folder.
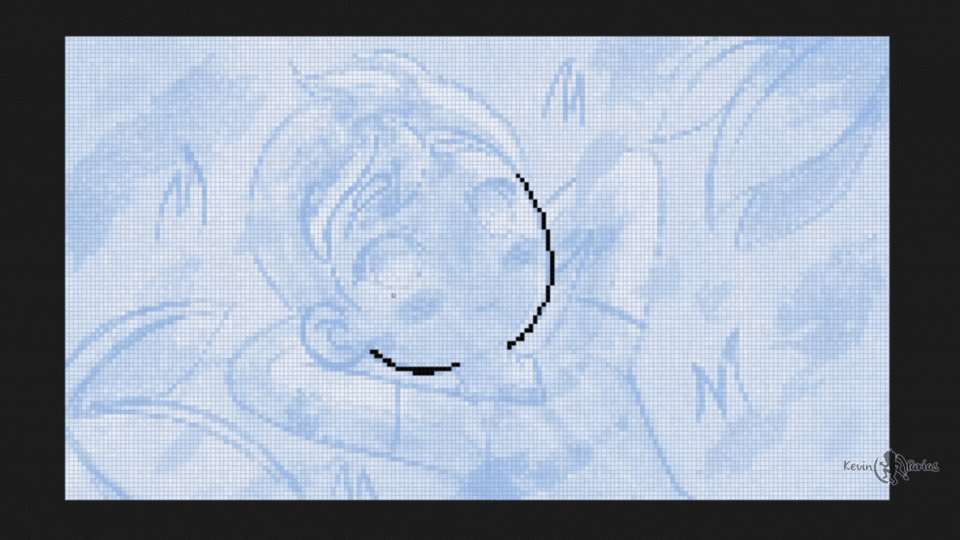
Now we animate the character's hair in the wind, using only 4 drawings from the animation folder, we delete the frames we don't use.
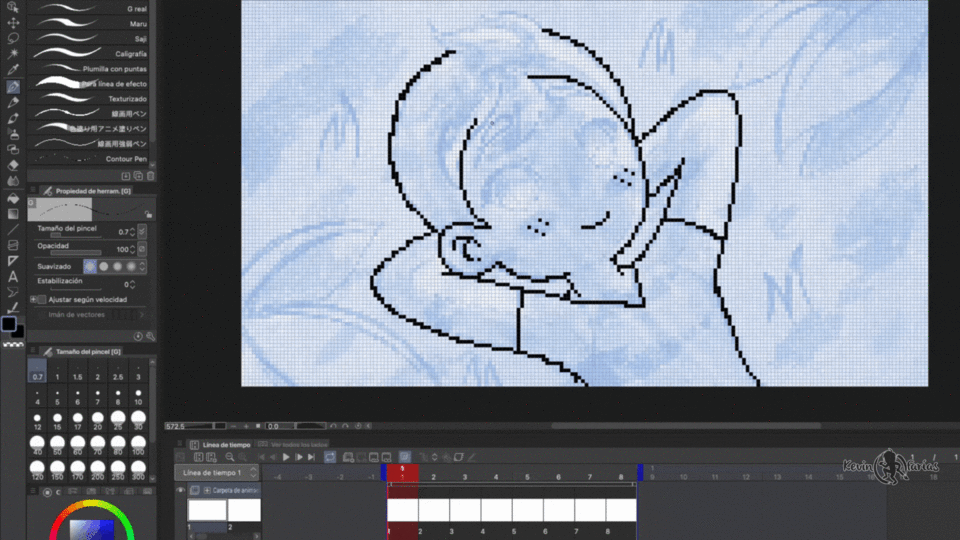
And this is the hair animation we have achieved with only 4 drawings, remember that our animation will be a cycle.
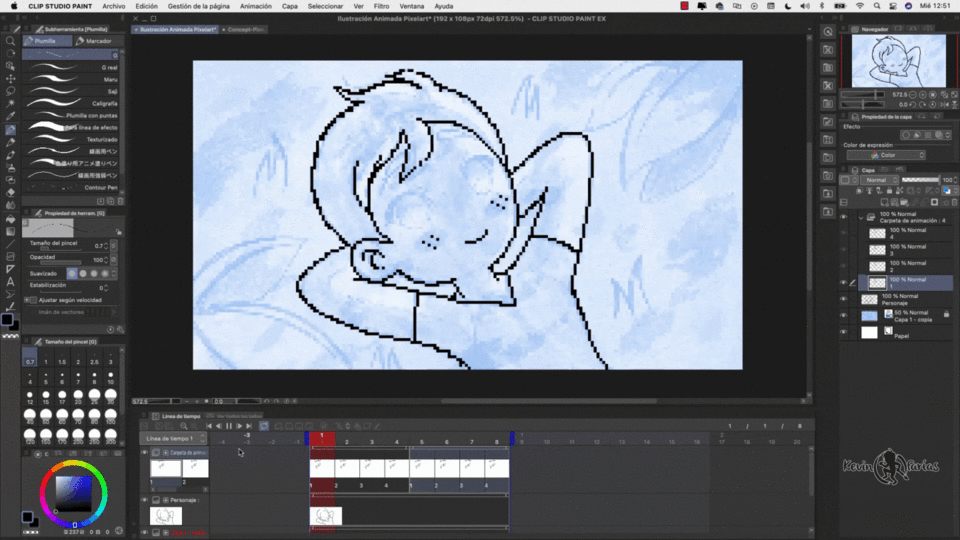
We added the eye animation in another animation folder, making 3 different drawings: open eyes, closed eyes and half-open eyes.
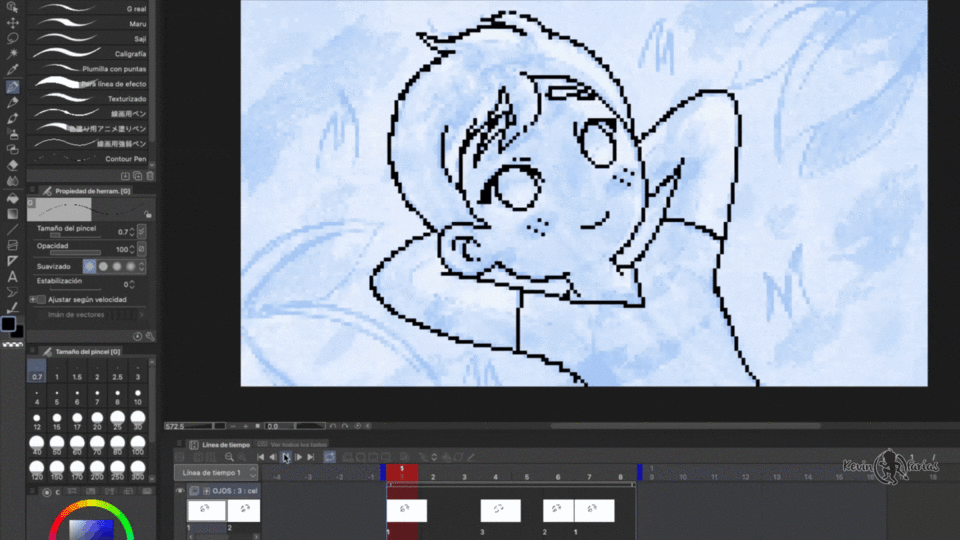
And we do the same with the background elements, we create a new animation folder and animate 4 drawings.
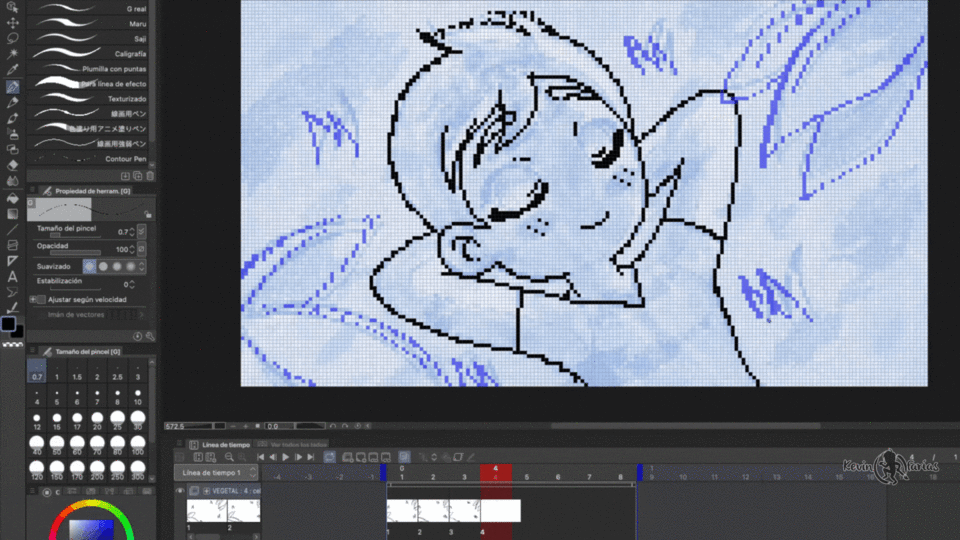
Achieving the following result:
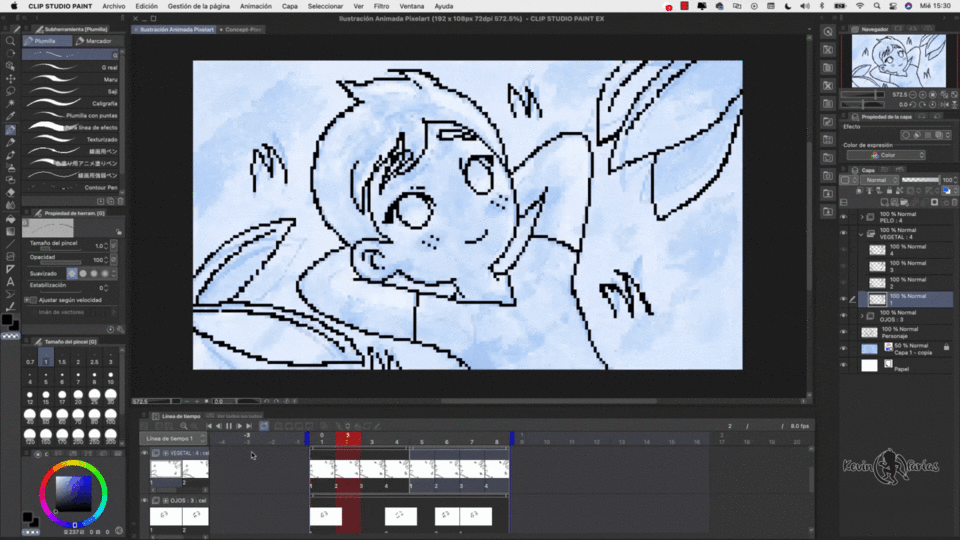
4. Animation Color
First we are going to paint the character's body without movement, to do this we activate the fill tool, in the subtool we activate Refer to other layers and in Tool Properties we deactivate Area Scaling.
And we create a new raster layer below the character body line layer and name it: base color.
Achieving the following result for the moment:
5. Color Animation of hair, eyes and animated background
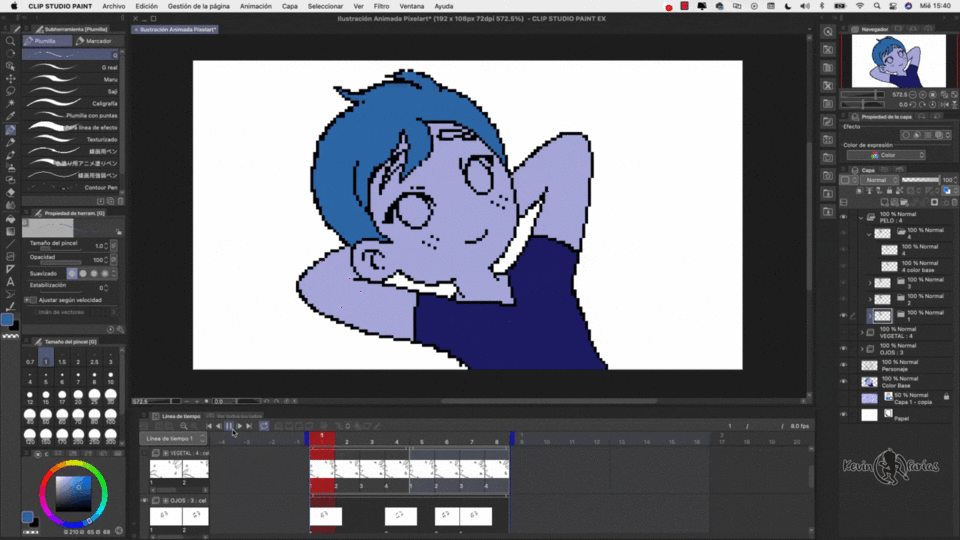
With the same Pen tool we can paint the color of the hair animation, remember to create a folder with the same name as the frame and the layer that has the hairline, add it inside this new folder, so the timeline will read this created folder as a frame, where we can add the number of layers we want.
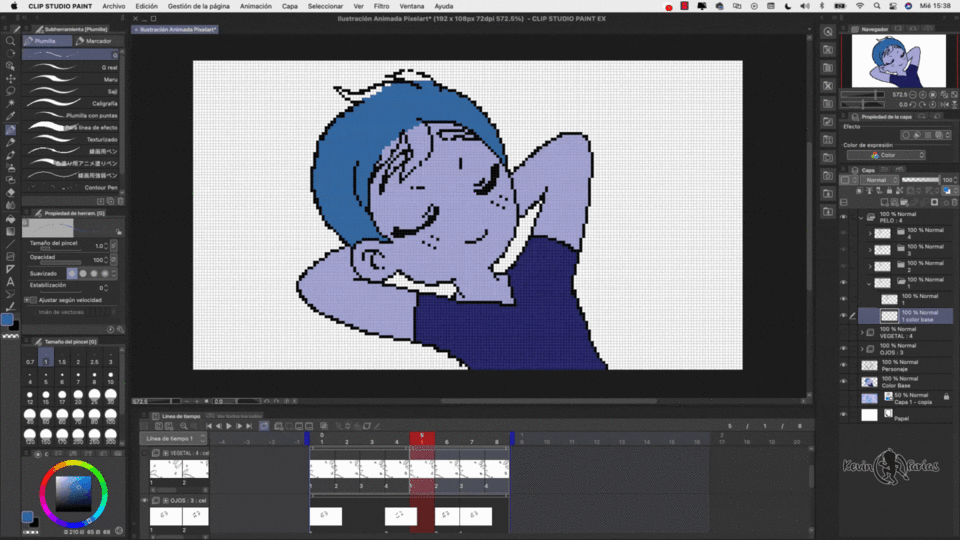
And for the moment we have the following result, it's going well, right? :)
6. Background Color
We create a new layer called Background, Grass or Turf and go to Edit - Fill, and paint the background with color.
7. Brightness and shadows of animation
We will create new layers above the base color layers, we will call them shadow color or highlights and we will activate the option: Adjust to Bottom Layer, so as not to worry if we go outside the color.
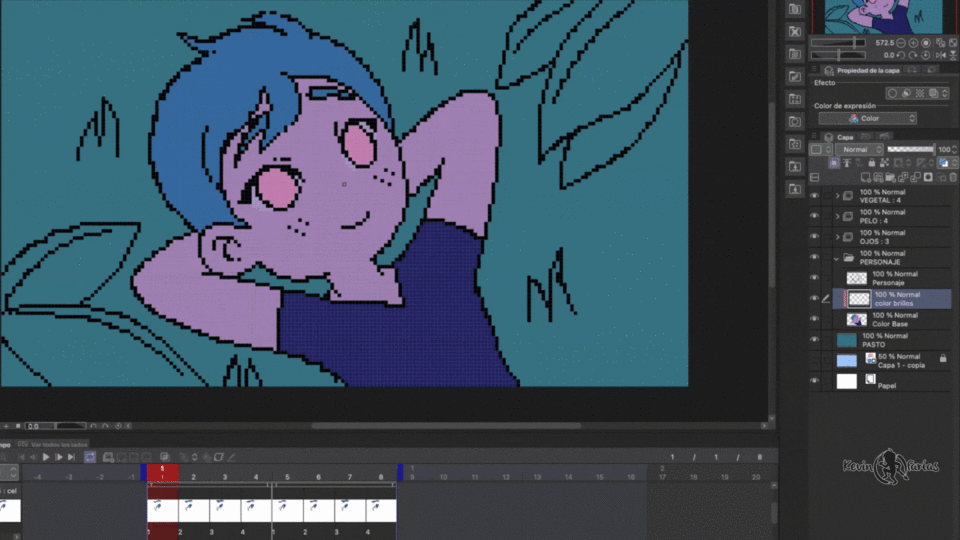
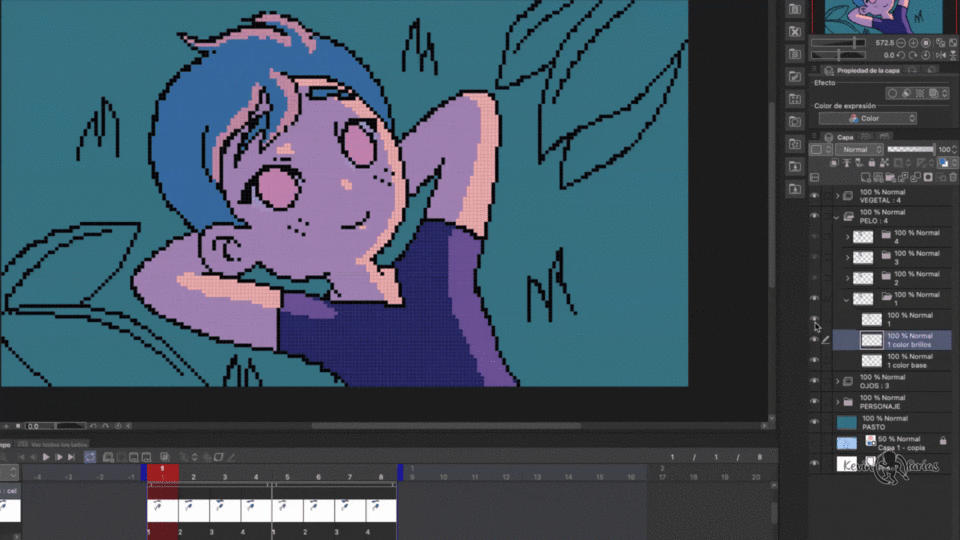
And for the moment we have the following result:
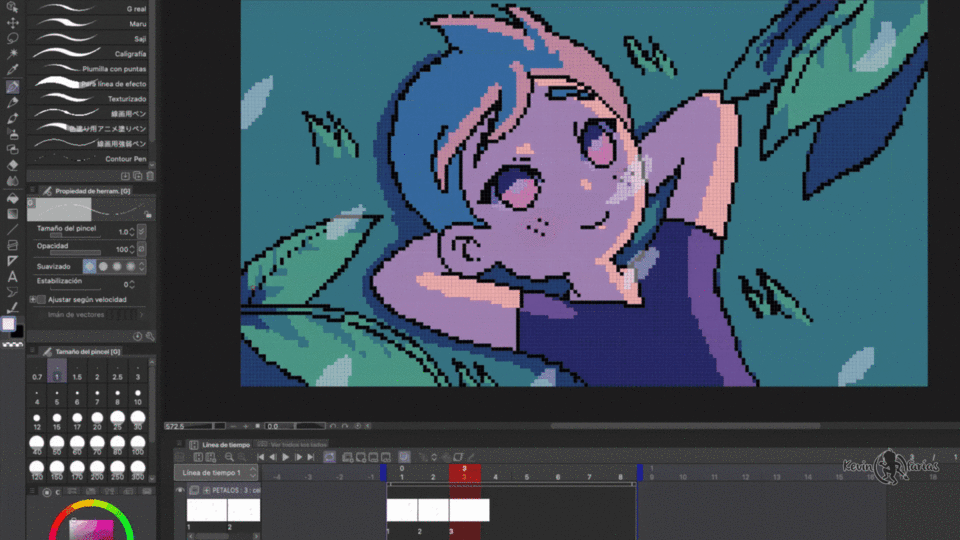
8. Petal animation
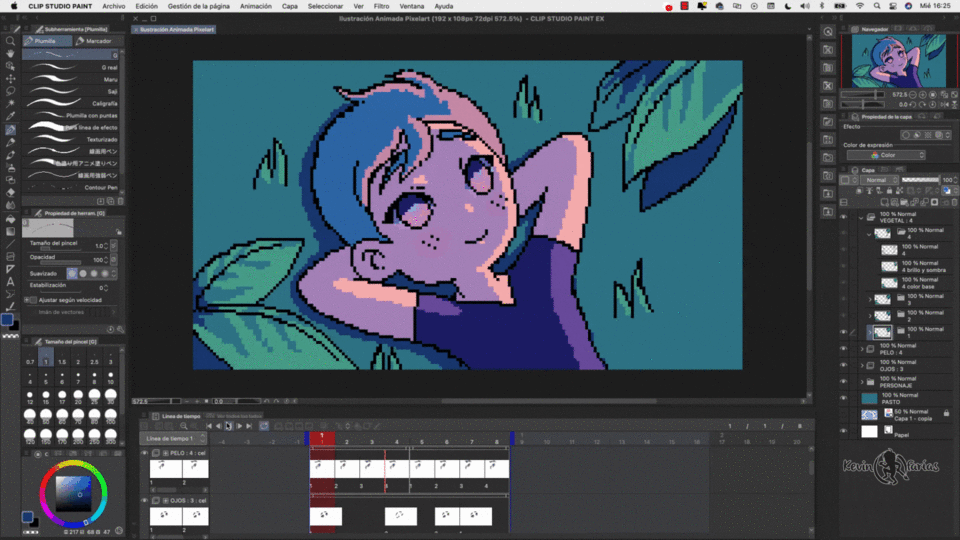
Next we will create a new animation to further enhance our work, we will create a new animation folder and make 4 drawings for the movement of petals that will appear over the scene.
9. Border color
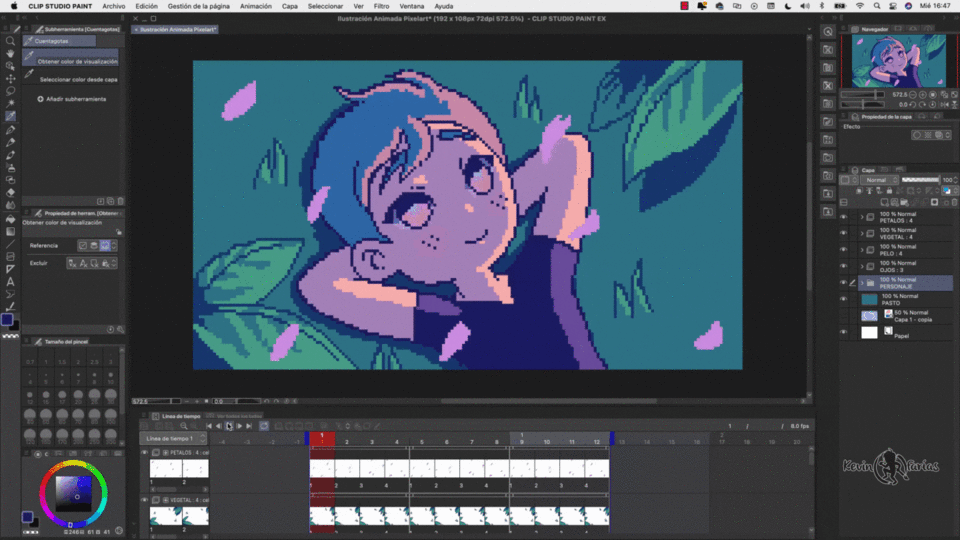
Now to make our animation even prettier we are going to paint the colored edges of all the elements in the scene. To do this we will select all the layers where the edges of all the elements are and activate the option: Lock transparent pixels.
Then we go to Edit - Fill, to paint the edges of the leaves, for example:
See? It looks even better :)
And this is what we have achieved with this simple but cute animation.
10. Export your .gif animation
Now we will export our pixel art animation as a gif, to do this we go to File - Export Animation - Animated GIF:
In the settings we leave it at the size with which we initially created the project and click accept:
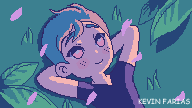
And this is the original size gif animation in which we worked on our project:
11. Export your Full HD .gif animation
The first thing we need to do is scale our project without losing quality, and you will notice that by doing the project this way there will be no problem.
Go to Edit - Change image resolution:
This is the original size of the project:
And just by adding the number 0 to both the width and height we can increase the size of the project, the scale automatically changes to 10, we leave the resolution at 72 and we click accept:
And we have a 1920 x 1080 pixel project without losing quality:
Let's go to File - Export Animation - Animated GIF:
Final animation in PIXEL ART style

Music Chill Lofi Beats to Study/Read/Work/Draw/Animate/Relax
And I used this animation for my new musical animations channel :)
I hope this article has been useful to you :)
I found it very entertaining to do it and explain it step by step.
I send you my regards, I hope you are doing well and I'll see you in the next TIP.


Comment