Chibi in a simple way
Introduction
Hi everyone! I’m Mary and I’m back with a new tutorial. Today I want to go over the process of stylizing a chibi and explaining more about these squishy and fluffy characters.
So, what is a chibi?
Something to eat? No! This is an artstyle, usually cute, unique and marketable. Frequently used in stickers and things relatable. C'mon, who never bought something that you saw and screamed "OH. MY. GOD. This is so cute! I NEED it!”
Like me and my chubby unicorn table lamp:
The anatomy is different, and it's a lot more stylized. Although this type of style is not THAT difficult in comparison with a full realistic body, it needs attention in some points I'll talk about later.
So let's follow my tutorial. Hope you enjoy it!
Let's make them mini
There's more than one type of chibi, so we can have different proportions, but most part of the time we consider them 2 or 3 heads tall in comparison to an adult person (6-8 heads tall), and that's what makes them cute and appealing.
3 head = 1 head : 1 torso : 1 leg
2 head = 1 head : 1/2 torso : 1/2 leg
>>> simpler, cuter, less details
Simplification is important in this style. The details usually come from the complex visual, clothes, hair, but the body stays simple. Instead, it can look a little uncanny when it looks too realistic for the exaggerated proportions.
Don’t worry, it doesn't have to be realistic. Exaggerate! That’s what makes the character unique.
Important features
When you do a chibi version of a character, you have to select the most important features of them. Thick eyebrows, pointed ears, horns, or anything else that makes up the visual identity would reflect in the chibi and make them recognizable.
Head
Like the popular anime style, the head of a chibi is drawn very big. It makes the character look cuter and the focus goes to the facial expressions (often highlighted in anime).
For that, we minimize the nose, mouth, and the eyes become bigger, taking up more space on the face — putting aside realistic human proportions rules.
Following this concept, reallocate the face a bit lower and shortening the distances of each facial feature make the face cuter.
>>>> Checks!
Can assume different forms. More angular, curved. Usually soft.
>>>> Neck!
I think It’s important to make the neck smaller and thinner, because it makes them cuter, when a realistic neck contrasts too much with a simple stylized face. The shoulders are also smaller.
Torso
There is not much to say about this part, precisely because it is simple. Make them short, and keep it simple. The torso doesn't have too many details here.
The body can be like a rectangle, a bean, a triangle, it depends on what suits better on your character. Like, for a cute visual, curved lines, chubby arms and legs fit well; for a strength visual, angled lines, sharped forms, like a triangle, are better.
Hands and feet
Simplifying: shorter -> less details
For chibis, you don’t have to draw the fingers or toes at all, you can prefer to draw them like simple forms or just a short form of these parts.
Here some examples:
Stylezing — personal tips
Chibis can have different styles. Detailed costumes, colored hair, or just a simple character you did for a meme. There's no limits.
Make the eyes bigger — or don’t. They can be little dots too.
The shapes can assume a lot of different forms. A chibi usually is cute because of their proportions, but a thick lineart and angular shapes make it less cute. The same for the opposite. The feeling you get depends on the composition.
It’s a stylistic choice, not a rule. Got it?
Here we can see different types of a chibi.
1 Curved shapes, big eyes, chunky body;
2 Angled shapes, sharp eyes and chunky body as the 1.
I personally love curved lines, big eyes and thick line art, as well as I usually draw 3 head proportion chibi — and it’s a personal preference. You can create whatever you want.
My own chibi
To finish up, I’ll do one of these cute characters
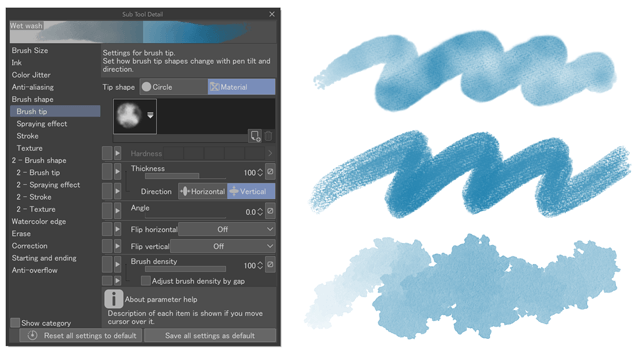
~brushes i used (if you’re interested in)
the brush: 塗料普通 平 from this pack:
OK, let’s go!
This step I'm not going to explain because this isn't the focus of this tutorial, but if you want a tutorial about painting, just put it in the comments!
Here we have the sketch, the lineart and the base colors:
The final touches and some sparkles:
You can see I decided to include small feet, simple hands, pointed ears and big eyes. I love chibis like this! She’s so cute!
And that’s it! Thank you for reading until the end!
Thank you!
Aaaand we're at the end of my tutorial, congrats! ٩(。•́‿•̀。)۶
However there aren't rules in art, these are just some tips largely based on my own personal experience, practice and preferences, but I hope you’ve found my explanation helpful even a bit and useful to you in your own style!
Thank you for your attention and time. Have fun with your art!
I'll gladly hear out any suggestion in the comments (´。• ᵕ •。`) ♡
You can check my stuff at @artofmaryg on Twitter and Insta.
- Mary


Comment