Isometric drawing or isometric view, easily mastered.
In this tutorial I will show you the easiest way to implement the isometric perspective and with these bases you will be able to draw any perspective that you imagine.
Although the base of the isometric perspective is applied for technical drawing, it is also possible to apply it for isometric drawing, since in this way we have a better represented representation of how we see in real life.
With this technique you will not only be able to learn to use the real isometric perspective, but you will also be able to choose any angle that you need to make your drawing or your comic or manga panel. This is the easiest way I work when it comes to making my comics.
The key to this technique lies in the use of an Asceta tool that belongs to the "reubenlara" user and is providing it free of charge and to which I am very grateful for this useful tool.
I advise you before starting to draw, think about the perspective that the shot will have, what will be the setting where the characters will be, then use this technique and finally add your characters to the panel.
I hope this tutorial will help you and make your work process more efficient.
Like if you liked this tutorial :)
Types of axonometric perspective
The Isometric perspective is part of the Axonometric System, which is responsible for projecting geometric elements in 3D within a plane. The projections or drawings made by this system are called "Perspectives". To do this, it uses 3 orthogonal reference axes (x, y, z). In a very broad sense, the axonometric perspective has two ways of representing these objects, the first respecting the measurements of each side of the object and the second adapting to the way the human eye sees, in perspective, for this it uses a "Reduction Factor" .
The axonometric perspective means "to measure along the axis", it is divided into 3 types of perspectives to represent the object within the plane, the orthogonal axonometric, the oblique axonometric and the conic, according to the representation system used.
Isometric orthogonal perspective
Each of this type of perspective has differences, which lie in the angles of its axes and in the reduction factor of each one. The isometric term etymologically means: "equal to time", and in Spanish "equal measure".
The angles in the isometric perspective must measure 120 ° and the dimensions parallel to these axes are measured on the same scale. One of the disadvantages of this type of perspective is that it does not reflect the apparent decrease in size, which is what we perceive when we see, for this we must apply a reduction factor.

Easily apply isometric perspective to our drawings
Although this sounds very complicated and scary, I will show you the easiest way where you will not have to worry about the reduction factor, if the angles are correct or not, just enjoy creating and capturing what you have in mind.
Pao 1: Download our template cube
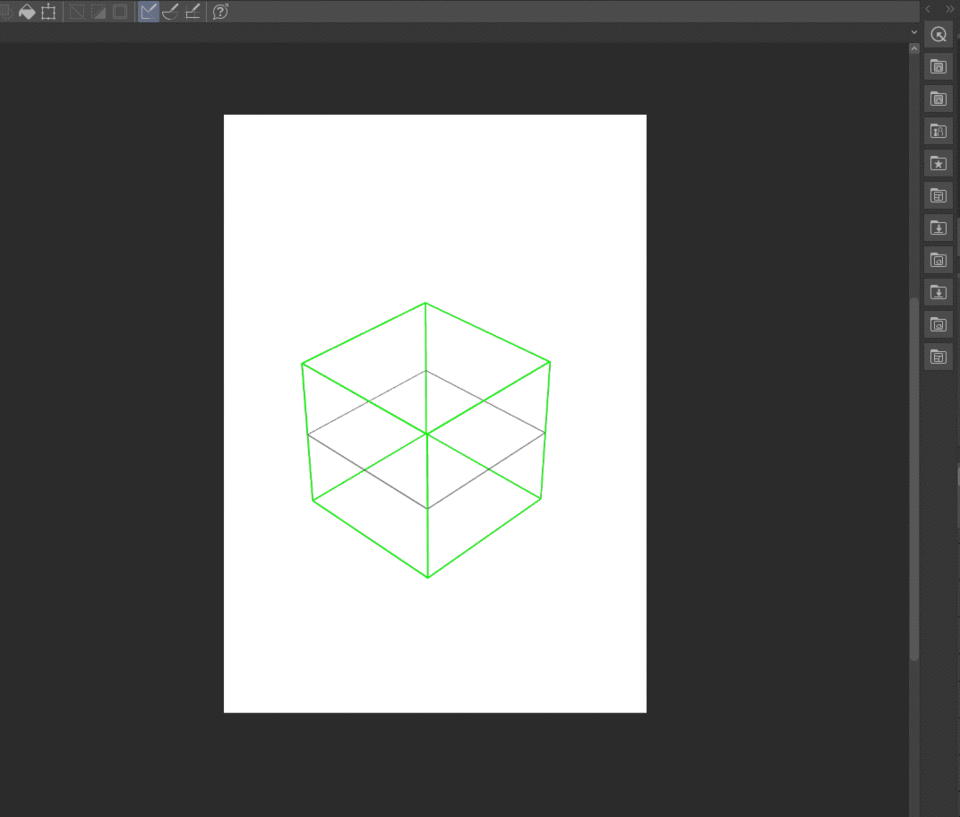
First, we must download a 3D cube preferably that only has the lines. This cube will be our reference of the shot or perspective that we want to achieve. I remind you that when we read the script or imagine our drawing, we think about the pose, the characters, but let me tell you that from comic experience, think about the stage, the shot, from what angle we will take the shot.
The cube will help us choose which shot we want to draw.
Cube in ASSETS: https://assets.clip-studio.com/en-us/detail?id=1759326
Thank you "reubenlara" for your material.
Step 2: We identify horizon and vanishing points
Now we must identify how many vanishing points our perspective has and with that we will identify where the horizon is.
What we must do is add lines on the edges of our cube, lengthening them enough to form vertices, these intersection points are our vanishing points, the horizon is at the junction of our two horizontal vertices.

Step 3: Add perspective ruler layer
Since we chose our shot with the cube, we must add a perspective ruler layer, usually when we use this technique 3 vanishing points are used, but you will see that it is very easy to accommodate everything.
Since we added our perspective ruler layer, we must align the lines of the ruler with the edges of the cube, respecting which vanishing point it belongs to.

Step 4: guide lines or mesh
Now we must make our framework, which will guide us when starting to create our drawing or illustration. With the "line" sub tool, we will draw lines across the width, width and upper or lower perspective as we have previously decided, until we form a kind of mesh. This point is important, since all these lines will prevent us from taking a wrong perspective.

Step 5: time to draw
Let's make the sketch, I recommend that you turn off the perspective ruler tool and be guided by our mesh. Choose your tool that you like the most to make your sketch and enjoy creating your scene, help yourself with your framework; You decide what to create, from a castle, a mansion or the interior of a cafeteria, just enjoy each stroke.

Step 6: Final touches: lineart, details and shadows
Now we only have to ink, apply the shadows, but that is already the subject of another tutorial. However, I show you how the final work is left.
I hope I've helped.
If you have any questions contact me here or through one of my social networks, I am like balamcomic.


Comment