
-Intro-
Hello Yoru here!
This will be my first time making a tutorial, I hope you can learn a thing or two from it!
I will quickly go over the basics pf drawing chibis before explaining ways to find the style perfect for you by using different kinds of lineart and finally different ways to stylize your chibis using different coloring methods.
-Basic Human Anatomy-
Before we go into the process of breaking down a character into simple shapes, let’s look back at basic human anatomy.
Now I'm sure you've probably have seen this kind of tutorial a lot, and there are a lot of tutorials that explain it in more details, but let's go through it really quickly to refresh your memory!
Here, I have a sketch of a human body. Typically, the average adult human body would be around 7 to 7.5 heads tall. About 2 heads down from the top is the chest area, 3 heads down is the navel, etc.
However, chibis are different as they simplify these different parts to make them smaller
As you can see from the picture above, a normal chibi ignores the 7 heads measurement, and instead its typically around 3 heads tall. In between a normal human anatomy and chibi anatomy, we have what I like to call “semi-chibi”, which is also simplified anatomy, but it follows regular human anatomy more closely than a regular chibi. But if you look closely, despite the anatomy being vastly different, there are still similarities which prevent the semi-chibi and chibi from looking jarring. Meaning while they do deviate from traditional anatomy, they still retain the basic shapes enough to still look human. Therefore, we have to learn how to properly break down different parts of the body into its most basic shapes before we can learn how to draw chibis.
-How to Simplify Different Body Parts-
I like to separate the body into different parts: The head, torso, arms, and legs.
There are no specific rules to follow. However, for chibis, we should focus on 2 things. Simplicity and Balance. ‘Simple’ means to break down the different parts and ‘Balance’ is to know which parts to omit so that we don’t overcrowd the chibi.
For starters, let’s break down the head area. If you break it down to its simplest form, the head is a sphere. So start by drawing a sphere and draw the head along it. As chibis tend to simplify things, we can ignore the jawline and make the head round.
For the torso, we can break it down into a cylinder for the neck; two rectangles - one for the chest area (taller) and one for the abdomen (shorter); and finally a hexagon (6 sided shape) for the hip and pelvis area. Now we can combine those shapes and connect the edges of the body together. In the end, the chest and abdomen area look more like a hexagon than the previous rectangle, but that’s okay as we are focusing more on the simplicity of it, thus we can ignore the regular curves of the human body.
Next the limbs. These are slightly more complicated to break down because of the joints that they have, however when drawing a chibi body, we can focus more on the simpleness of it and not follow the usual rule.
For the arms, we can turn the upper and forearm into cylinders; a rectangle for the palm, a cylinder for the thumb, and a smaller rectangle for the fingers. Because we are focusing on ‘simple’, we can ignore the joints and combine the two large cylinders of the forearm, and we can merge together the other 4 fingers. Of course, you can draw each finger separately, but remember that there’s no need to draw the finger joints to keep the balance of the chibi.
Finally, we have the legs. This one is similar to the arms, except that the feet are a trapezium instead of the rectangles of the palm. We can do the same thing we did for the arms and do it for the legs.
Now that we’ve simplified them, we can combine the different parts to make the chibi body!
Make sure to keep the thickness between all the parts consistent!
-Turning a Character Into Chibi-
Let’s turn a character into a chibi! Now you can take out a picture of the character and pose you want to turn into a chibi, or if you’re designing a character like I am, quickly sketch it out. There’s no need for it to be clean as we’re going to turn it into a chibi.
Here we have A-kun, who I will be using for the rest of the tutorial. A-kun may have a lot of different parts to him, but first let’s ignore the clothes and accessories and focus on his pose.
Try to draw the lines of the body similar to the anatomy picture previously. This way we can identify the form and the shapes. You can also create a new layer on top of your character’s pose and draw the lines on top of it to make it easier.
Once you have the base form, separate them once again and using the same method as before, we can easily break down the parts and turn it into a chibi form.
Next, clean up the base and we’ll draw A-kun’s features. Starting from the face.
Eyes are the most expressive part of a chibi. What kind of eyes does your character have? Are they round? Perhaps they’re thin? They are an important part of the character as they can have different expressions based on how you draw them
Just like the other parts of the body, we can also break down the eyes into shapes.
For example, if we break down A-kun’s eyes, they are a rectangular shape. So using the shape as a guide, I’ll create a new layer to draw the eyes, focusing on the straight line of the eyelashes to create that square shape.
This also works for other eye shapes as well, so if you have trouble trying to pin down the expression and feel of the eyes, you can break it down to a basic shape and draw over it! Of course, since chibis can have exaggerated features, you can also draw other expressions (for example: winking) and you don’t need to break down the shape.
Now that we have the eyes, draw it on the base along with the mouth and other facial features.
Let’s move onto the hair. A-kun here has a lot of strands on his hair, and if we draw his hair exactly the way we drew it on the normal style, it will look very crowded. So we should focus less on the details and more on the silhouette of it. Let’s take the bangs for example, his bangs can be simplified into 3 triangles.
Give the hair a thicker volume to bring out a sense of soft and cuteness.
Continuing to the rest of the body, let’s go back to our character and observe.
A-kun has a few things going on, so we should break it down! The trick here is to reduce the amount of information and focus on the most important aspects of the characters. By reducing the amount of details, we can keep the balance of the chibi and bring out the character’s personality by only focusing on the unique features.
Start with the largest parts and the ones that shape the silhouette. For A-kun, we have his horns and his coat. Next, the distinct parts. These parts are smaller but are ones where the characters would feel incomplete without them. In this case, we have the fur on his coat, his boots, his gloves and his corset. Finally, the smallest details which gives the character more personality. In A-kun’s case, it would be the different accessories he has.
(Tip: Always focus on the largers parts first!)
Insert a new layer and use the guides to help you figure where to put everything on the base.
When drawing the different features, you don’t need to follow the character’s design exactly. For example, for the horns, instead of making sure they are exactly the same, I reduce it so that there are only 4 parts instead of the original 7. With the accessories, I merely draw the silhouette and coloring it, ignoring the tiny jewels in it. This way, I can focus on emphasizing the unique features while still retaining the balance and not making it too overly detailed.
And tada! We have finished the sketch! Look at how cute he turned out!
-How to Stylize Your Chibi-
Now to the real part of the tutorial, we’ll learn how to stylize your chibis! There are different ways to make your chibis distinct, for example you can experiment and play around with the proportions of the anatomy more or you can use different geometric shapes as the base of your chibi, but I will explain two ways to easily stylize your chibi!
1. Sharpness of lineart
What do I mean by sharpness of lineart? Well for example, let’s look at the picture below.
When I mean sharpness of lineart, I mean how you use lines to draw your characters. On the left, we have a head that has no sharp angles which makes it look soft. And on the right, we have one where there are no rounded edges and it emphasizes the sharpness of it. Usually, we see chibis as very round and soft looking, but actually you can use sharp edges to draw your chibis!
Taking the sketch, here we have two different versions of A-kun. Both styles work and in fact makes the chibis look more unique.
(Quick tip: using different brushes and changing the color of the lineart also works to stylize it!)
I used the default brushes: Milli pen (left), Dense watercolor (middle), and Textured pen (right).
2. Coloring Style
The other way is by experimenting with how you color. There are a million ways to experiment and play around with your coloring.
For example, you can use screentones. For this, make a new layer and add whatever screentone you want, then you can use the mask layer provided to draw which parts you want to have the screentone and rasterize the layer. Finally, add a clipping mask and color the screentone with whatever color you want or you can set it to color burn and put a light gray color.
Or perhaps you can use a color to give your shadows a tint. Make a new layer and set the layer to Multiply and start drawing the shadows!
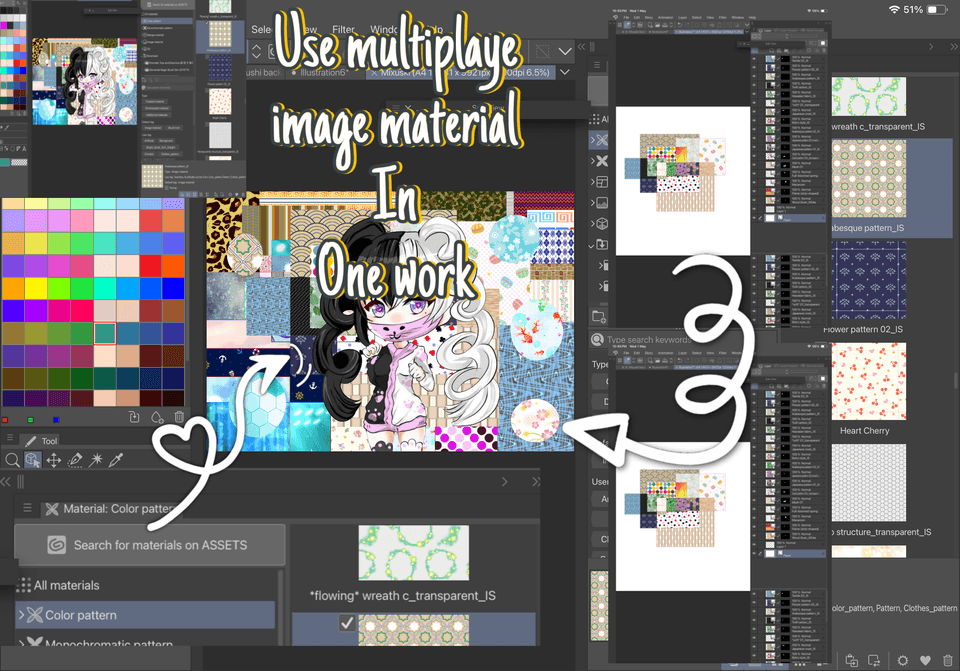
Or you can even just leave it at the base color but add texture on top to make it look more interesting! For this effect, import your texture as an image material, then on the layer properties click on the overlay textures (4th icon) and adjust it to your liking!
There are no rules and it all depends on your own preferences! So feel free to experiment as much as you like to find the one you like most!
-Experimenting-
It may be overwhelming to think where to start with experimenting, so here’s a quick example!
Taking A-kun again, I decided to change the head and facial features and combine both ‘standard’ and ‘angled’ styles, where the head now looks less round and adds a bit of sharpness which emphasizes his cocky personality more. Then for the hair, I decided to make it rounder, while making the horns really angled. This way, it adds a variety to the silhouette and makes it more interesting. Similarly, I keep the clothes sharp while using rounded edges to make the fur area look softer because of the contrast.
Next, I used the default 'Textured pen' brush to do the lineart as I liked the result a lot!
Finally, I kept the coloring very simple, added a few stars as a highlight on his hair to add a bit of variety, and overlaid a watercolor texture on top. I decided to not overdo on the shading so that it doesn’t look too complicated with the textured on top.
And now A-kun is done!
Feel free to play around as much as you like! There are no limits to what you can do with your style, the two ways I explained above are just the simplest ones to start with, but there are loads of different ways to create your own style!
-Thank You-
Thank you for reading up until now! I know this was long and I probably could have explained some parts better, but I hope I was able to make it simple enough to understand and I hope you all enjoyed my tutorial!
Users who liked this post


Comment