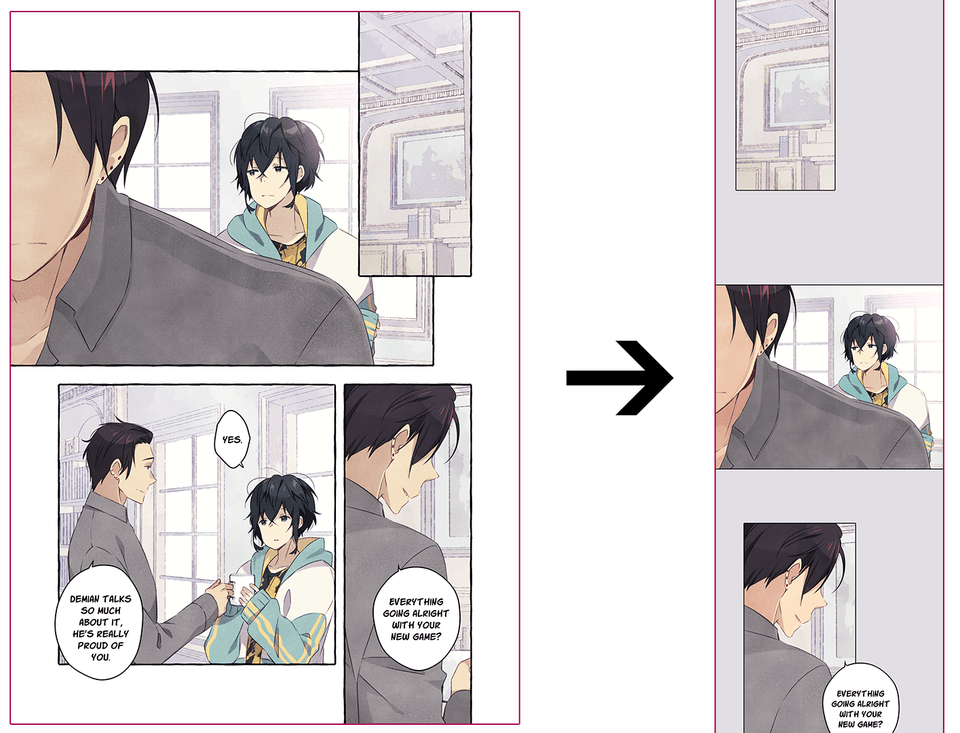
How to create "for content confirmation" and "low resolution and light capacity data"
Are you sending the production data as it is? Why you need data for sample check
I think that in many cases, works and samples that are in the process of being produced are put in a drive and shared with customers and bosses.
Isn't the production data uploaded and handed over as it is?
Sending heavy data directly to the other party not only puts pressure on the limited drive capacity and line, but also
There will be a problem that the other party cannot view.
Even if you receive it, if the other party does not have software such as illustrator, Photoshop, Clip studio, etc.
You can't open or preview!
The data in the middle of production shows the work process and procedure in full view.
There is also the danger that your technology will be researched.
If you just want the other party to check the contents, jpg or png data that is not divided into layers should be fine, and resolution that can read characters should be sufficient.
Are you doing this kind of layering?
If you use the effects in this order, this color will come out!
What is normal to you may be valuable information to the other person.
Dangerous data? May be suspected
When downloading, large amounts of data cannot be checked for viruses, so
There is also a crime that intentionally causes the other party to receive hacking data and destroys the data on the computer.
To protect relationships with our valued customers and friends, and to prevent creators from making any doubts.
Let's master how to make "for content confirmation" and "low resolution and light capacity data".
For Clip studio
Integrate images and export Select jpg Size 50% or pixel number 2000dpi / inch
The image size of the illustration varies, but I think that it is probably drawn in a larger size. I want you to check this rough picture ... In such a case
Select jpg to integrate files and images and export.
The name must be "half-width" "alphanumerical"
When there are 10 or more data, you can see them in order by adding 0 to the beginning.
Set the size to 50% or the number of pixels to 2000dpi / inch.
It looks like 5000 in the image, but it is 50.00. please note.
Or let's specify the output size so that the longer one fits in 2000. It's just a guide. Don't assume that the specifications of the other party's computer are the same as you.
In other cases
If you are using a mac, take a screenshot of the screen. Press shift, command and 4 at the same time to display a range selection cross, so drag and drop the screen.
If the other party is a windows user, you will not be able to open the data as it is, so please arrange the name and add .png.
For video
MP4 is convenient these days. Videos edited with imovie are automatically exported to MP4.
For Clip Studio animation, select the movie and select MP4 when exporting.
There is no problem with mov between macs.
If you don't have MP4 in other software, record the image.
Press shift, command and 5 at the same time to select a range and press "Record".
Click the circle button on the upper right to finish recording.
This information is current as of 2022. Better storage formats may come out in the future. However, I think that the care and compassion for the other person will never change. Be careful not to make your wonderful work a source of trouble.


Comment