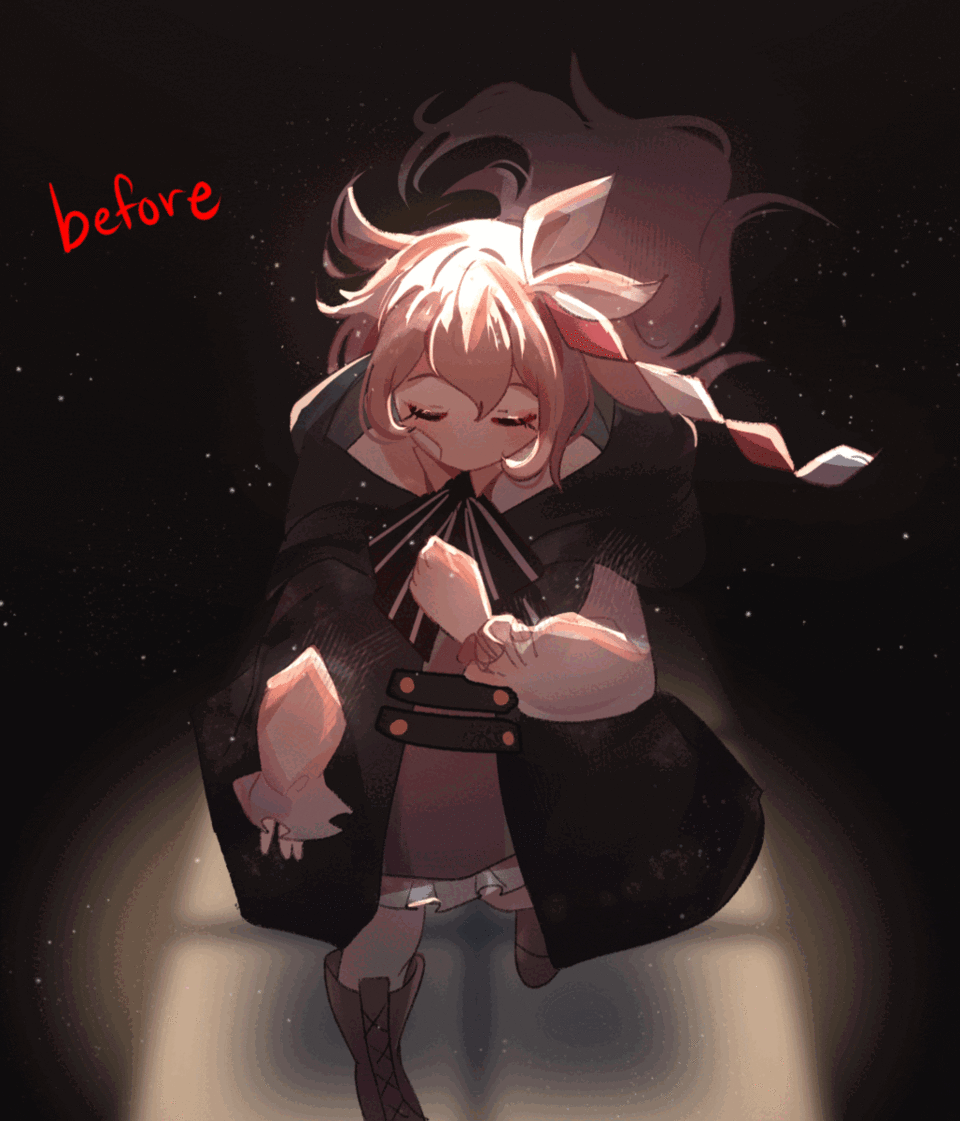
How To Create Dramatic Lighting
Introduction
Want to know a great technique to make your art stand out or create a more intense environment? Adding a dramatic lighting source can do just that.
It may seem intimidating, but in this tutorial, I will be showing you how easy it is to do. Let's go!
Part 1: Setting up the base
1. After applying your base colors, add a solid black background with the [Fill] tool. This solid black will be used as a base for the background.
2. Shade your character as you normally would. I would recommend not being as detailed as you normally are when shading, as the main focus of your piece will be the light. But, it's all up to you!
Part 2: Adding the Shadow
Congrats, you've already finished the hardest part! Now we get to the fun stuff.
1. Put every single layer of your character in a folder. Now, create a new layer on top of the folder, and clip that layer to the folder below.
2. Using a desaturated warm-toned color, use the [Fill] tool to make the entire layer that color. It should look like this:
This will be our shadow layer.
3. Using the [Eraser] tool, erase the areas where the light will be hitting. For this tutorial, the light will be from above, so anything exposed to the overhead light should be erased.
4. Set that layer to Multiply.
Tip: You do not have to be very precise with the erasing, as most of the edges will be covered in later steps.
Part 3: Adding Harsh Light
Now this is the fun part!
1. Create a new layer on top of the shadow, and clip it to the folder as well.
2. Remember where you erased earlier? Well, take your favorite solid brush and use pure white to draw out the harsh light on that area. Don't be shy with it either, this step is all about experimentation.
3. Instead of leaving it just like that, it's best to add a "transition color" on the edge of the pure white. This way, the white will look a little less harsh and it gives it a warm glow.
This is best done with a softer, lower opacity brush. In this scenario, I'm using a light orange.
Next, we'll work on more rendering and begin developing the background.
4. Create a new layer, and set the layer on Add (Glow). This layer will make your light shine even brighter. DO NOT clip this layer!
5. Using a saturated orange color, use a soft airbrush and lightly go over the white highlights from step 3. This gives it a more dramatic glowy look. Don't be shy doing this part either; the more glow the better!
6. Do that for the light source in the background as well. Since my light source is above, I'll be adding a glow there.
Part 4: Final Touches
Congrats on making it this far! Easier than you expected, right?
At this point, you're basically done. The next few steps are for people that are determined on refining it even more. If you're one of those people, stick around because I have some more tips for you!
1. This is a personal choice, but I like adding the light source hitting the ground as well. There are millions of ways this can be done depending on the environment, but for this tutorial, I wanted a more stage-light look, so this is what I did:
This part is completely optional and up to the artist to experiment.

2. Using any splatter brush, add some small, transparent white particles around your canvas behind your character. Add more to your light source area. These particles will give it more of an ambient effect.
3. Using the same brush, use a solid white color and add larger particles in front and behind your character. This gives the particles more depth.
4. For the final step, make a final layer on top of everything and set the layer to Overlay. Pick a lighter peachy color and use a soft airbrush to brush over where the light source is hitting one last time. This will make your piece even more vibrant!

Final Message!
This wasn't too bad, right?
Although this is the process I usually follow, the whole point of the dramatic lighting process is to experiment. Mess around on Clip Studio Paint and see what you like or dislike! There's no right or wrong.
Thank you for sticking around and reading my tutorial, it means a lot to me!


Comment