
Hello! In this article I will teach you how to animate a starry sky in Clip Studio PAINT making a simple but very nice Animation.
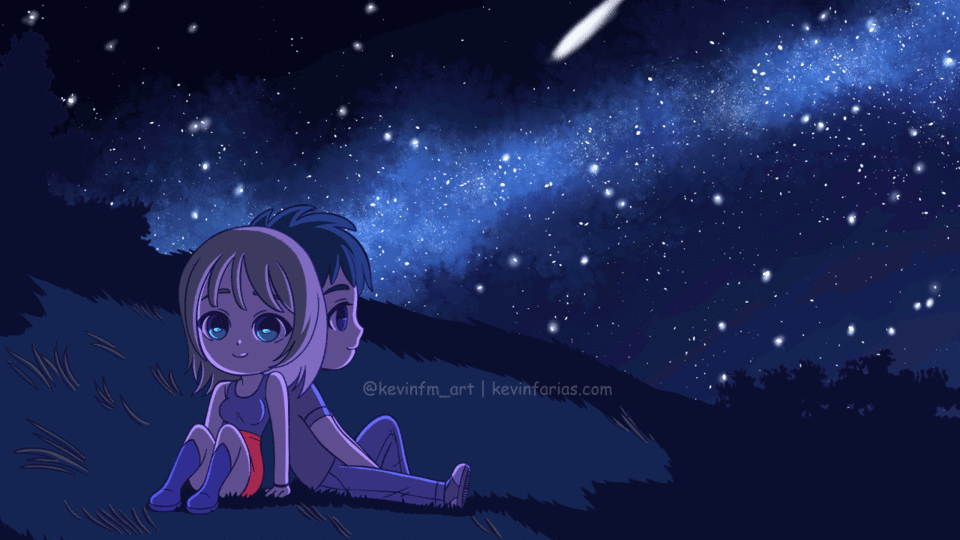
The Animation that we are going to make:
We'll start with this scene:
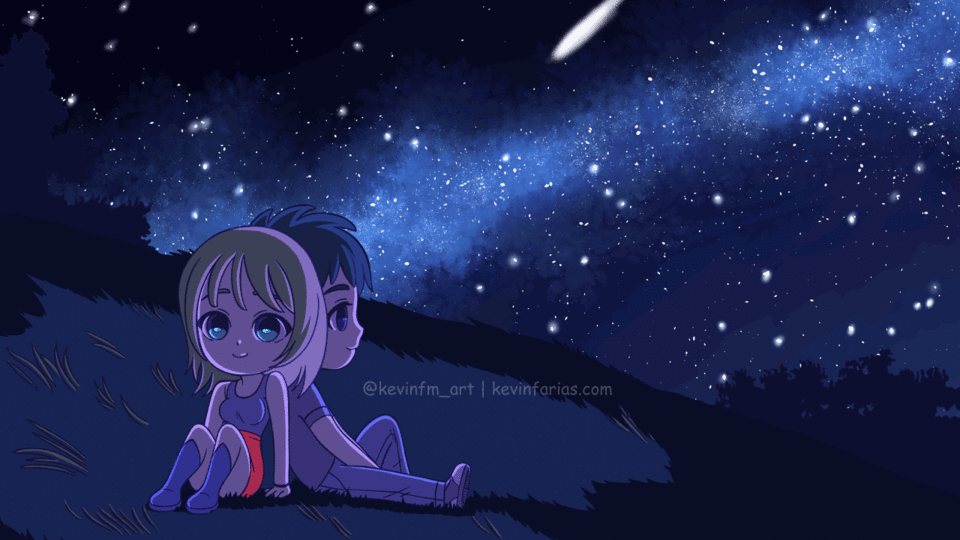
To finish with this Animation:

It seems difficult, right? Well, it's really easy to do :)
That's why I want to invite you to see the super tutorial where I show you step by step how to achieve this beautiful Animation.
How to animate a starry sky in Clip Studio PAINT (VIDEOTUTORIAL)
The video is in Spanish but you can activate the subtitles, you will surely find your language.
What do you think about the video? We saw the whole process to achieve this great animation.
Step by step of the Animation process
Now I invite you to see the Animation process again.
1. Scene that we are going to Animate
We have this Animation scene where we are going to change the color of the paper layer, which is white by default.
With double click this window appears where we are going to choose a dark blue color.
And we initially have a dark sky.
2. Galaxy Background
We are going to download a material from the Clip Studio Assets, which is the Galaxy background that we will use and the best thing is that it is free!
Once downloaded we activate the window: Material.
Inside the Downloads folder are the available funds, we will choose the blue one. (Or the one you want)
To integrate the background in the best way to the scene it is necessary to scale the Galaxy Background.
3. Animated stars
On the galaxy background layer we are going to create a new Animation folder.
To then create a new animation cel on frame 1
Now we are going to choose the Airbrush tool under Sub Tool: Smooth.
We select in the layers panel the animation folder: Stars.
And in the combination modes we choose Add (Brightness)
With the color white we are going to paint some of the stars in the background of the galaxy.
In the layers panel we select drawing 1, with the right button: Duplicate layer.
In the timeline we select frame 2 and activate: Specify Cels.
We select drawing 2 and click OK.
We have the 2 drawings for this animation of the shine of the stars.
We change the opacity of drawing 2 to 75%
We shorten the animation leaving it in 2 frames.
With the right button we activate: Copy.
And in the next frame we activate: Paste. To go doubling the animation of the stars.
And by painting the stars we make them even brighter.
animation of the stars
We activate play to see the animation that we have achieved so far.

4. Animated Comets
Now we will create a new animation folder above the animation of the stars that we did previously, we will name it: Light 1.
We create a new animation cel in frame 1
And we'll draw the comet with the Airbrush tool, in the Soft Sub Tool.
We advance to frame 2 and create a new animation cel
We activate the onion skin to see the previous drawing and be able to guide us.
And we draw the comet of frame 2
And we continue making the animation, we will carry out the trajectory of the comet's movement from frame 1 to 12. That is, 1-2-3-4-5-6-7-8-9-10-11-12.
Very important to note is that frame 12 will be empty.
Once we have finished, we leave the duration of the animation until frame 12.
We then duplicate the animation on the timeline so that the loop repeats 2 times. That is, we copy and paste the animation of the comets.
Achieving the following result, which seems simple and basic.
Animation of 1 kite
But now we are going to do something that will take our animation to the next level.
We go to the layers panel to duplicate the animation of the comet.
We change the name to Luz 2.
And with the Move Layer Tool (K) we are going to move the new comet in the scene.
Also, we are going to remove the second cycle of this comet. (Right click - delete)
We'll leave it with just a comet and move it on the timeline to frame 7.
This makes it look this way achieving a great effect. Remember that it is the same comet but they will appear at different times.
Animation of 2 kites

Now we duplicate the animation of comet 2, we change the name to Light 3, with move layer we move the comet in the scene and in the timeline we put it in frame 4.
Getting 3 Animated Comets
Animation of 3 kites

Finally we duplicate comet 3, we change the name to Light 4, we move it in the scene with the Move Layer tool and in the timeline we place it in frame 10.
Getting 4 Animated Kites
Animation of 4 kites
5. Effect for Comets
Once we have the 4 animated comets (actually it is only one but duplicated) we are going to create a new layer folder
Name: Lights
And we select all the comet animations and put them inside this folder.
We select the Lights folder and in the combination modes we are going to change it from Normal to Overlay.
Making it look this way
Animation of comets with Overlay
To make the comets look even better, we are simply going to duplicate the folder that has the animations of the comets, with the right click on the folder - Duplicate Layer
Getting the following animation, the comets look subtle and bright.
Animation of duplicate comets with Overlay
6. Animated Galaxy
We create a new animation folder
Name: Galaxy
We duplicate the Galaxy layer that we downloaded and imported earlier. (Right click - duplicate layer)
We take this new duplicate layer and put it inside the Galaxy animation folder.
Now in the timeline, we activate specify cels and select the drawing called Galaxy 1.
Now we simply go to the layers panel to duplicate the Galaxy 1 drawing.
We changed the name to Galaxy 2.
In the timeline we go to frame 2 and activate specify cels, we select the drawing Galaxy 2.
We select the Galaxy 2 layer
We left the duration of the galaxy animation at 2 frames.
And we select the Galaxy animation folder.
In the combination modes we change from Normal to Add (Brightness)
Now we are going to duplicate the animation of the galaxy in the timeline, remember, we copy and paste until completing the 24 frames, which is the duration of the animation.
Finally we select Drawing 2 and lower the opacity to 75%
And we have the following animation:
galaxy animation

To finish we are going to duplicate the animation of the Galaxy
we change the name
We leave the animation above all the layers and lower the opacity to 15%
Getting the following result:
Duplicate galaxy animation
Now it's all integrated and it looks great!

7. Export Animation
We go to File - Export Animation - Movie.
We put a name to the animation and in format we can choose between: QuickTime and .mp4
Then we have the size of the video to export, in my case I will export it in Full HD (1920x1080)
8. Final Animation

9. Farewell
I hope this article helps you to create your own animation.
See you in the next TIP.
Users who liked this post


Comment