
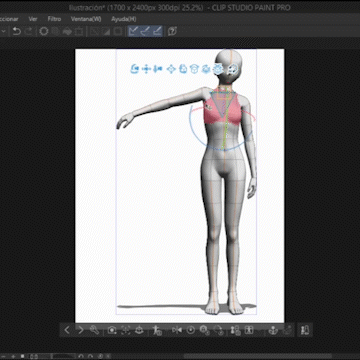
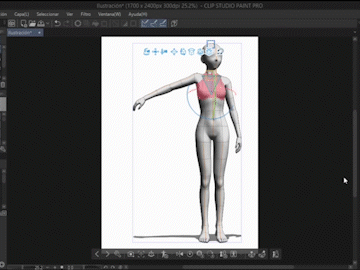
Hello, in this tutorial I will teach you how to use 3D models in an easy way with several examples.
The first thing we need to understand is how 3D models are used.
Place on the canvas
What we have to do to put the 3D model is to drag it onto the canvas.
The same thing happens if what we want to put is an object or building.
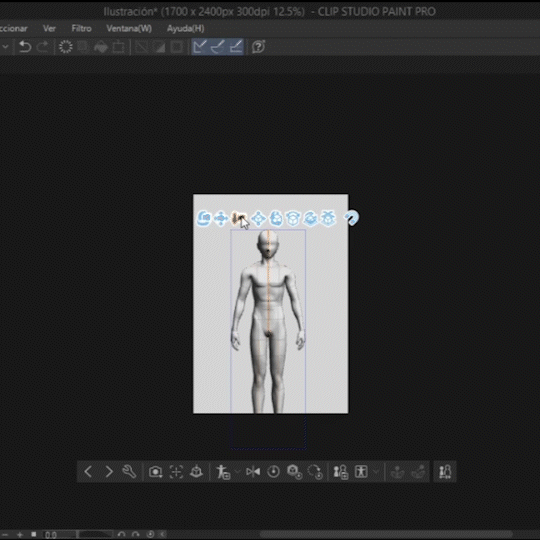
movement tools
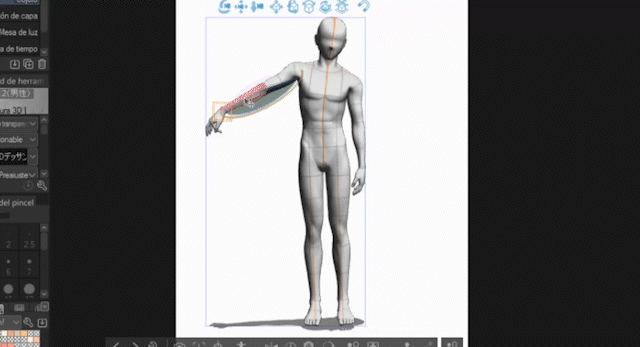
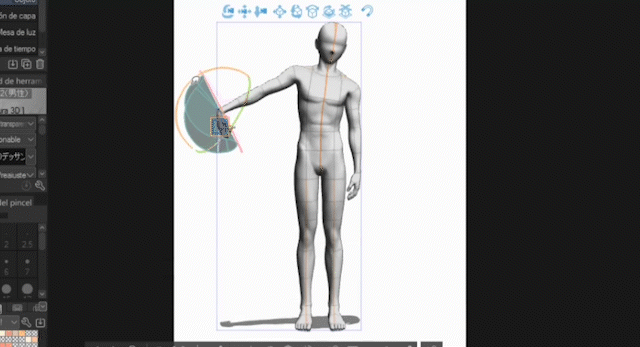
In the 3D model there are different movements to accommodate it, all we have to do is move from one side to the other, keeping the pencil pressed.
1. The first movement is based on turning the angle in which we can see the model.
2. The second movement causes the view of how the model looks on the canvas to move from right to left and from top to bottom. (does not move the model)
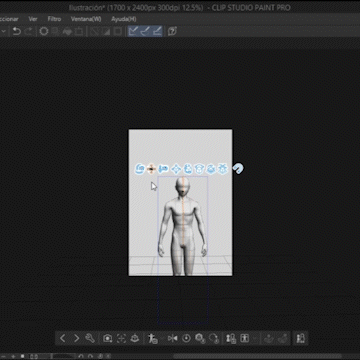
3. The third movement moves away and approaches the model.
4. The fourth movement moves the model up and down and from right to left.
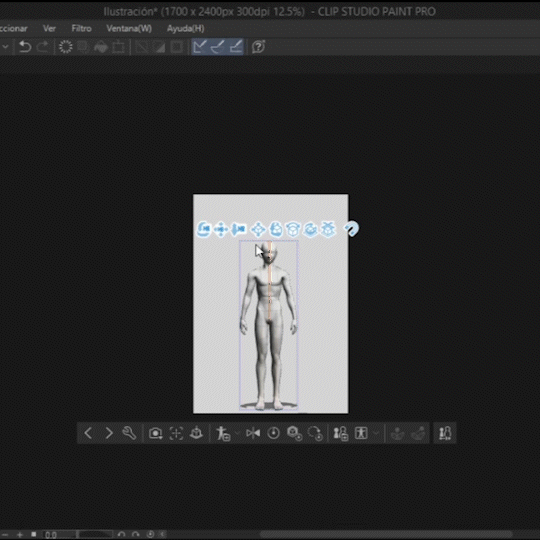
5. The fifth movement turns the model forward and sideways.
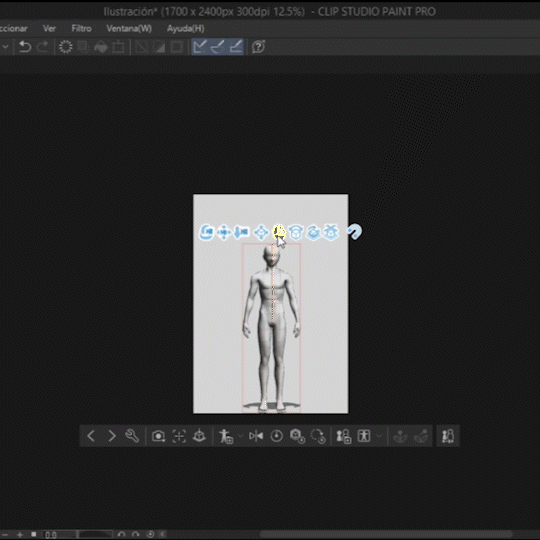
6. The sixth movement turns the model to the sides.
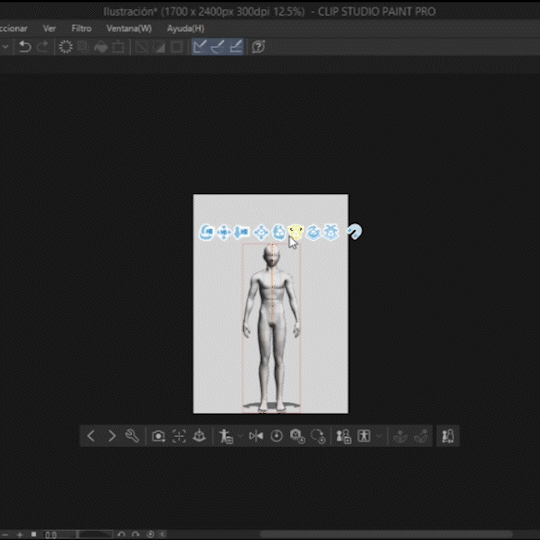
7. The seventh move turns the model sideways.
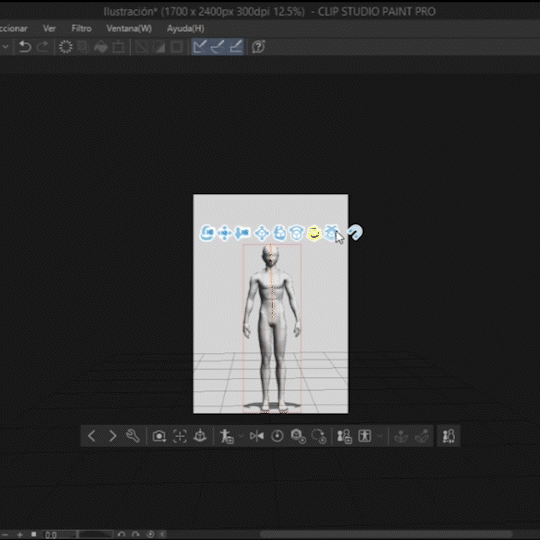
8. The eighth movement moves the model anywhere on the canvas.

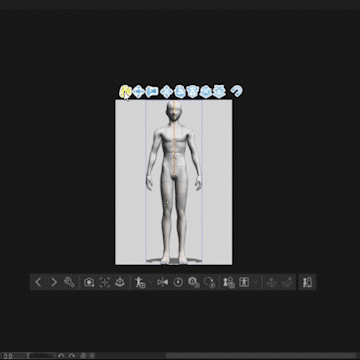
9. This is used if we want to guide ourselves when we move the model.
(Activates a guide when we rotate the model)
deactivated
activated
bottom bar
In this section we will see the tools of the bar below the model.
The arrows are used to move from one model to another if there are several on the same layer.
1. The first tool is used to edit any of its different properties.
(Scale, size, features, etc.)
Although there are some options that can be seen from the properties of the tool.
2. The second tool is used to be able to see the model from different perspectives.
3. The third tool is used to center the model on the canvas.
4. The fourth tool is used to place the model on the ground.
5. The fifth tool is used to save model poses.
In the arrow next to the icon you can choose between registering the whole body or only the poses of the hands.
6. The sixth tool is used to flip the model horizontally.
7. The seventh tool is used to restore the pose of the model.
8. In the eighth tool we can restore the scale of the object. (In the image I changed the scale to 15.6)
If we touch the scale tool it changes to 100.
9. The ninth tool is for restoring the rotation of the model.
10. Tool number 10 saves the body shape as a model material.
11. Tool number 11 is used to extract a pose from an image.
(Pose extracted)
(Apply 3D Pose) is to apply a downloaded pose to the model.
12. Tool number 12 is for fixing selected joints.
(If we select a part of the body, some curved lines of different colors will appear around it, depending on which part of the body it is, different lines will appear and this indicates in which direction we can move the part of the body.)
(The orange square indicates if the joint is fixed, in this case it is not)
(The blue square indicates that it is fixed)
This is how it moves without having any joint fixed.

And so he moves with his hand fixed.
Several joints can also be fixed at the same time.
13. Tool number 13 has the same function but in this one it disables the fixed joints.
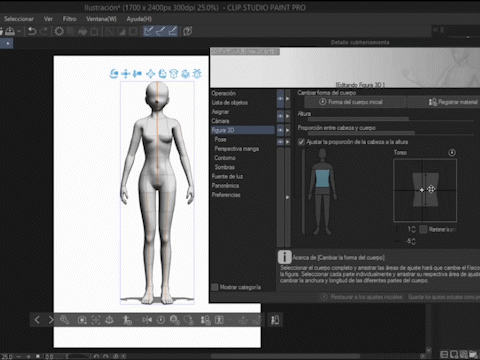
14. Tool number 14 is used to change the shape of the model body.

If we slide the arrow up, it increases muscle.
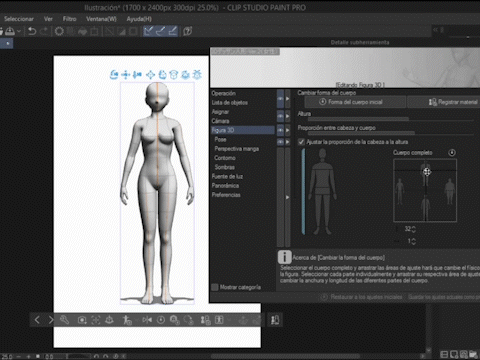
if we lower it, the muscle decreases.
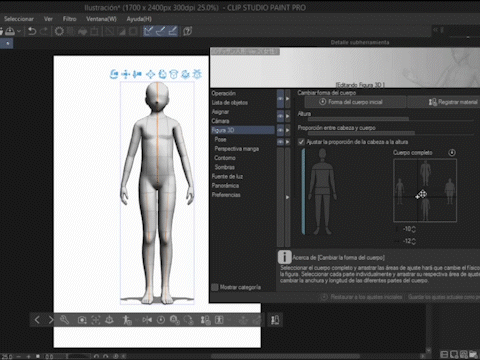
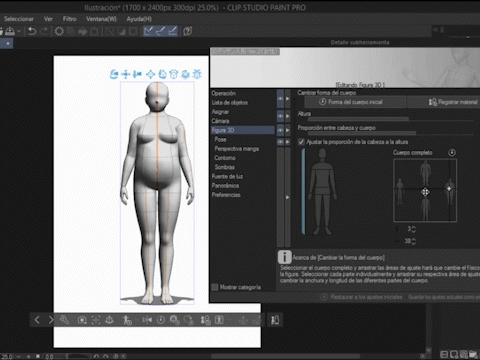
If we slide to the sides the model gets fatter or thinner.
You can also select body parts, but instead of muscle, lengthen or widen body parts.


In [Pose] we can configure the pose of the hands.
If we touch one of those 5 buttons on the top of the hand, the finger is locked so that it stays in one position.

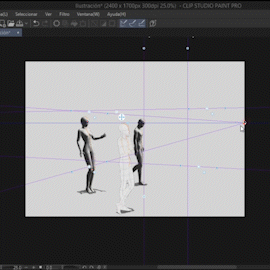
Perspective
Perspective helps us to give a different impression to 3D models, if we want to change the perspective without using the move tools we can do this.
Let's go to the layers section.
We choose [Show in the same folder]
This can be useful if we want to change the perspective easier.
If we want to remove it, we do the same procedure.
Another tool that can be useful is [Manga Perspective]
If we activate it, it changes the size of the proportions in which it is seen from a perspective.
convert to lines
If we want to convert a model into lines Clip Studio Paint EX has that option but in PRO there is not one as such but it is possible.
We first fit the model.
Then we go to [Line Width] and increase it to 100
We go to [Layer] and select [Rasterize]
(This disables the 3D options)
Then we go to [Filter], Effect] and [Pictorize]
In [Mode] we can select [Color and lines] or [Lines]
In 3D models it is the same, you just have to remove the light texture in [Apply light source].
Let's go to the sub tool [1] of the bottom bar, [Preferences]
[Render Settings] and uncheck [Use Texture]
Then we do the same procedure of going to [Layer] and [Rasterize] etc.
(This is what it would look like if we didn't disable the texture of the model)
Well that's all for this tutorial, I hope it's helpful for you and easy to understand.
Thanks for watching and reading to the end!!
Users who liked this post


Comment