
The Youtube video only covers half of the dialog, and the second half is in the article below.
⭐Welcome to open cc subtitles⭐ But English subtitles are machine translation
foreword
Different from traditional comics that are viewed page by page,
Webtoons are comics that you swipe to watch vertically.
This article will not introduce too much about the features of webtoon.
But as a creator, when you have the stories and characters you imagined, and you have the ability to draw color pictures,
This article can tell you what functions CLIP has, which may help you try to make your own webtoon.
If you are a user who has used CLIP to draw black and white comics,
It shouldn't be too difficult to jump right away to draw a webtoon.
However, even beginners who use CLIP to draw manga for the first time don't need to feel troubled.
I will briefly introduce what you need to know in general,
Finally, add your own thoughts.
p.s. Except for the built-in image files of CLIP, the example pictures are all taken from the works I have drawn before
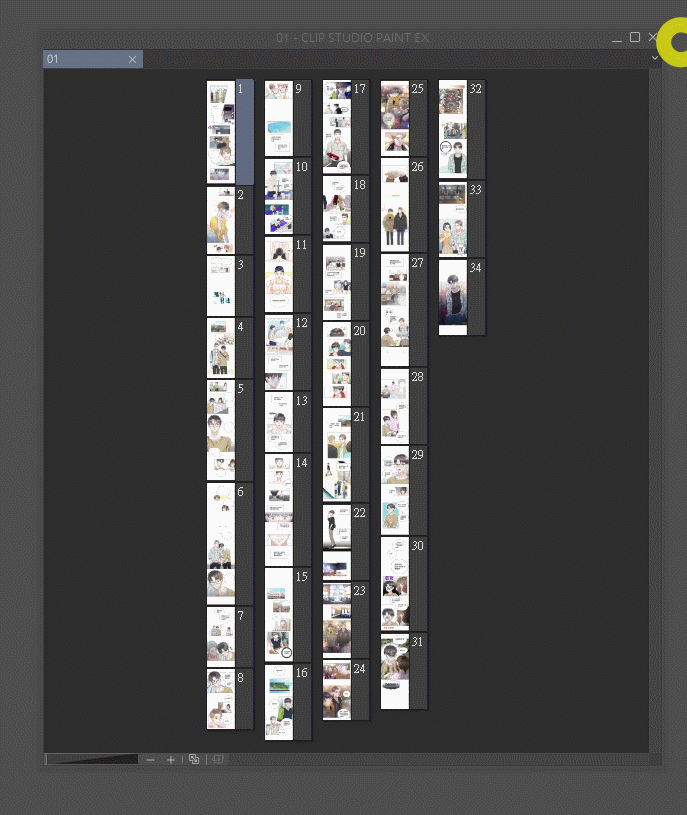
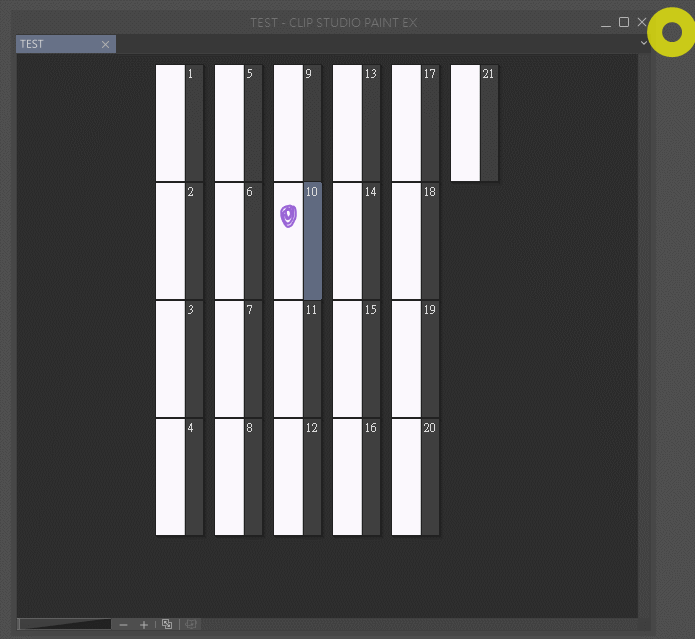
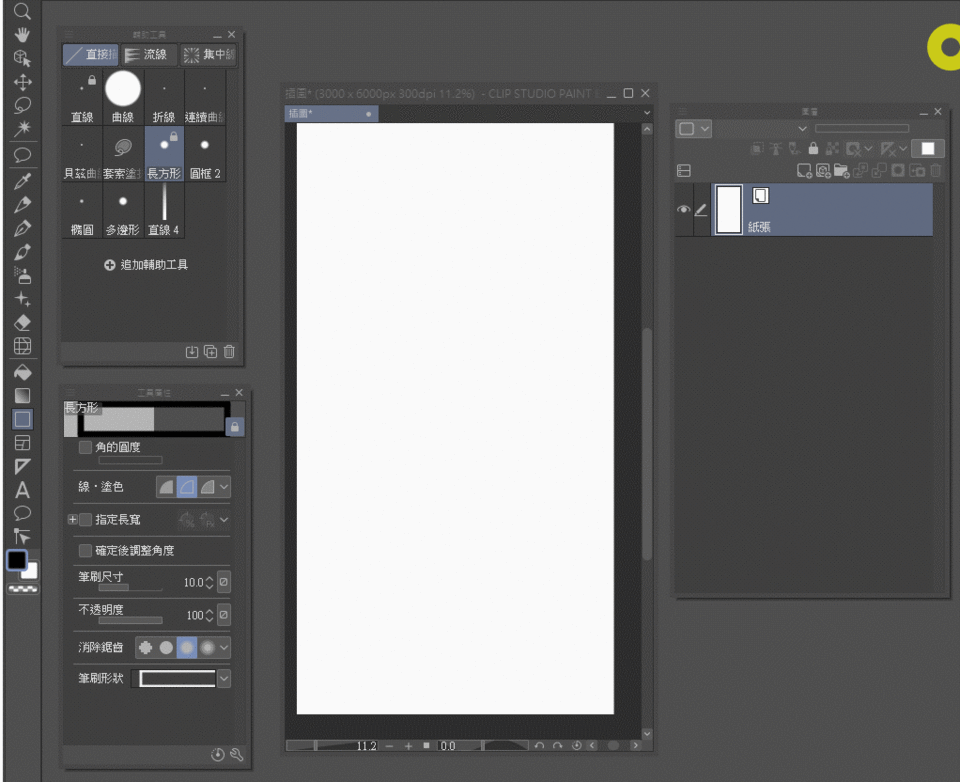
01New works (create canvas)
Different from ordinary illustrations only need to create a canvas,
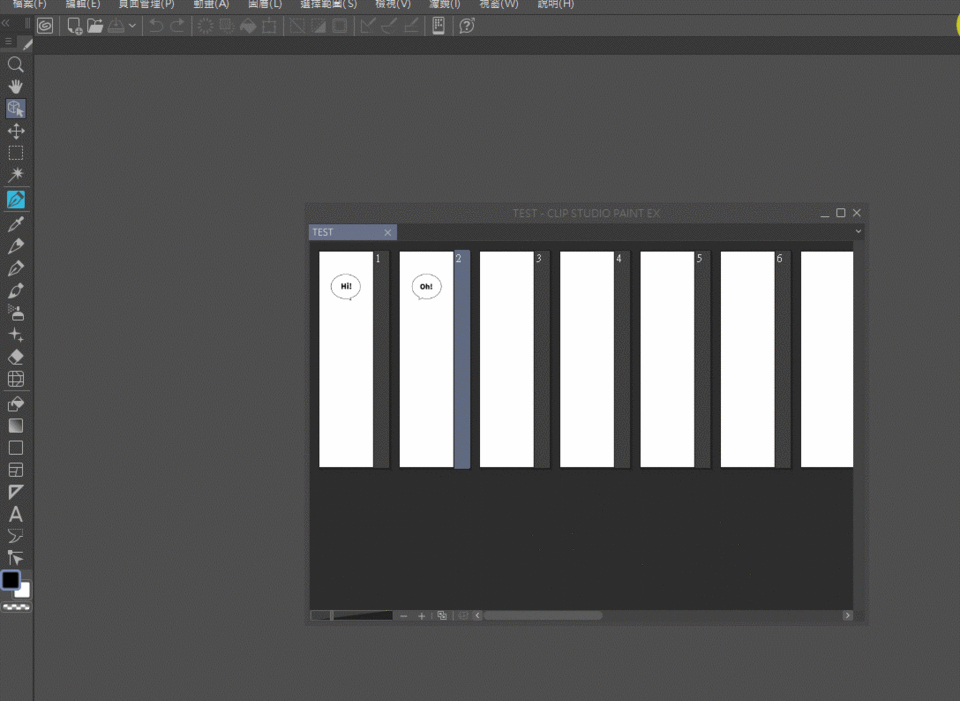
When drawing comics, we need to create something like a [catalog].
Create multiple canvases at once.
The created directory is commonly called [page management window].
↓You can use it to watch the thumbnail of each page of the canvas.
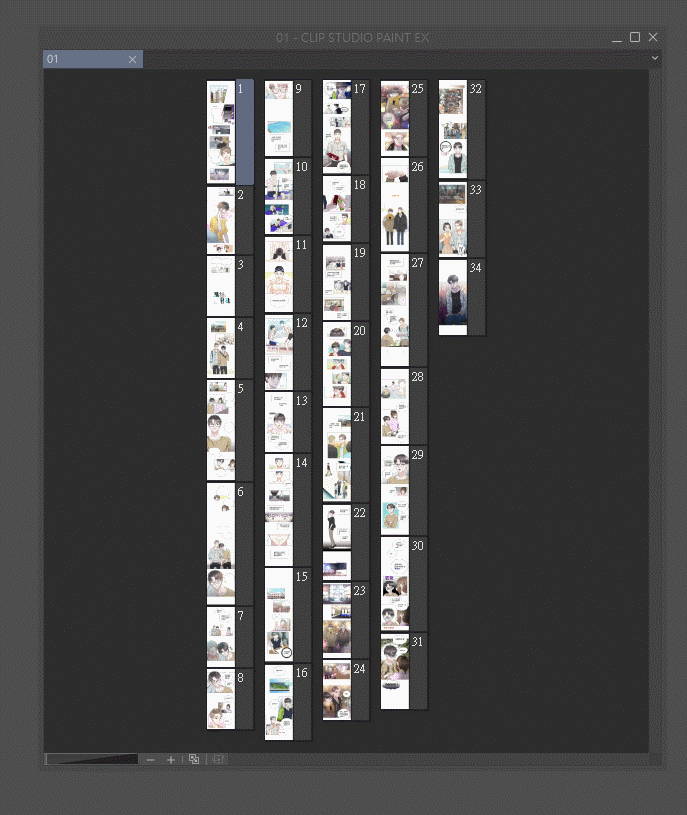
↓You can also use it to quickly find the page you want to open and open it.
✨ Steps to build
Top left corner of window => 1 file
=>2 New
=>3 Select option 【Webtoon】
Next, adjust the relevant data according to your preferences, and press [OK] after confirming to create.
The created directory will exist in the file format with the extension .cmc (page management file).
If you want to open the directory in the future, just double-click this file.
When starting a manuscript, it is mainly necessary to determine the [width] and [resolution] of the canvas.
Because when painting, the [height] of the canvas may increase or decrease due to the content of that page,
And 【number of pages】, when the number of pages is too many or not enough, it can also be increased or decreased at any time.
✨ Recommended canvas width: at least 800px
Because most of the uploading sites that can contribute, the minimum acceptable width is this value.
As for how many pages a manga should have, there is actually no definite value.
Common webtoons plan the length of the plot based on the [number of grids] that must be met in a single round.
There must be at least 40 to 70 or more grids each time, and the requirements of each place are different.
✨ How to change the canvas height
Above => Edit => Change Canvas Size
When changing the canvas again, remember to adjust the alignment [base point] first, and then modify the size (height)
Changing the canvas size of any one page will not affect the whole (other pages).
You can change it with peace of mind.
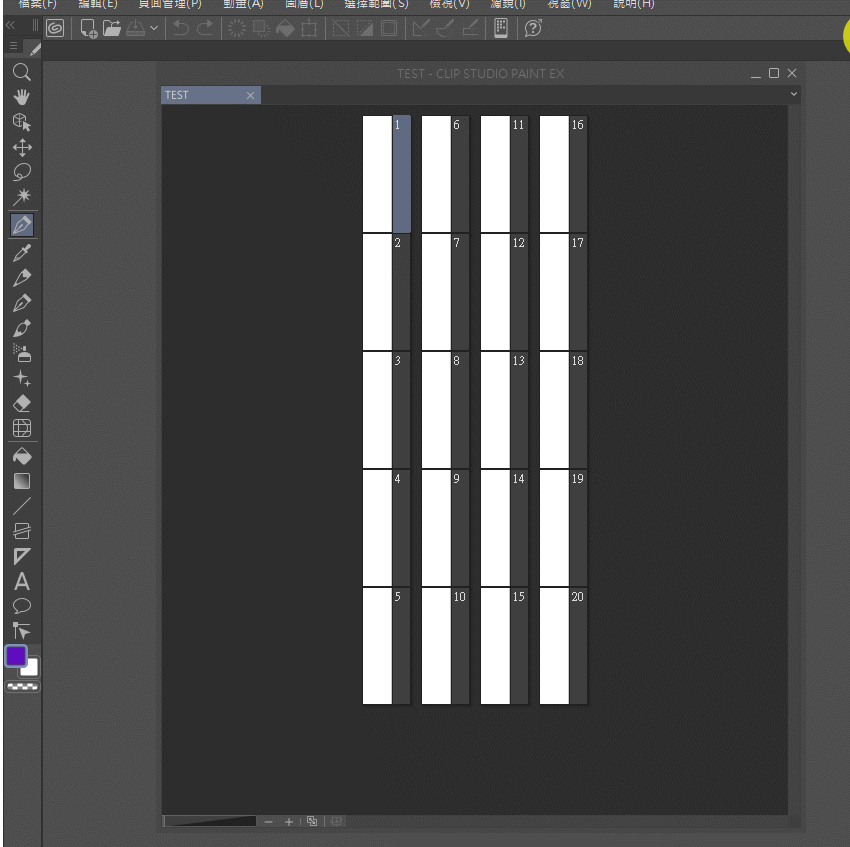
✨ Add and delete pages
Right-click the mouse to find the options of [Add Page] and [Delete Page]
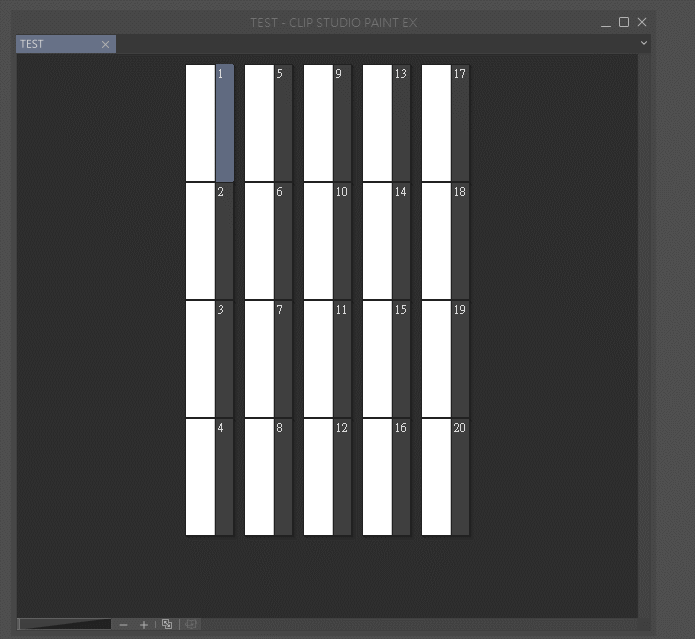
✨ Drag and drop page order
Press and hold the left mouse button to drag and drop.
(Note: The files in the folder will not change the file name, but it will not cause problems in exporting)
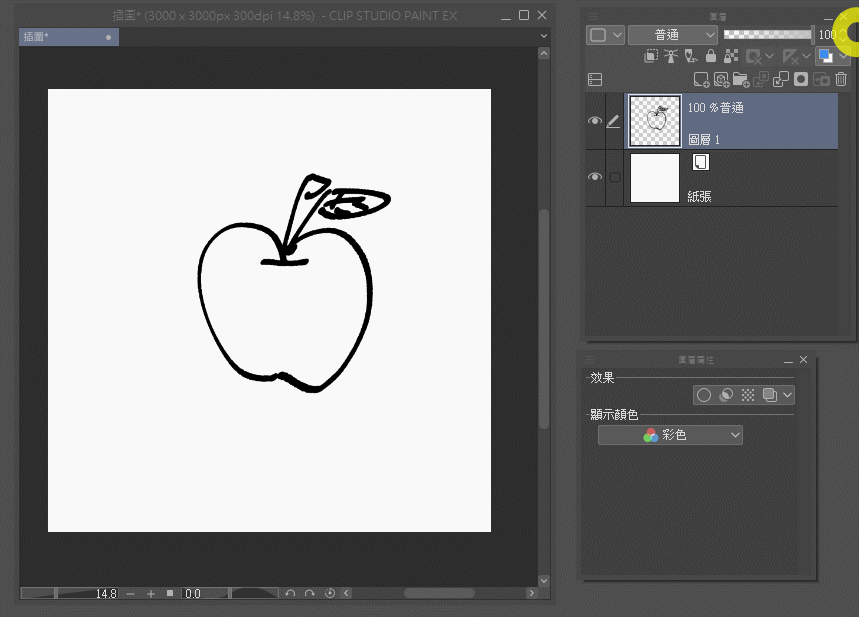
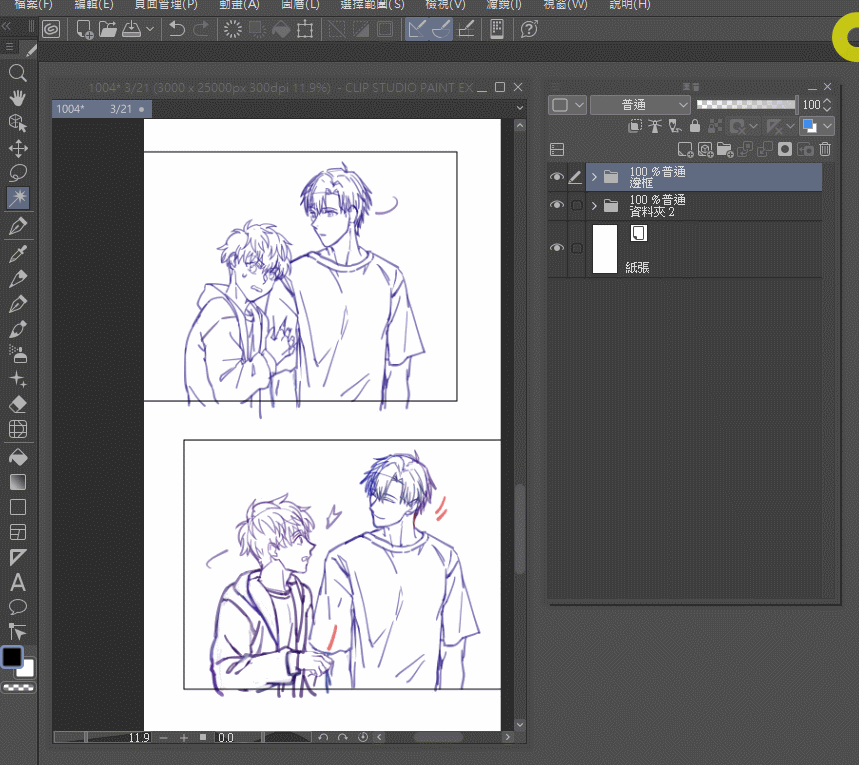
02 Draw a sketch (split mirror)
To draw manga, of course, you must first know what you want to draw.
So you may need to use WORD or some text editing software to write down the content and lines to be drawn first,
Draw a simple storyboard sketch (left picture) before you can start to do the follow-up actions.
Such as: draw sash, dialog box
When drawing a sketch, you can adjust the [Layer Transparency] or change the [Layer Color], making it easier for you to draft.
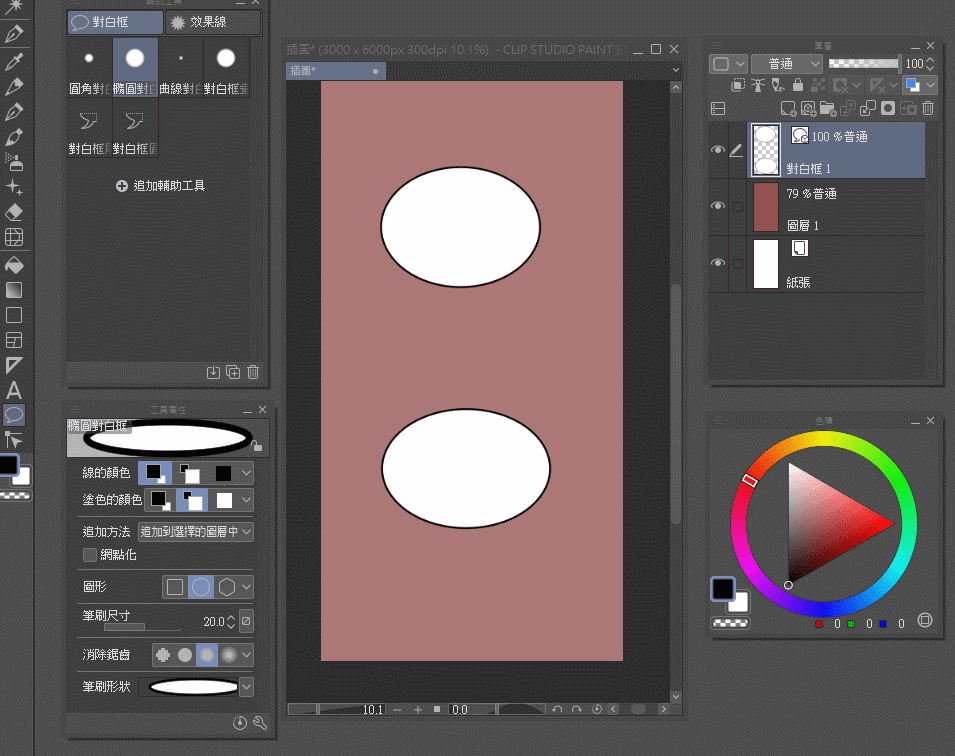
03 Draw the sash
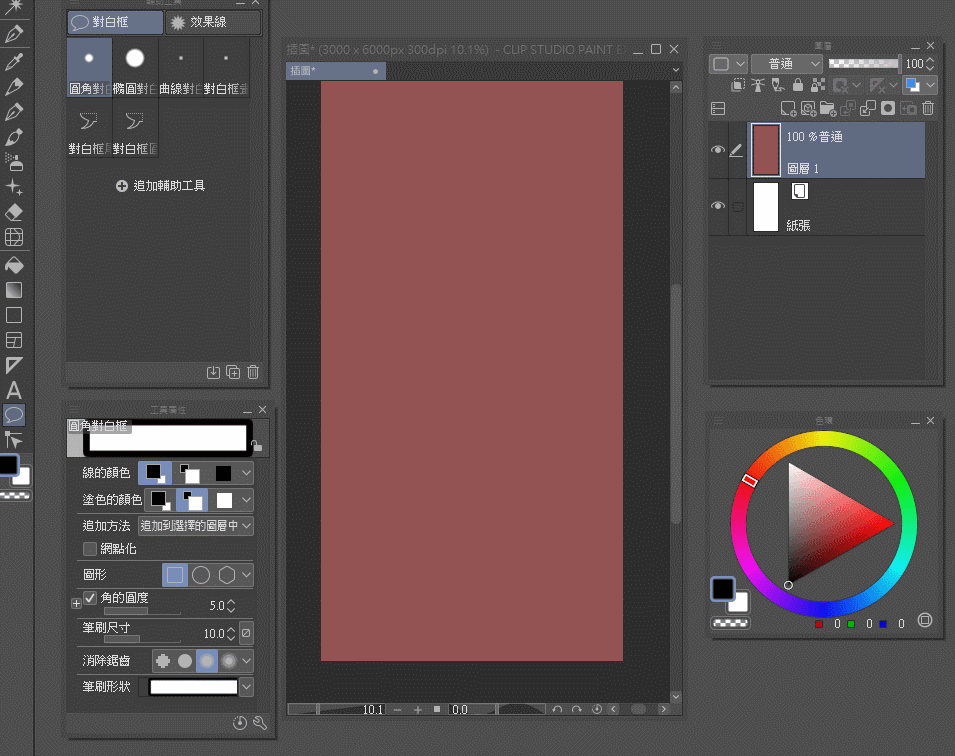
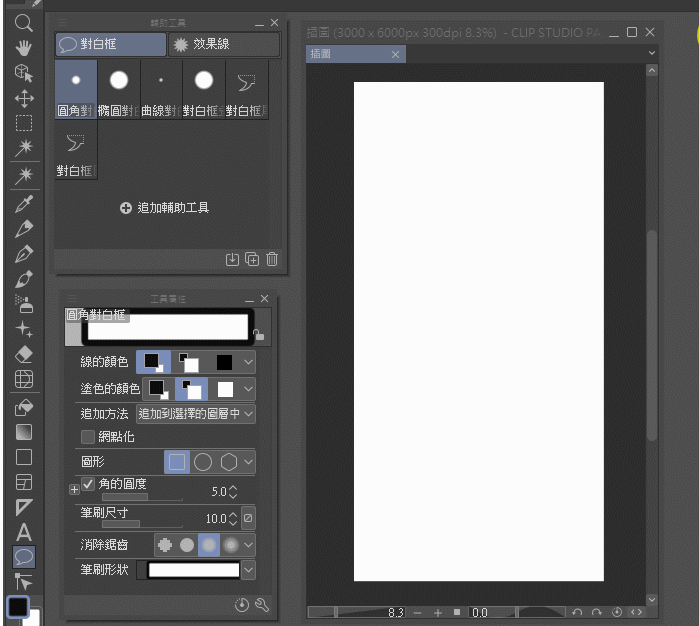
↓Although CLIP has its own [Frame Border] tool, I also use it when drawing [Black and White Page Manga].
But I [get used to using another tool] when drawing webtoons.
(Let’s briefly introduce the grid tool first, and then I will introduce my own usual method)
Advantages of grid tool,
Every time a box is pulled out, a folder will be created for you in the layer.
You can clearly see the range of the frame, and put the content to be drawn under the folder, and it will not exceed the range of the frame.
But the disadvantage is that every time you pull a frame, the folder of the frame will run to the top.
(will block the sketches on the lower layer)
And because most of the webtoons require independent frames, the Dividing the frames function, which was very useful in manga, is not very useful here.

✨ My own usual way
When drawing a webtoon, I will try to reduce the number of switching folders,
Lines and coloring layers are not necessarily classified according to each grid. Probably all put together.
So my choice is, use the [graphics] tool.
The essentials of using graphics tools,
Please be sure to select [Vector Layer] when creating a new layer when drawing the frame line.
Graphics tools are above the grid tool,
It is the toolbar that is usually used to draw line segments, squares, and circles.
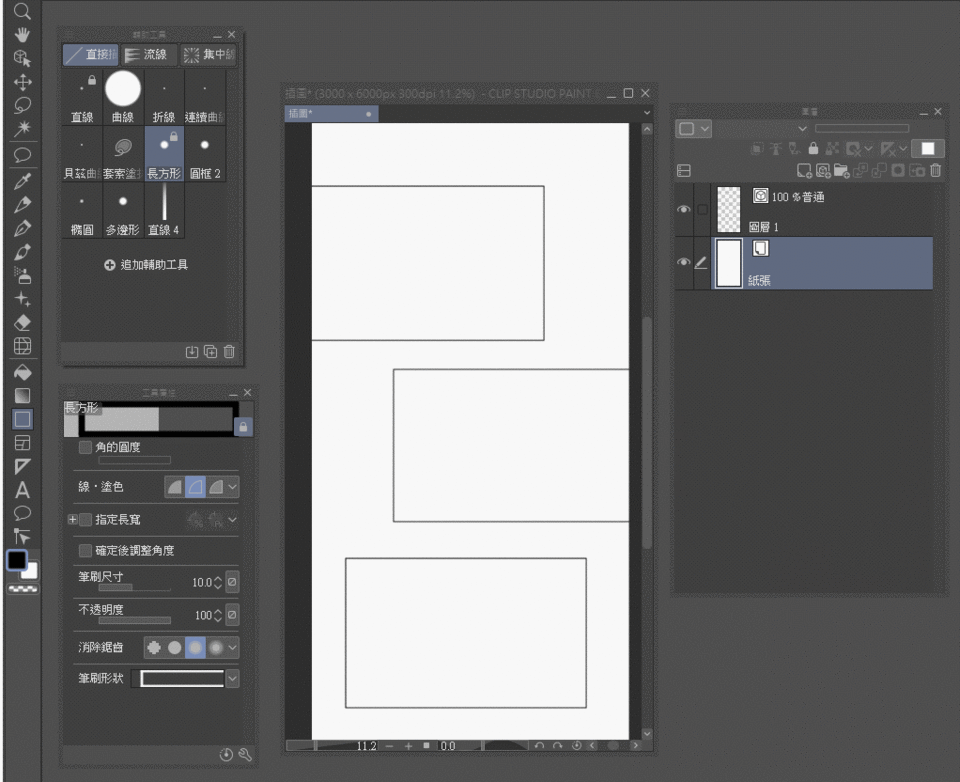
And the tool I use to draw a frame is to use the [rectangle] in the graphics tool.
Use the graphics tool to draw the frame, and your frame lines can all be placed on the same layer.
To use, find the Tool Property palette
Here you can adjust the thickness of the frame you want to draw,
And for the style, we only need the border of the rectangle, no background color is required.
Whether you use the grid tool or the graphics tool, if you want to adjust the frame that has been drawn,
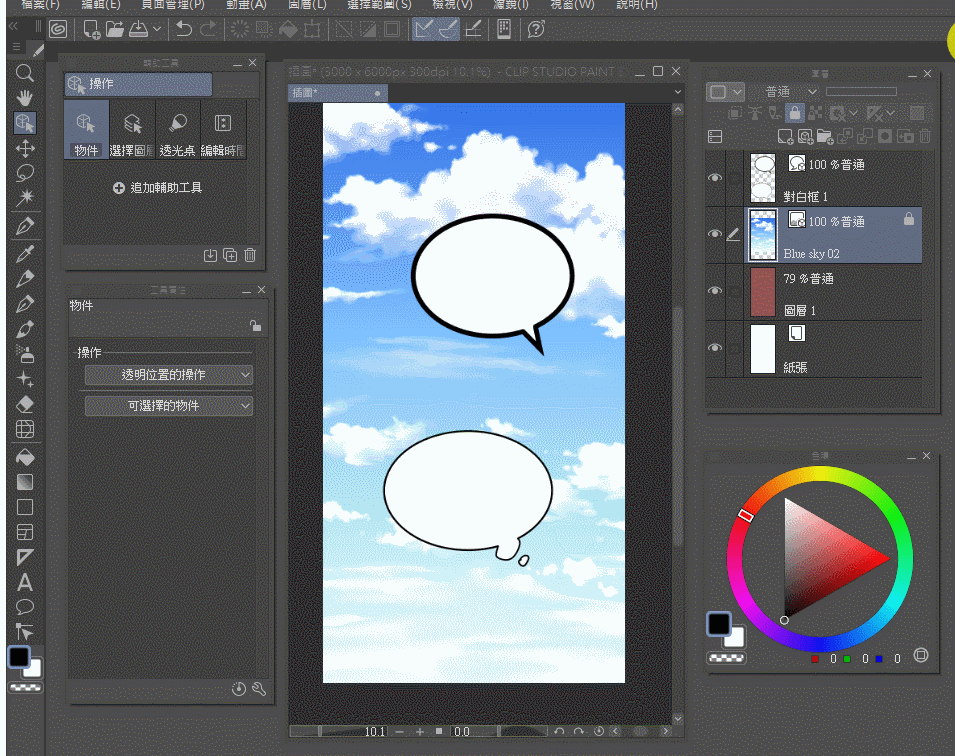
You need to select the mouse on the [Operation] field first.
The [Object] function in the operation column can adjust vectors and 3D objects.
When drawing the frame line before, it will be reminded that it needs to be built on the [vector layer], which is the reason.
The drawn frame lines can therefore adjust the position and scale freely.
You can also change the thickness of the line.
after that,
If you want to keep your drawn content from going beyond the frame, you can make good use of the magic wand and layer mask.
When splitting the mirror, you can also try this kind of splitting where the characters go beyond the frame.
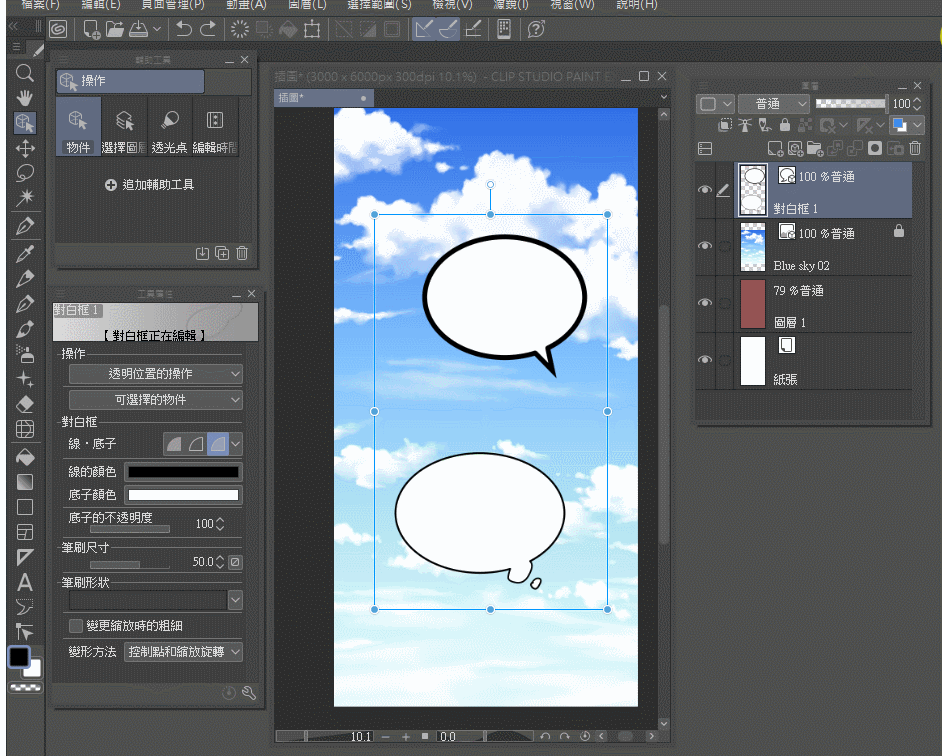
04 dialog box and text
CLIP has a built-in tool for creating dialog boxes.
Two boxes are automatically merged together when they intersect, which is very convenient.

You can quickly change the border color or background color of the dialog box.
In the dialog box column, there is also a tool capable of drawing a tail (sharp corner), or any shape freely drawn by the user.
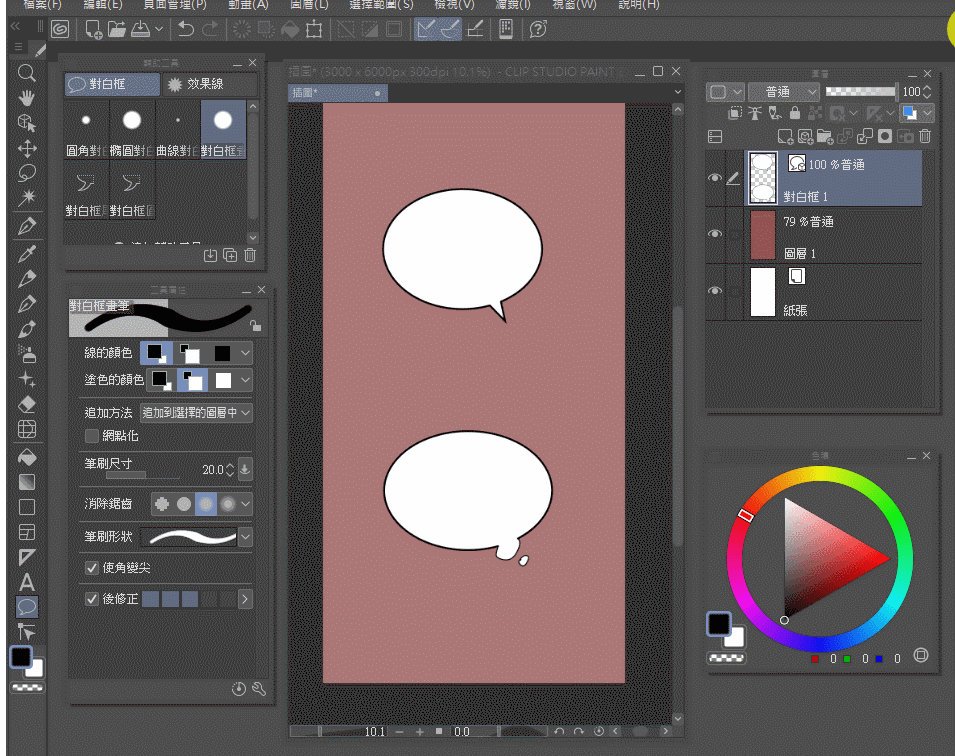
To modify the dialog box in the layer, please remember to click Operation => Object first.
Then you can smoothly start adjusting the dialog box that has been made before.
You can move, change the shape, or change the thickness of the line, etc.
✨ The opacity of the dialog
I would like to mention this function in particular,
Because in the minds of users who have never used CLIP, it is not a function that should appear in everyone's psychological expectations.
If you are adjusting the dialog box during operation, you can find the bar for adjusting parameters in the [Tool Properties] panel.
If it is not displayed in the panel, please open the [wrench] in the lower right corner,
It can be found after opening the [Sub Tool Detail] palette.
If you want to create a dialog box at the very beginning, make a dialog box with a semi-transparent background color.
You can also lower the right wrench to open the auxiliary tool details panel, and turn on the option to control transparency.
The control bar will appear in the [Tool Properties] panel.
(By default, the opacity option does not appear)
✨ Special dialog boxes
The built-in effects box can be found in another column.
You can also use the material store to find more dialog box materials made by others.
✨In the table of contents, the reason why I write [dialog and text] together is because of the settings of CLIP, the text and dialog are preset [it is easy to stick together].
If the text and the dialog box are too close to each other when they are created, they will be created on the same layer by default.
The advantage is,
The text will move as the dialog deforms, keeping it centered.
If the lines are typed first, and then the dialogue box is added later, as long as [the two are too close to each other], the system will still share the layer by default.
Unless the 【Append Method】of both the text and the dialog box is changed, the two can completely avoid sharing the layer and sticking together.
Although CLIP's function of combining balloons and text seems to work well,
But I personally still get used to typing the lines in Photoshop first, and then pasting them into CLIP.
(The main reason for doing this is that some fonts are in CLIP, and the names will be changed. Chinese or Japanese names will become English, which is inconvenient for me to find)
However, if you are a user of other language families and do not encounter the same problem as I thought,
In terms of font selection, CLIP can also create a list by itself. Shorten the time it takes to select fonts.
After checking all the fonts you use frequently, you can find your own list in this position.
✨About text knockout
If the comic lines need to be converted into other languages, there is a need to [remove all the lines] and leave only the dialogue box,
Although most of the text and dialog boxes in CLIP are in the same layer, don't worry, it won't cause trouble.
When exporting images,
As long as the text option is [unchecked] when exporting, the text will not appear in the image you export.
✨ Plot Editor
If you use the text tool in CLIP to create lines and want to quickly modify lines, you may consider the plot editor.
Page Management => Edit Text => Open Plot Editor
This function can also be used in [New Lines], but I am not familiar with it, so the official teaching is attached.
05 in the middle of drawing
I think that after the comic frame + dialogue frame + lines are settled, it is up to the illustrators how to present the screen.
It should be said that my painting skills and creativity are not very good, and I can't say much.
If you are a creator who has not been exposed to CLIP before, I recommend this article I wrote before.
Can understand CLIP at the most basic level, and try to transform CLIP into a working environment suitable for you.
If it is about the lighting of the webtoon, or about how to blend the characters into the background,
Maybe you can refer to this article, a simple lighting tutorial I wrote.
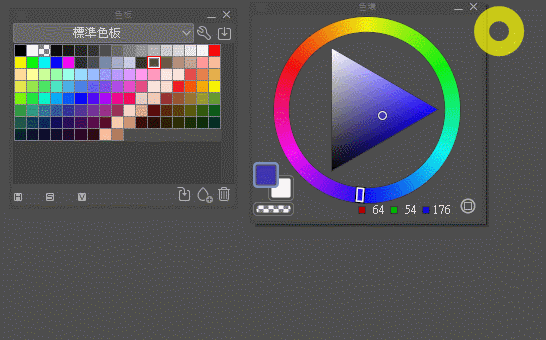
✨ In the process of drawing, I probably want to mention only one thing, and that is to make good use of the [color palette].
In the drawing process of color comics, some colors of characters are fixed, such as skin, hair, and eyes.
Use the color palette to quickly select the color you want.
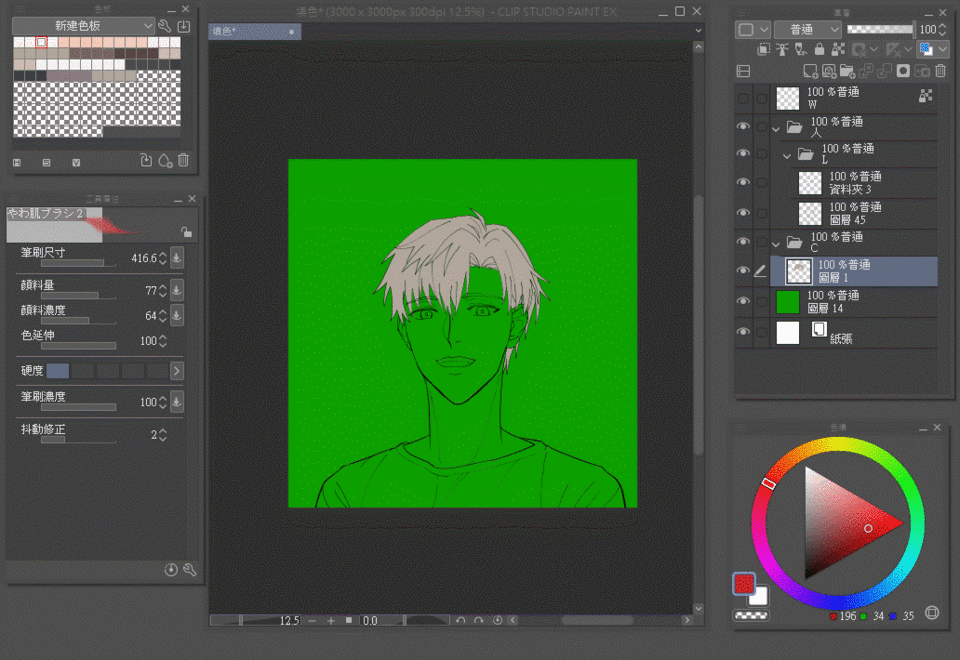
[Swatches] The wrench in the upper right corner of the panel opens, and you can add a new setting = create a new color palette.
Press OK to get an empty one.
If you want to fill the color palette with the color you want,
On the swatch, press and hold ALT on the keyboard, and the mouse will automatically become a coloring tool.
You can fill in the colors you need into the color palette one by one.
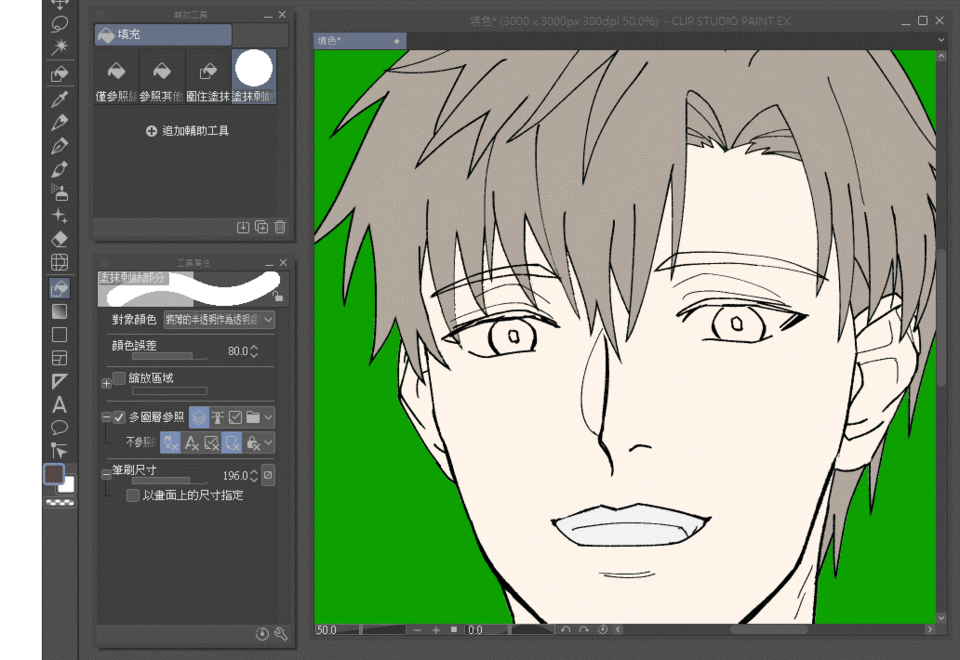
In addition, there is a need to make good use of the fill tool.
Personally, I am not used to directly filling in the color with the paint bucket, so I will first get used to using the magic wand to select the range.
But no matter whether you use a paint bucket to fill in the color, sometimes some corners will not be filled immediately,
At this time, you can try the special coloring function of CLIP.
Enclose and fill and Paint unfilled area
They are all ways to help you color quickly.
Can refer to official teaching
06Export file
When the manuscript is finished, first click on the previously created directory,
File [File] menu in the upper left corner
=> Flatten the image and write [Export (Single Layer)]
=> .jpg (select the file type you need)
If the original image size is not required when exporting, it needs to comply with certain platform or submission rules.
For example, if you need a thumbnail with a width of 800px, you can directly enter 800px in the specified output size -- width.
Don't worry about the height, because although the height of the picture files in the whole comic is inconsistent, the width is the same.
The exported pictures actually use the same zoom ratio uniformly,
For example, on my screenshots, they are all uniformly scaled to 26.67%,
Therefore, the zoom ratio of the exported image will not be lost, and the width will remain set.
——Some of my own opinions = experience
Most of the viewers who appreciate Webtoon mainly use their mobile phones to watch by swiping up and down.
So sometimes when you want to draw some larger pictures, or emphasize the part of the plot,
I have to estimate how many images can be displayed on the screen of the mobile phone at one time based on the storyboard.
Early cell phone screens had an aspect ratio of 16:9, but that's pretty much obsolete now,
Now it is mostly 20:9, and there are 21:9,
I don't change my phone often, and the screen I'm currently using is about 18:9.
↓20:9 Approximate appearance
webtoon is not like traditional black and white comics,
Traditional page comics need to arrange the size of the picture frame in the limited space of each page,
For webtoon, if the space is not enough to display the picture that the author wants to express, just lengthen the canvas at any time.
So according to my personal preferences and suggestions, [the dialog box does not need to save space, it can be enlarged].
Although there are more young viewers watching webtoons,
But when people get older, like me, I prefer to read larger characters.
Regarding this point, if you are interested, you can observe those popular comics, usually in a large dialogue box with a few lines.
↑ There is another important point.
Unless you're drawing horror comics, most comics, regardless of genre, [readers actually like to look at the characters' faces].
So, sometimes, don't be stingy with drawing close-ups of your characters.
Next, it is probably necessary to observe more about the color of the dialogue box, or how to draw the special effects of onomatopoeia,
Try to make the picture look richer.
postscript
This article basically takes a quick look at the functions that may be used,
Even though you may not choose to create in the same way as I do,
But it is also possible to understand that the original CLIP has these functions and can be used.
The previous LINE WEBTOON works had strict upload rules, and the exported pictures often needed to be processed and cropped by themselves.
Now with the system update, the restrictions have been relaxed a lot. When the too long picture is uploaded in the background, the system will help to automatically divide it, so as long as you draw your work carefully, it has become very convenient in exporting and uploading. There will be no major obstacles.
Since the theme this time is a special collaboration with Line webtoon,
Let me just recommend my previous uploaded works by the way~!
But I mainly draw BL.
It would be even better if I could get an official recommendation. My work has never been recommended. XD”
(order from top to bottom, from old to new)
also,
I really hope that someone can find me to serialize comics XD
Welcome to contact through IG~
I also hope that the webtoon interface of the Taiwan version can keep up, as many functions are not available in the Taiwan version.
Hope this article helps you,
My IG
https://www.instagram.com/nelviy_manga/
Users who liked this post


Comment