(Clip Studio Paint + Webtoons) Starter Pack
When talking about making webcomics, of course the main thing we need is a story. After the story, comes genre.
Did you know that you can guess the genre of a story from the color choices alone?
Not only colors, there are lots to unpack about using CSP to create your own webtoon
There’s a video version too:
Workflow
There’s a ton of things to do in the process of making a webcomic. It could be overwhelming, so workflow is something that best should be decided before taking the plunge.
The workflow is totally up to you, arrange it to suit your situation and personality.
The most important thing is to estimate the time needed to produce an episode. This will determine how much episode you can dish out in a certain time frame.
Be generous with the estimation. Like budgeting, make sure there’s wiggle room in the schedule.
Not to mention writer’s block! Make sure to keep it in mind when determining the publishing schedule.
Readers will want more panels, more episodes and better art. That’s what we artists want too, alas we’re but mere mortals. Trying the impossible will burn you out and make you resent the project you love. Please put yourself first and foremost.
Get enough rest, drink plenty of water and stretch!
Character Design
Designing character might be one of the most fun part of planning the comic. The most important thing to design is the full body front view, followed by profile view and back view.
I have three methods of designing, two for characters and one for creatures or monsters.
Method 1:
There’s a ton of things to think of when designing a character. Like the height, weight, age, not to mention making the character distinguishable.
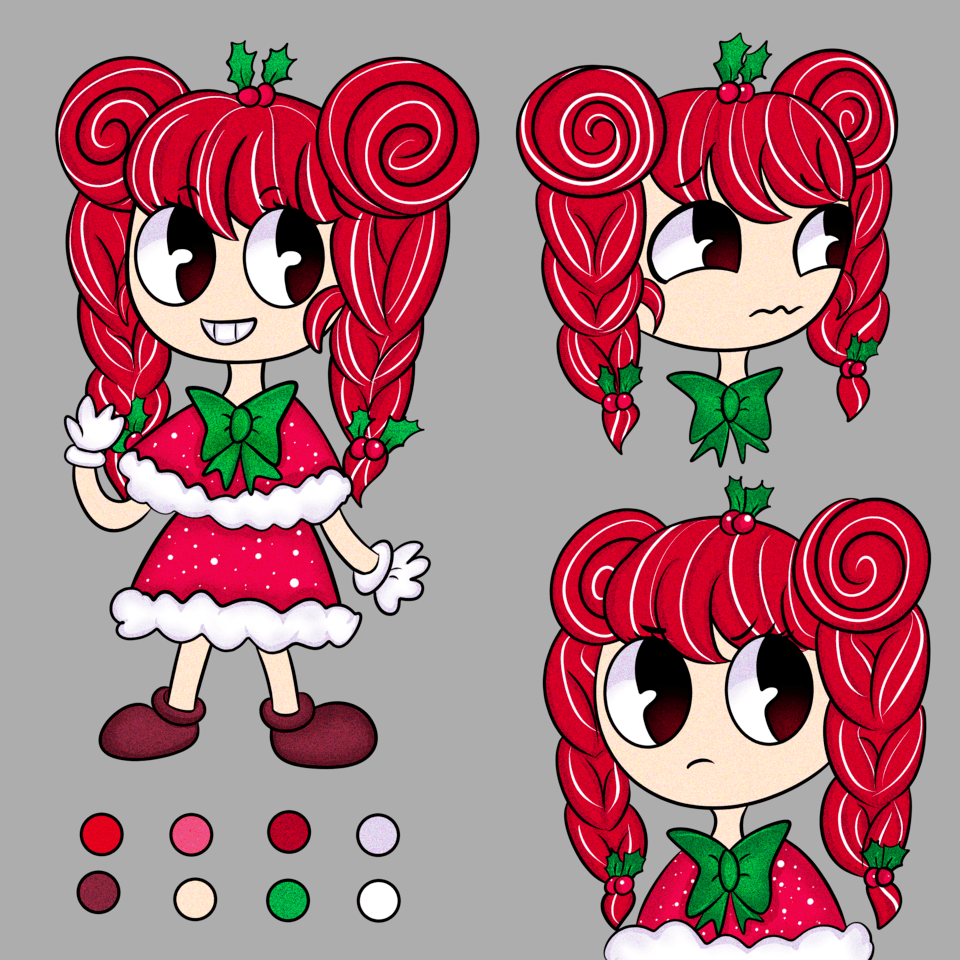
Well, we can kick these three out of our mind and just focus on the uniqueness of the character with this chibi template.
You might think chibi isn’t your style, but it’s very versatile.
I came up with these designs in under 5 minutes each. If I have to draw in full size proportions, it will take way longer.
Because it takes so little time, you can dish out many variations and pick the one you want later. From kids to adults you can use this single template for any kind of character.
Once you came up with a design you want, draw the character in profile and back view. Back view is optional, but if you’re designing a unique costume, it’s recommended to draw the back view too.
Next up, decide the colors and put it inside the circles. Add explanation if you think you’re going to forget.
For shadow color, instead of deciding on unique color for each base colors, use blending mode like Multiply, Hard Burn or Linear Burn. Because it’s universal, you can shade everything in a single color, meaning less mistakes and speedy work flow.
Draw extra info you think important in the space underneath the heads.
And here’s the result. Looking good, right? You can turn your design sheets into a book for your fans or something!
Method 2:
The next method is roughly the same as chibi method, but using a full-sized template.
This model here is just a guide, not the most accurate. Can be used for both male and female character when adjusted. Like increasing the shoulders’ width for men and increasing the hip’s with for women.
There’s no need for front and profile view head templates since both already drawn when we design.
If you want to design younger characters with smaller proportions, here’s a chart from my other video.
Method 3:
For creatures and monsters, it depends on the type. For example, when you design a cat in front view there’s little point drawing it standing up. Like, there isn’t much to see.
So best to draw it sitting down upright. In profile view, draw it standing up to inform how long and tall the cat is.
In back view, we don’t want to see its butt, so draw it sitting down again. Take the chance to design the fur on its back.
For monsters, if you dont have a clear idea yet, draw the silhouette first in black, then move to the details. You can draw it in profile and back view if needed.
Balloons and Text
There are different balloon shapes available by default. Circle for dialogue and sometimes thoughts, square for monologues and polygon for calls. There's freehand balloon tool too if that's what you prefer.
When you type texts into balloons, CSP will place the text in the middle of the balloon.
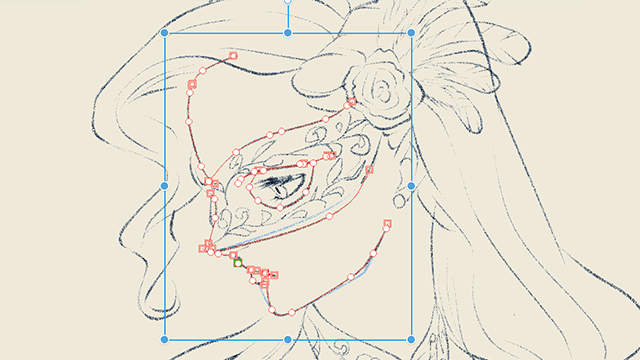
Since the balloon is made of vector, you can adjust the shape with Object Tool (hotkey: O).
You can also adjust the thickness of the balloon with Correct Line Tool (hotkey: Y).
You can also create custom balloons like these. I demonstrated how to make a custom balloon in the video.
There are some things that makes the balloons look better. Here’s the basics. Give a comfortable gap between the border and the text.
Arrange the text into a curved silhouette when possible.
Create New File
In Clip Studio Paint there are various type of files. PRO version can be used to make webcomics, of course. But in EX the file management is way easier. In EX, you can create a file that contains multiple .clip files.
As you can see, we can see multiple .clip files inside CSP. No need to go back and forth to File Explorer to access the files.
There are special features too. We can change the size of every file just with one menu. Right click the empty space, click Change project settings. Change the numbers and click OK. You’ll see every file size change.
Another feature is to sort file names after you rearrange the files in CSP. Let's name the first and second file 1 and 2 respectively.
Let's make 1 page three and 2 page eight. Right click the empty space, click Sort page file names. 1 on page three and 2 on page eight. Practical.
3D Background
There are tons of models sold out on specialized websites, but that doesn't mean there aren't gems in Clip Studio Assets.
This is the model I'll be using in this tutorial.
I also follow cli-pose. Search for this user if you need 3D models, especially for human poses.
Anyway, drag and drop the model to the canvas. More sophisticated models allows us to remove some parts of it, making it adjustable. Like here, I removed one of the walls.
After fitting the model to the scene, extract the lines. Clip Studio EX has LT conversion feature where you can extract line art from 3D models.
We can use the Angle > Preset to move the camera around the 3D model.
Step-by-Step
After done with sketch, I want to typeset. I don’t like typing one by one on CSP, so instead I’m using notepad.
To insert the text, I go to Story > Edit Text > Open Story Editor.
This give you access to edit the text of any of the .clip files on the left. Very useful if you're the type to write a script first than making sketches.
Let's input the text.
It appears on the page right away as a block and is too small. Using Text tool, change the size. Press Shift, select the text I want to enlarge, right click, then Apply Tool Property to Text.
To separate the lines, go to the text editor. Click the end of one line, press enter twice to separate it from the line below it. Do it for to rest of the lines.
Now that they're separated for good, I'll continue with the balloons.
After line art, time for base color. Some people prefer Color Set, but I love Sub View way more because it's visually more intuitive.
Drag and drop the reference to Sub View window then use it to pick the colors.
For small gaps where the color don't reach, use Close and Fill tool. Circle the small gap you want to color and it'll be filled automatically.
For SFX, I create a new layer and use border effect so the SFX doesn't blend into the picture. Next up, visual effects. For the dash effect, I created another layer with border effect. This time the border is black.
You might be wondering why I was drawing usual comic page when this tutorial is about webcomic. Now I'm going to move the panels to webcomic style canvas. Merge visible to new layer.
Select each panel with Rectangle Selection tool and paste onto the webcomic canvas.
To make sure there are sufficient gaps between the panels, go to View > Grid. To change grid settings, go to View >Grid-Ruler Bar setting. I want 400px between the panels, here's my setting.
So, why did I draw a comic page first instead of straight to webcomic? Because I want to be able to make an e-book version of my comic. It'd be harder to do if I start with the webcomic version.
Preview
Time for previewing before the big release! You can click this icon here to preview it in your smartphone. A QR code will appear. You need CSP on your phone and internet connection though.
I only have a tablet and this feature isn’t available on tablet, so I can’t show you. Sorry.
There’s a way to preview without a phone, too. Click View > On-Screen Area (Webtoon)
Zoom in and see how it'd look like on a phone.
Exporting is easy. Go to File > Export Webtoons. It’s available on both PRO and EX. Page range is only available for EX, of course.
You can specify the width to 800px and divide vertically by 1280px to meet Webtoons file requirements.
Upload
Now is the time for the very last step, publishing. If you’re making a new series, this is the page you’ll see first. For the thumbnail and cover, there are size requirements right below the upload box.
Webtoons has a ton of category choices. You need to pick the first category before being able to access the second one. I chose comedy for the first and cannot pick it again for the second.
Here’s the episode upload page. There’s an episode thumbnail box with different size requirement than for the series.
There are two ways to upload the episode, let’s try Upload from Clip Studio Paint first. When you click it, a new tab will be opened. Click “Open Clip Studio Paint.”
The latest files you created with CSP will appear, select the webcomic file(s).
Another way to upload is directly from file. Drag and drop is fine too.
Scroll down a bit to preview the comic if you want to. We have previewed the comic in CSP before, so it doesn't really matter.
You can disable comments if you want to.
There are two options for publishing. Schedule for later is really neat for people who prefer to get the episode done ahead from publishing schedule.
That's it for now! I hope you find the tutorial useful.
I'll be adding templates download link ASAP.
See you next time!


Comment