
Introduction
Never used vector layers! I don't know how convenient it is!
This tutorial makes me want to use vector layers
I will teach you three useful functions.
Be sure to check out the video version as well.
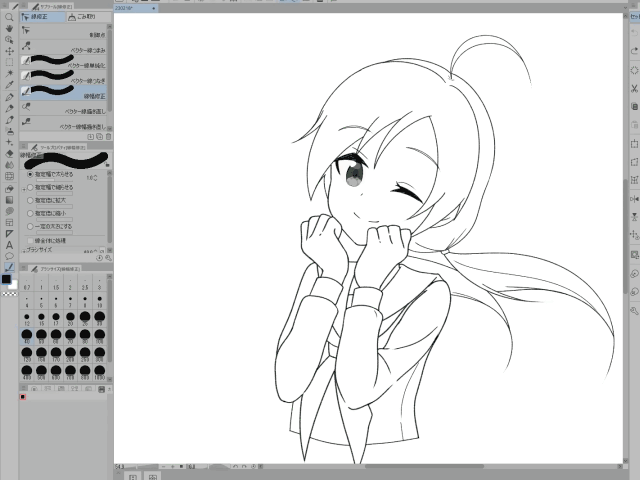
What is a vector layer?
A vector layer is simply a layer for drawing lines.
Since the vector layer records line trajectories and pen pressure information,
You can easily zoom in and out and edit later.
However, you cannot use fill on vector layers.
This is because it is a layer in which only line information is recorded.
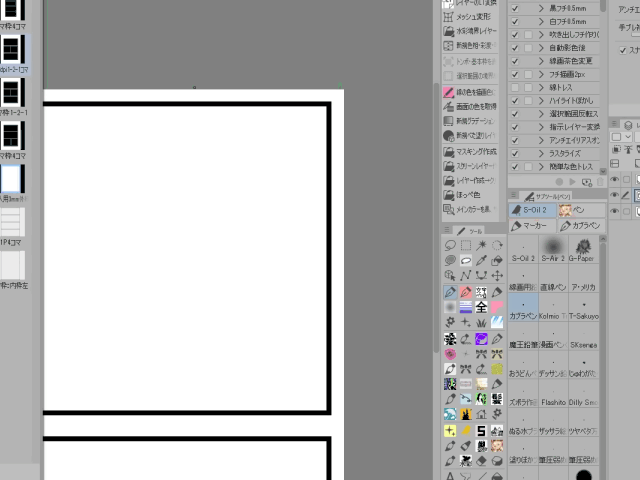
When you click the new vector layer in the layer palette
A vector layer is created.
Lines drawn on this layer will be vector lines.
If this icon is displayed, it is a vector layer.
Even if you just ask this, "What on earth is convenient?"
There may be some people who do not come with a pin
We will introduce useful functions that you will want to use without thinking.
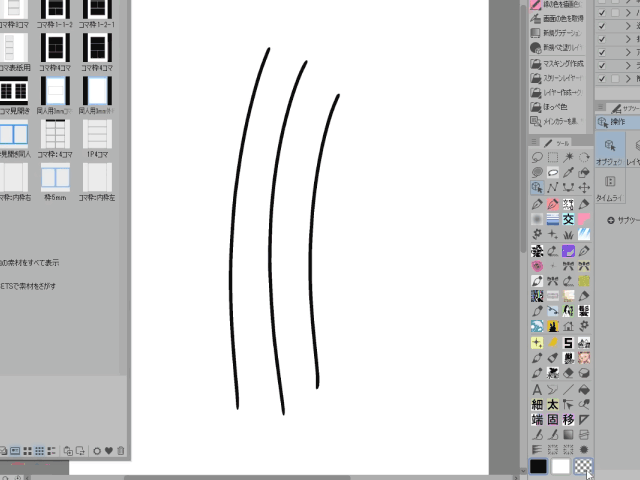
Useful function 1. Erase intersections

On vector layers, you can erase "up to the intersection of lines".
Select the [Vector] eraser from [Eraser],
Use an eraser with [Erase vector] set to [Until intersection] on the [Tool Property] palette to erase the protruding lines.
It's especially useful when inking hair or drawing backgrounds!
I draw the inking of the person on a normal raster layer,
Some artists draw only the background on a vector layer.

The [Vector Erase] setting of the vector eraser is
In addition to [touched part], only the touched part is erased,
There is an option called [Entire line] that erases the entire line touched by the eraser.
Let's use properly according to the purpose.
Change the tool settings for [touched part], [up to intersection], and [whole line].
It is convenient to keep them separate.
I have set the shortcut key E to switch between these three.
It is also useful when drawing balloons.
After growing the tail, erase unnecessary parts with the intersection eraser
It will be completed in no time.
In addition to erasing vector lines with an eraser,
It is also possible to erase with the method of "Overwrite with a transparent line".
The lines are not erased as if they were erased with an eraser, but
Because vector lines may be unnaturally missing if erased with an eraser due to specifications
We recommend that you use a transparent color for detailed corrections.
Useful function ② Various correction functions - line correction tool
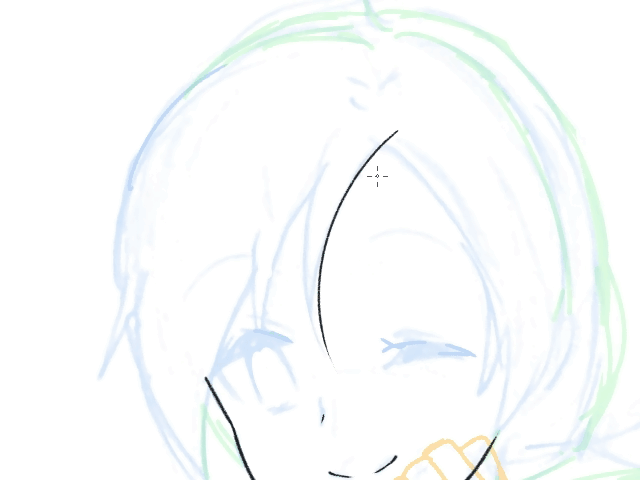
When it deviates from the draft line,
If you draw on a raster layer, you have to redraw it, but...
If it's a vector layer, use the line correction tool like this!
I lifted the end of the line a little and moved it to the desired position!
For the time being, draw a nice line with momentum,
You can fix it later.
Click the [Correct line] tool from the tool palette,
Select [Vector line knob] in it.
・[Both ends fixed]
Both ends of the line are fixed, and you can adjust how the line swells.
・[Fix one end]
This is the setting I used to fix the lines in the video above.
You can pinch the end of the line and move it to your desired position.
・[Both ends free]
Both ends are free. Compared to the above two, you may not use it much.
You can set how the line bends in the property [Pinch adjustment].
I think stronger settings are easier to edit.
After inking, I wanted to change the thickness of the line...
Even in such a case, the [Correct line] tool!
You can make it as thin or thick as you like with [Correct line width].
Because I'm not good at inking with thin lines,
I often draw thick lines and then use [Correct line width] to make them thinner.
How many times do I have to redraw!
This is a function that I would like people who are not good at pens to use.
Useful function ② Various correction functions - Change brush shape
There are still some great features!
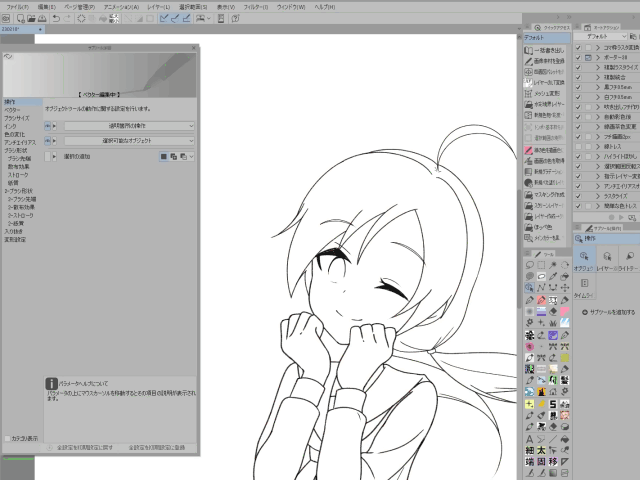
Various editing can be done with the operation tool.
I used a crunchy pen like a pencil to put in the pen,
I wanted to change it to a smooth line later...
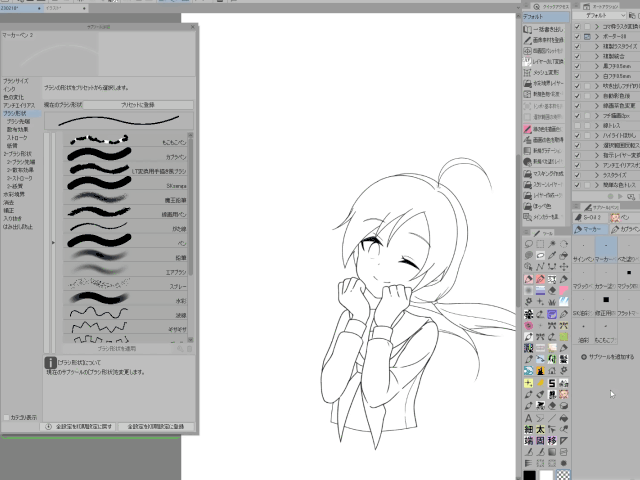
In such a case, you can change the brush shape
Currently, the line art is in a single layer.
Select all with Ctrl + A, and click [Select vector over selection] in the selection menu
A vector line is selected.
You can now edit it.
Select a brush shape on the sub tool detail palette, select a brush with a shape you like
Click [Apply brush shape]
The line changed! It's amazing that you can change the type of pen without redrawing!
Dotted lines or anything registered in the brush shape preset
Any material can be changed.
Registering presets is easy,
With the pen you want to register selected
Click [Current brush shape] [Register to preset] on the sub tool detail palette.
You are now registered. When the brush you want to use is not in the preset
Register your favorite materials.
Useful function ② Various correction functions - anti-aliasing effect settings

I accidentally inked with anti-aliasing turned off!
The line is rattling. I tried my best to draw it...
You don't have to redraw, if it's a vector layer
Select the vector line as before,
Select anti-aliasing on sub tool detail palette
You can change the settings for the anti-aliasing effect here.
Choose from [None], [Weak], [Medium], and [Strong]!
Now the lines are smooth with anti-aliasing!
Convenient function ③ Resistant to deformation
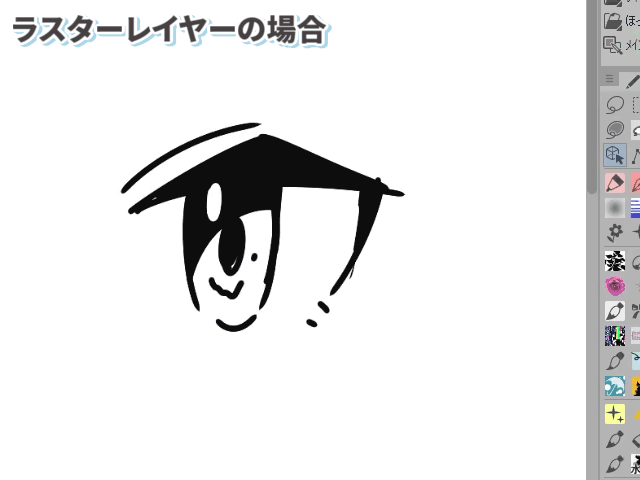
When I scale the lines on the raster layer, the lines become blurry.
But if you draw lines on vector layers, they will stay beautiful no matter how many times you scale them!
When I draw with my hand habits, my head is often too big and I can't balance it, so
I really appreciate being able to make any adjustments.
at the end
These are the 3 recommended useful functions for vector layers.
"Even if you can't draw well, you can correct it later and make it a good picture"
It's full of great features, so please try it out!
Users who liked this post


Comment