Enhance your animations with Clip Studio ASSETS
Hello! In this TIP I will teach you how to improve your animations with Clip Studio PAINT Assets, these free and paid resources that we can use within Clip Studio PAINT.
You will realize that we will be able to improve our illustrations or animations in a quick and easy way.
Don't believe me?
Check out what we will learn below ;)
What we are going to do
We will start with this animation:
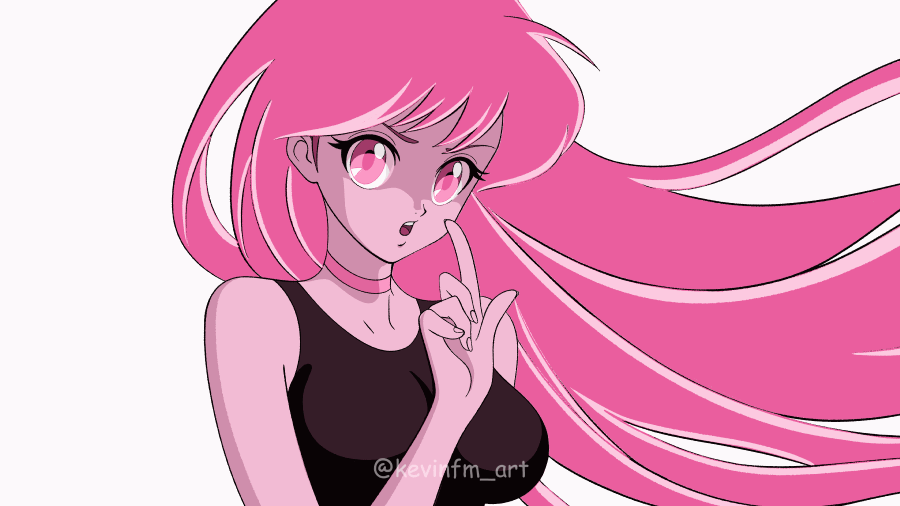
To finish with this animation:

You will see how simple it is and the great result we can achieve.
That is why I invite you to watch the following tutorial:
VIDEO: Improve your animations with Clip Studio ASSETS
Don't forget to activate the subtitles in your language, you will surely find them ;)
What did you think of the video?
We were able to see how easy the process is and how we can achieve a great result.
Step by step process
Now we will see a step by step process:
1. Original Animation
We'll start with this animation, no background and no effects.
That's what we'll add in this tutorial.

2. Fund
Now we will download one of the following Assets
Once we download it, it is automatically installed in Clip Studio PAINT, we can see it in the Material window in the Downloads folder.
Before using this background, go to the layers panel to create a new layer folder, named: Background.
And now if we go to the Material window, take the galaxy background and drag it to the work area.
We scaled it to fit the work area
Then we go to the layers panel and create a new raster layer below the galaxy background.
We paint this layer a dark color, either black or blue.
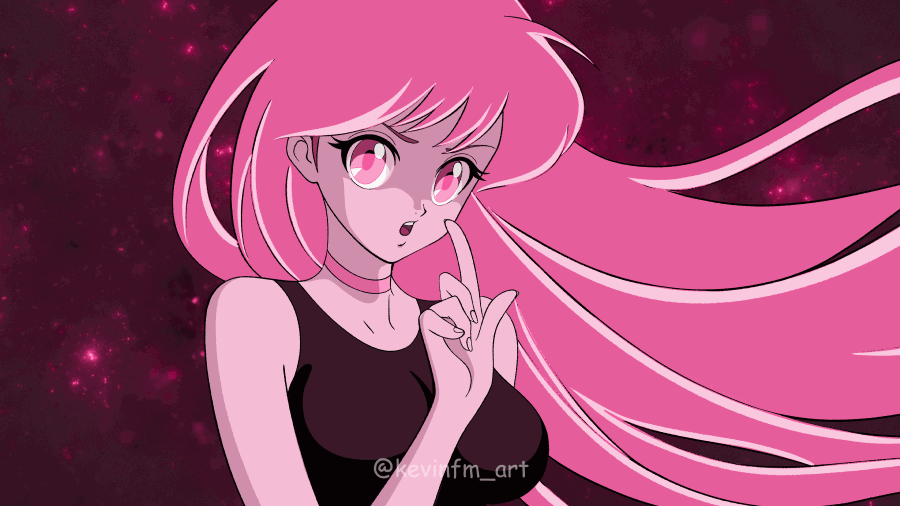
At the moment we have the following result:
3. Magic Brush
Now we are going to download the following Assets
When downloading it we must go to the Material, Downloads window, and when selecting it at the bottom we have to install it in the option: Paste selected material
Finally we confirm with the OK button
In the Brush tool, in Subtool we have the magic brush installed that we can use from now on.
4. Magic Power Animation
Now we'll start with the most important part of the tutorial, the girl power animation, but this will be very easy to do with the help of the brush we'll use, which we downloaded earlier.
The first thing we'll do is go to the timeline and create a New Animation folder:
We changed the name and created a new animation cel
And we draw some rays with the magic brush
Then we select the animation folder in the layers panel, go to blending modes and change it from Normal to Add (Glow)
Making the rays look like this. Much better, huh?
Now we go to frame 2 to create a new animation cel
Don't forget to activate the onion skin to see the previous drawing and use it as a guide.
And we make the rays of frame 2
In frame 4 we create a new animation cel
And we make the rays of frame 4
Now we go to frame 6 and create a new animation cel
And we draw the rays of this frame
Now we go to frame 8 to create a new animation cel
And we draw the rays of this frame
Now we go to frame 10 to create a new animation cel
And we draw the rays of frame 10
Finally we go to frame 12 to create a new animation cel
And we draw the rays of this frame
Once we have finished we are going to cut the duration of the lightning animation folder leaving it at 12 frames, we do this by taking it from the end.
And then we duplicate this animation with right click: copy
And in the next empty frame, with the right button we activate: Paste
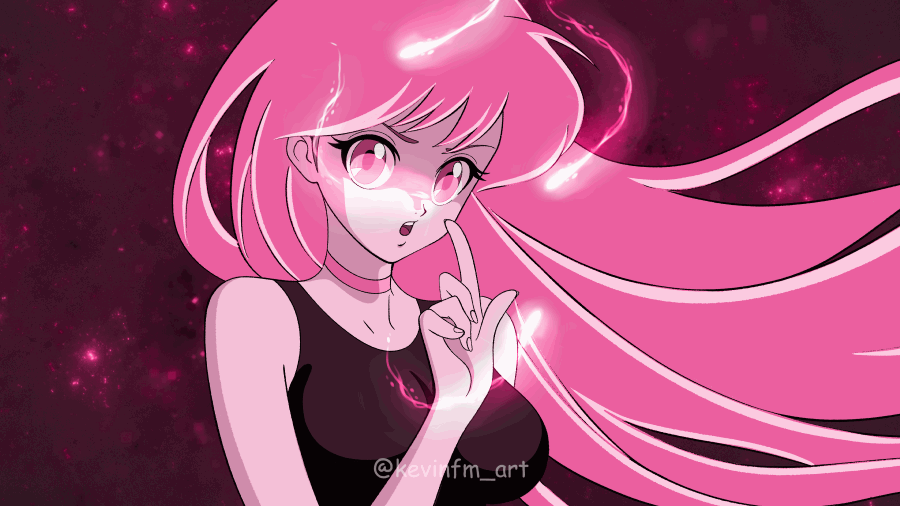
Achieving the following result:
5. Color Animation
The next thing we are going to do is create a new animation folder
And then inside this animation folder we create a new animation cel on frame 1
Now we select the newly created Animation folder and in the blending modes we are going to change from Normal to Hard Light.
Let's go to frame 12 to create a new animation cel
And we painted the entire work area blue.
Then we go to frame 13 and activate Assign cell to frame
In the window that appears, we select drawing 1, which is an empty drawing.
Then we go to frame 15 and create a new animation cel
And we painted it red
Finally we go to frame 17 and activate Assign cell to frame
And we chose drawing 1
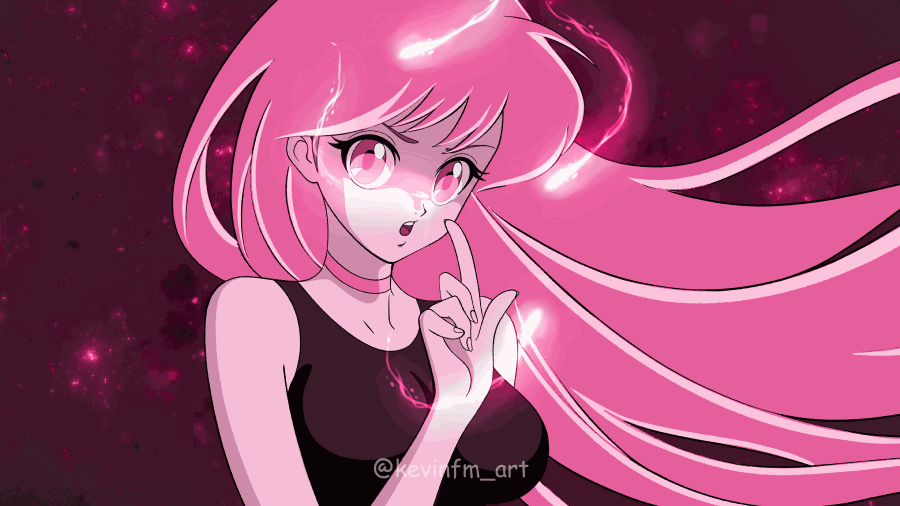
And so we managed to have a simple animation of colored flashes
Achieving the following result:
6. Little glow
Now we go to the layers panel to create a new raster layer
We change the name and in the combination modes we choose Add (Glow)
We select the Airbrush tool, in the Soft subtool.
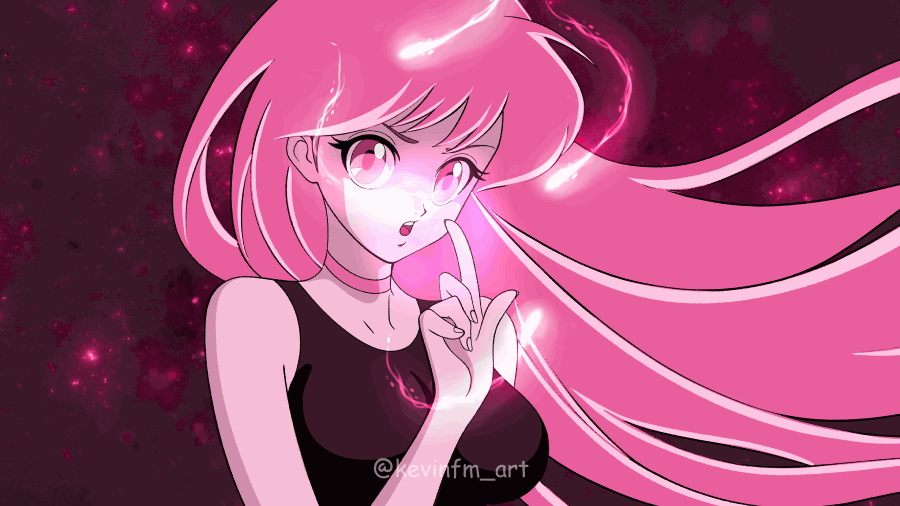
And we painted the little glow on the girl's finger
Achieving the following result:
7. Final glow
Now we go back to the layers panel to create a new raster layer
This layer will be above all the layers in the project and we go to the blending modes changing from Normal to Add (Glow)
Then we select the Airbrush tool but this time the brush size will be much larger than the previous glow.
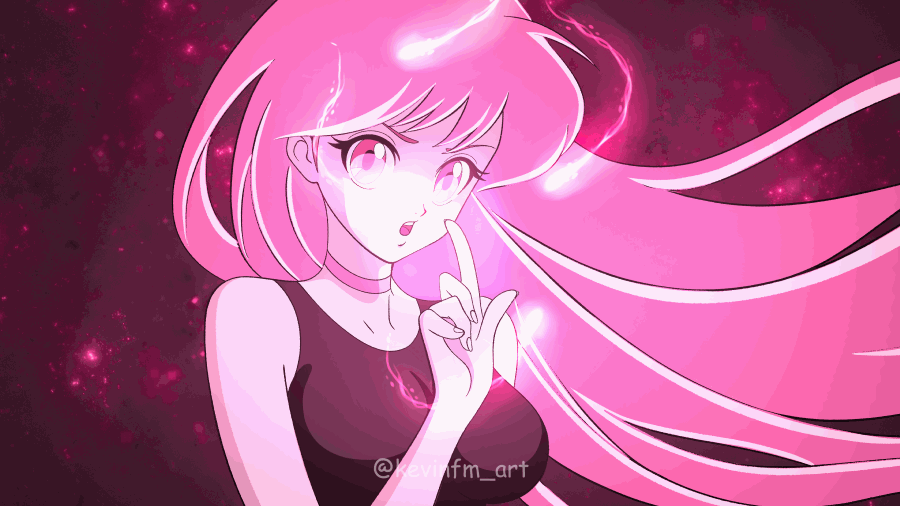
By painting we achieve the following result, the magical power is even brighter.
Achieving for the moment to obtain the following animation:
8. Final edition of the fund
Now we are simply going to duplicate the background layers, to do this we select the galaxy layer and right-click: duplicate layer.
And in the blending modes we change from Normal to Add (Glow)
With the colored background we are going to do the same, we select it and with the right button: Duplicate layer
But in blending modes we change it from Normal to Multiply
Thus obtaining the following result:

9. Export your Animation
Let's go to File, Export Animation, Movie
We changed the name
If we want we can edit the size of the animation video
And we wait for it to be exported.
10. Final Animation
This is the animation we were able to achieve. It looks amazing, doesn't it?
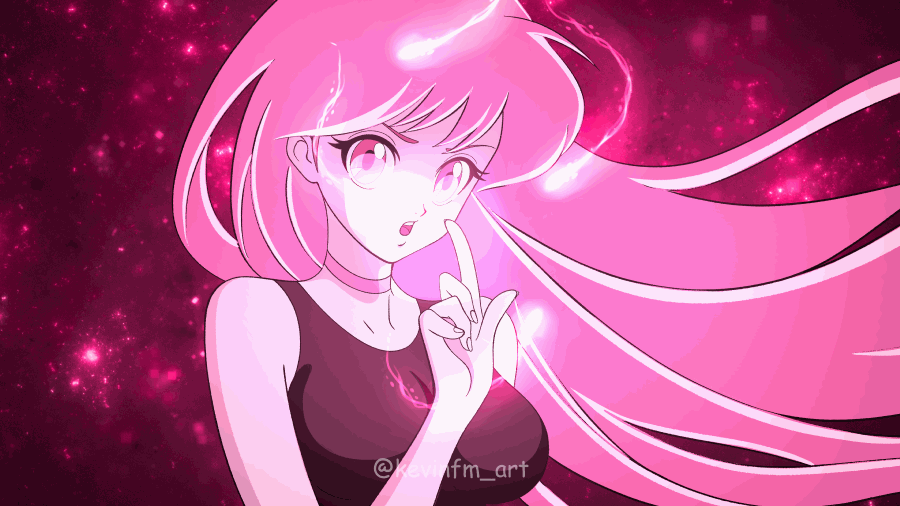
And we did it simply with the help of Clip Studio PAINT Assets.
I hope this TIP has been useful to you and that you too can greatly improve both your illustrations and your animations with the help of Clip Studio PAINT Assets, which as you can see, can be very useful.
See you in the next TIP.


Comment