Draw Fire : A Comprehensive Tutorial
Introduction
In this tutorial, we’ll break down the basic shapes and elements of fire, allowing you to understand its anatomy and flow. We'll explore the different forms and intensities of fire, from match flames to fire explosions.
I’ve included a full video of all the thought processes, tools, colors, and techniques. I recommend watching it to get a full grasp on understanding flames.
However some information may be exclusive on this post. Same thing for the video as well. So feel free to pick which ones you’d like.
The Science of Fire
Fire is a chemical process known as combustion. The three essential elements such as fuel, oxygen, and heat which are frequently referred to as the fire triangle, produce energy in the form of heat and light. Add in the fourth element, the chemical reaction, and you have a fire "tetrahedron." Remove any of these and fire will cease to exist.
The Colors of Fire
The colors of fire are influenced by several factors, that includes the temperature of the fire and the materials that are burning.
- Red〜Orange (600°C (1112°F) ~ 1000°C (1832°F))
The lower temperature. It is the result of an incomplete combustion of fuel.
Examples : Candles, Campfires
- Yellow(1000°C (1832°F) ~ 1300°C (2372°F)
This indicates a more complete combustion of the fuel.
Examples : Candles, Campfires
- White(1300°C (2372°F) ~)
It is an indication of intense heat and emission of higher energy wavelengths of light.
Examples: Types of industrial furnaces, Intensely hot metalworking operations
- Blue(2500°C (4532°F) ~)
A result of a high concentration of a particular fuel or a combustion process producing a significant amount of carbon monoxide.
Examples: Gas Stovetops
- Chemical-based Colors
Certain chemicals, when added to a fire, can alter the color of the flames. These chemicals are often used in fireworks, stage performances, and other pyrotechnic displays.
Fire Palette
For the basic palette, the match flame shows how it layers itself.
These are examples of flames that make use of chemicals.
※ Painting Process included in the Youtube Video Link
Here is how the colors and shade apply to each type.
※ Painting Process included in the Youtube Video Link
The Motions of Fire
Dynamic motion and energy can be created from these variations:
Gravity
Particles
Squash and Stretch
Wave
Size
S
Explosion
※ Gravity
- Gravity on earth determines how the flame burns. All the hot gas in the flame is hotter (and less dense) than the surrounding air, so they move upward towards the lower pressure.

This is how the variations look like in a different situations.

The shape and behavior of the fire can also be influenced by the size of the material it wraps itself around, and the wind. When there is wind, the flames tend to lean and bend in the direction of the airflow.
Fire Interaction
Here is my character, a two tailed half human fox, wielding blue fire swords, and showing how the movement of the sword influences the flow of the fire.

As you can see, when the fire is included, the atmosphere of the over-all illustration changes, with the colors reflecting on the character. And how the size of the sword, the surrounding air, and the movement of the holder has effect on the fire's over-all appearance.
This is how the light of the fire reflect on its surroundings.
List of Tools and Filters
Tools
These are the following tools usually chosen to paint fire.
d Pen > G-Pen(P)

a Fill(G)

g Eraser > Hard(E)
For refining the shape more or for erasing soft edges to make it sharp.
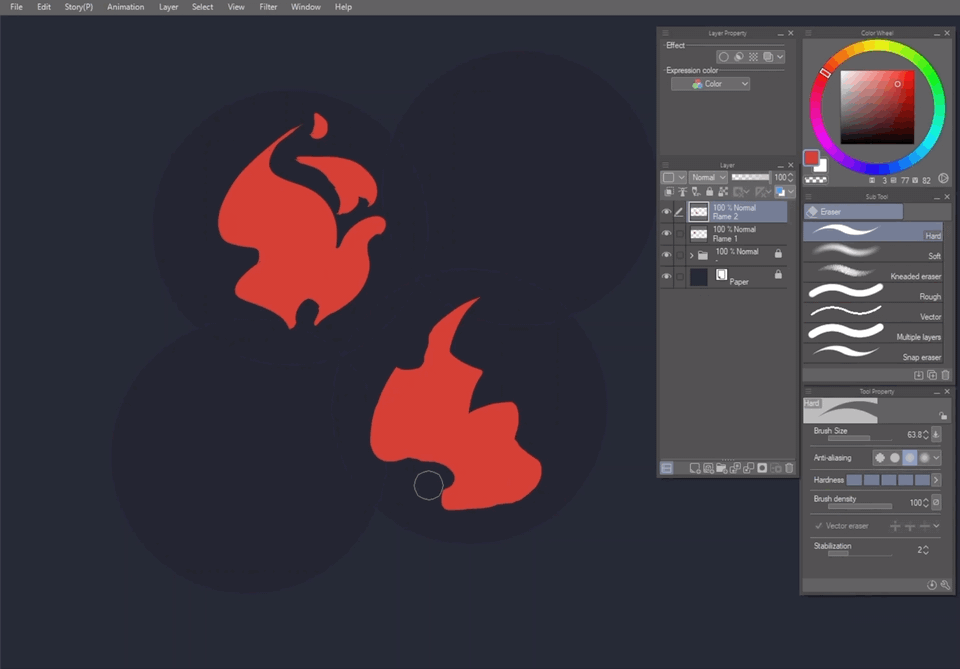
f Figure > Ellipse(U)
I use this for explosions and cloud-shaped fire.

This is how it turns out after when shaping it.

b Lasso(M)
I find this useful mostly when I use it for Gradient Fill (New Layer + Lasso Tool + Gradient Using Foreground)

c Airbrush > Hard(B)

g Eraser > Soft(E)
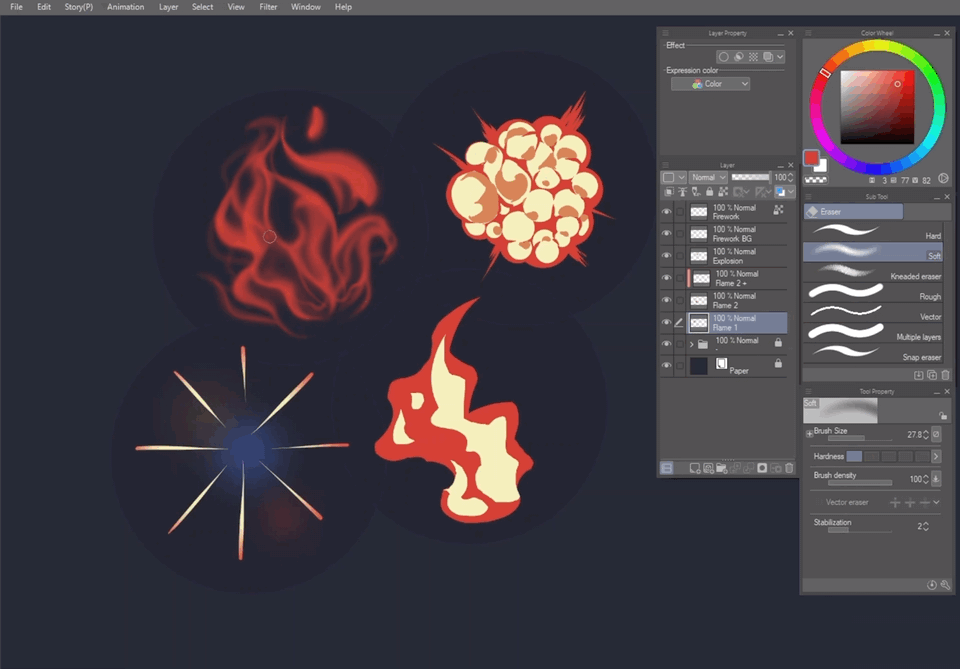
h Blend > Finger Tip(J)
I recommend this the best when you are in a hurry to make flames as this blurs while you drag the it towards the direction you prefer, while also blending the colors and changing the shape.

i Custom Pen Brush(P)
I use this for creating fireworks. I recommend this for that powder particle effect when creating the lines.

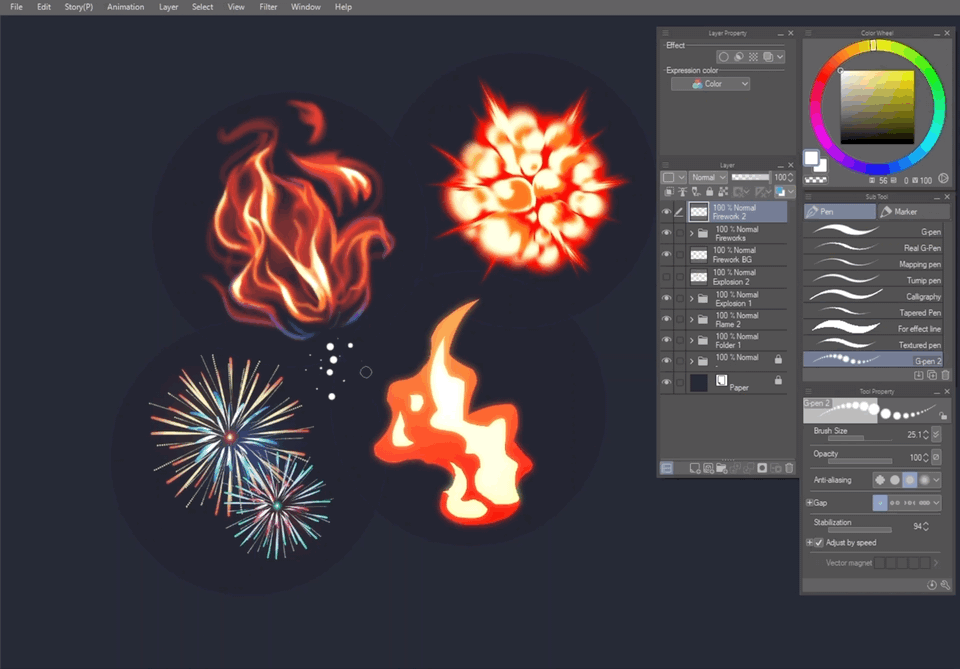
How to create the Custom Brush :
c Airbrush > Soft(B)
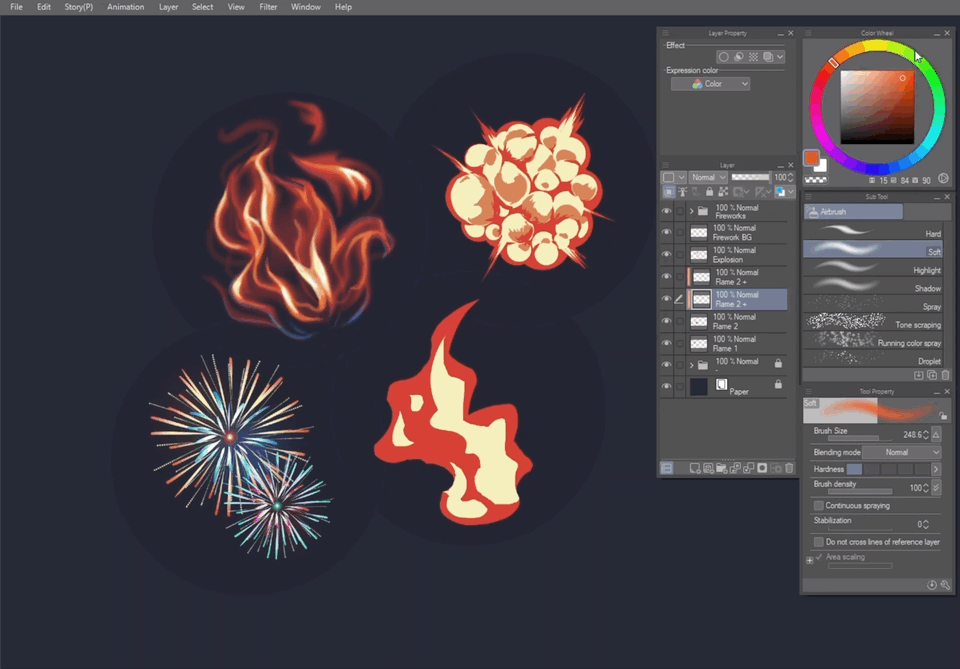
f Figure > Lasso Fill(U)
If you plan to fill with a lasso tool + fill tool, this does it faster. It's also helpful for jotting down the shape and skipping the sketch phase. However if you want to use gradients or patterns to fill something just use the lasso tool.

h Blend > Blur(J)
I use this whenever I only want to blur certain parts. If I'm planning to add more to the painting I would just stick to a soft brush.

Blurs and Tonal Adjustments
You can adjust the color and brightness of the fire through blending modes and tonal corrections. When paired with the blur filters such as gaussian blur, motion blur, and radial blur, you can create glows, bokeh, explosions, or fireworks.
Hue/Saturation/Luminosity
I use this to create multiple multicolored effects.

Level Correction
Adjust color intensity of the fire according to your preference.

Gradient Map
If you plan to paint fire in grayscale, and then include the colors later, simply use Gradient Map to add colors.


Blending Mode
Another way of adding color intensity according to your preference. However I can also use this to create glows paired with the blur filters.

Gaussian Blur
I use this mostly for glows.

Motion Blur
I use this to create a feeling of movement. For fire, it gives that whispy feeling. Pairing it with blend mode gives that whispy, glow effect.
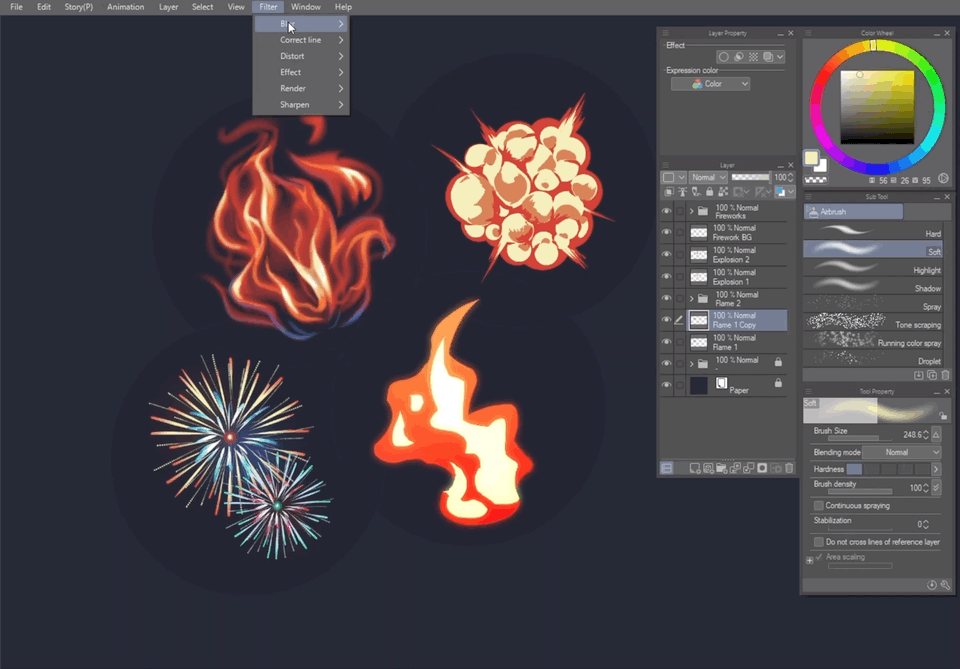
Radial Blur
I also use this to create a feeling of movement but at the same time for sparkling effect.
Use this if you want to create explosions with impact.

If you want to create different fireworks, radial blur can be handy compared to manually drawing each stroke.

Comic Filter
Create fire for manga・comics through artistic filter and layer properties.
How to do Comic Filter:
Using the layer you painted to make fire, use Artistic to create Lines and make the colore have a Posterize Effect, then through Layer Properties choose Tone then Adjust Frequency.
You can have the option to use fire photos you took and have it part of the comic.
Artistic Filter

Layer Property

Step-by-Step Painting ( Flame )
Step 1
G-Pen + Fill Tool for blocking out the shape. Other recommended tools: Lasso Fill, Lasso Tool + Fill
Use a soft brush to soften the red color and add a hollow in the bottom middle by erasing with a large soft brush.
Use Finger Tip Blend Tool to create more waves as it produces a blurry effect at the same time.

Step 2
Add guidelines to where the higher temperature colors will flow along the shape.

As you paint along the guidelines, consider where the oranges will be more prominent without going outside of the shape. The part with the most amount of red will have more orange colors.

Continue the same for the yellows, yellows will not go outside of the oranges. Refine as you go.

Following the same procedure, add the color white without going outside of the yellow color. Continue Refining.

Step 3
Add whisps of red to create a sense of dissipitation of the fire. Soften the whisps with the Blur tool.

Refine the shape more by adding and erasing without losing the initial shape.

Step 4
Lastly, add the glow by using a soft brush in a layer above the painted layer, while setting it to your preferred blend mode.

Continue refining and blending.
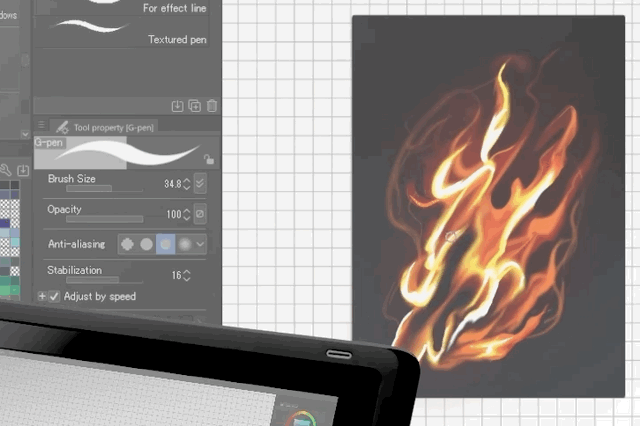
Step 5
On a separate layer, add dots using a hard brush, a soft brush, and a g-pen to show burning particles around the fire. You may also use other brushes that look like particles in Clip Studio Paints’ available brushes.
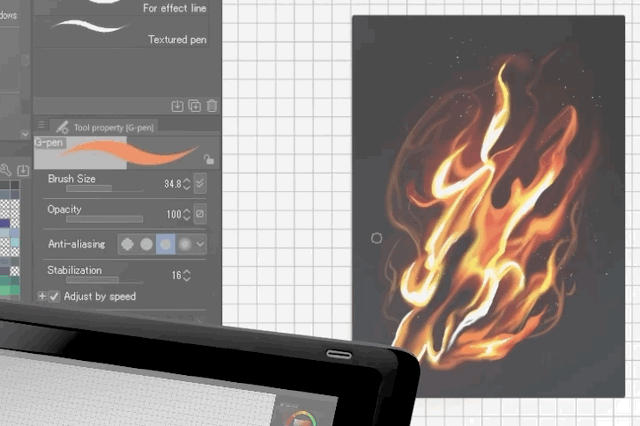
Use a gaussian blur filter to soften.

Refine again.
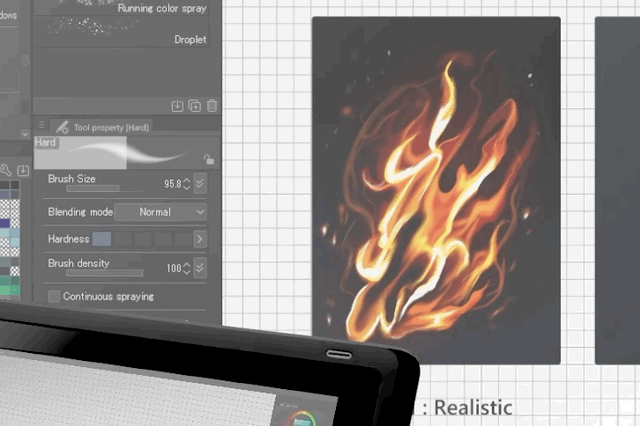
Done!
Thank You
Thank you for making it this far. I hope you enjoyed reading and viewing the video, drawings, and images I made only for this tutorial.
Please leave a comment if you have more questions. Have a good day!


Comment