3D Animation in Clip Studio Paint??
"Have you ever been pleasantly surprised by features you didn’t know about in Clip Studio Paint?" - Yes!!
When I found this feature by accident, I couldn't be more happy while using the app, and I had to start using it ASAP! There is just something special about a program that can do everything...
But….What do you mean 3D animation?
Below is a text guide. If you prefer the video format, click on the video here!
Yes, you read it right! Let us start from the beginning
First we start with the timeline, as usual (for animation in CSP). On the Timeline window click on New Timeline and select your preferred settings.
You can find the Timeline at the bottom of the screen or in the Window menu at the top.
Now we can add our 3D model to the scene. This can be humanoid, or a object with/without bones or sliders. Note that rigging is necessary if you need to move things in the actual model! Think of rigging as your skeleton, or joints to be more exact.
Next, we create an animation folder. This is where the animation will happen. There are other ways to do it, but this is by far, the easiest one.
The animation folder works almost like a normal folder, but it only shows one layer at a time, following the timeline. Theory apart, let’s add the model layer that we created on the last step, into this folder.
And, for your model to show, we must tell the layer to “show in frame x“. Simply click Assign cel to frame in the Timeline window, and your model should appear!
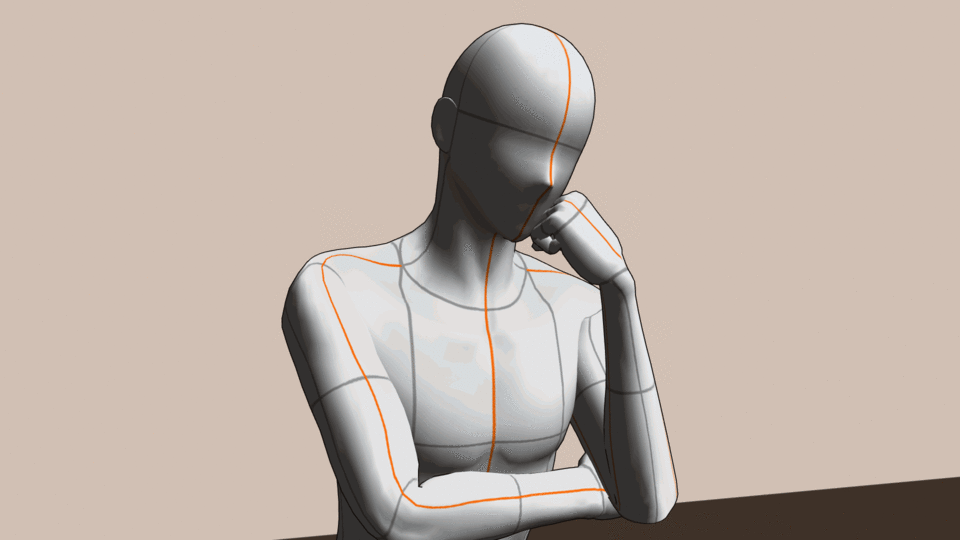
Go wild and make the first pose!
Where the magic happens...
If you think this is it, and that you need to repeat these steps for every single image, you’re in for a surprise! from here, it’s actually simpler, haha!
After you’re happy with the first pose, go to another frame in the timeline, and click New Animation cel.
Oh??
It duplicated the previous frame! Try making the second pose!
I know you must be itching to click play, but first, click on Enable onion skin, just on the right side of the other buttons. Next, create another cel in between the 2 previous ones, and voilà, now you have a guide for the middle pose, given by the “shadow“ of the other 2 poses!
Now you can play around with the timeline, adding more cels or assigning the now 2nd cel after the 3rd one for an easy loop. Click play and….. You have a 3D Animation!

What about things with sliders?....Like hands and facial features?
If you follow the same steps as before, and use the sliders or hand poses in CSP, you’ll have the same result! As long as 3D models have bones or sliders, you can always animate them! Not only that, but rotation, scale and movement always work, regardless of object! And facial features are no exception to the rule ;)
Because the animation cels now work like 2D versions of themselves, you can do pretty much everything with them. One cel is not dependent on other cels, so this means that you can edit anything you want, delete models, change colors, change scene, etc.
But what can I do with this??
Here are some ideas you can try out on your next animation project!
Scene changes from day to night with shadows
Complex movement
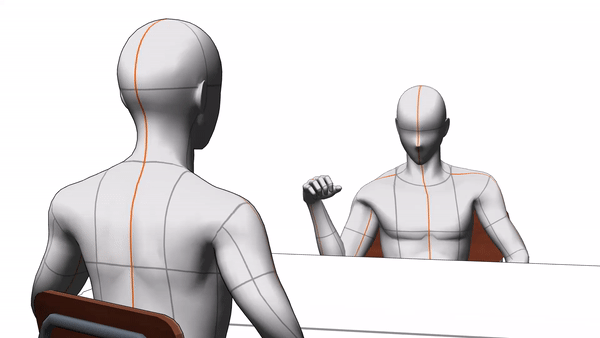
Interacting with 3D objects or other characters
Animated character turn arounds
Using sliders to change character expressions
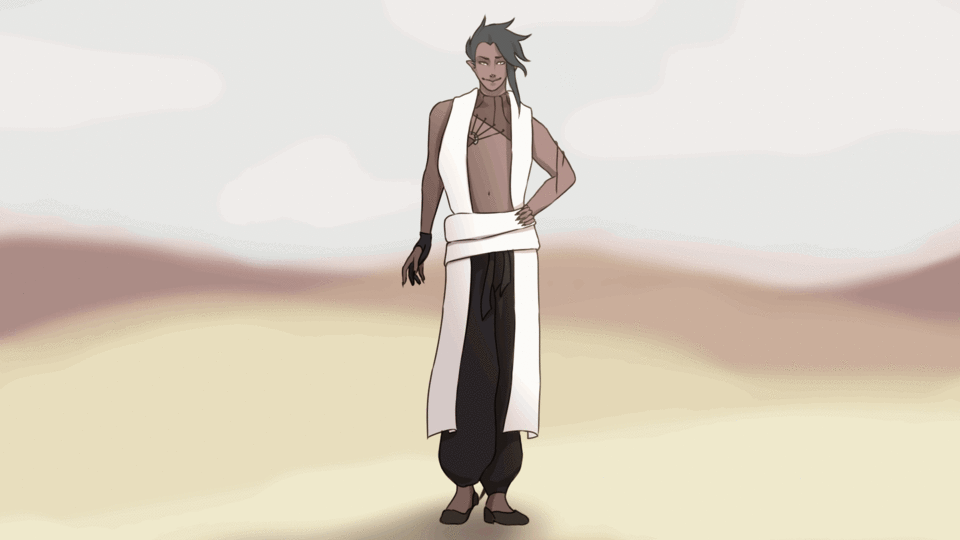
You can either use the raw 3D animation, or animate it in 2D on top!
Have fun!!


Comment