How to use selections efficiently for comics
The videos have subtitles in each language. Please turn on subtitles and watch.
Introduction
This time, I will explain how to use selection ranges, which are useful for drawing manga in Clip Studio.
If you use the selection range wisely, you can save a lot of effort and significantly reduce the time it takes to draw.
In the first half of this video, I will explain how to use selection ranges for efficient finishing, and in the second half, I will also explain how to use selection ranges, which are convenient for drawing backgrounds.
1. Convenient selection range for finishing
1-1. Finishing the character
I will quickly finish this character by making good use of the selection range.
First, I want to draw a black shadow on the eyes, but I want to make a selection only on the eyes so that it doesn't extend beyond the eyes.
In such cases, use this shrink selection tool.
Set the target color to black only, touch the mask part of the screen tone you want to select on the layer palette, and then surround the eye area with the shrink selection tool to select only the eye area. can.
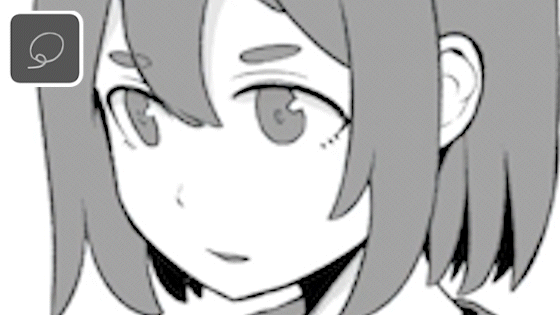
The Shrink Selection Tool allows you to select a closed area of line drawing or a painted area by surrounding it. If you have painted an area once, the second time you can select it in an instant by simply encircling the area you want.
This is useful when you want to apply a solid color to an area where a screentone has already been pasted, or when you want to layer more screentones.
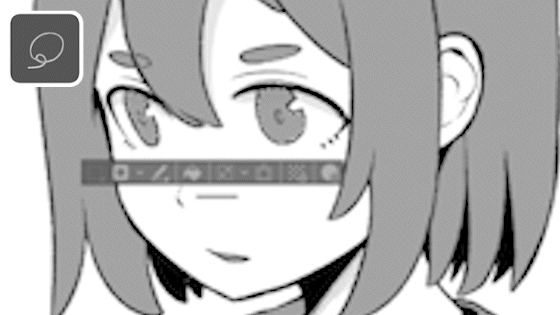
Another way to select just the part you want is to select the whole thing by holding down Ctrl and clicking on the thumbnail, then holding down Alt and using the Lasso Selection Tool to erase the parts you don't want.
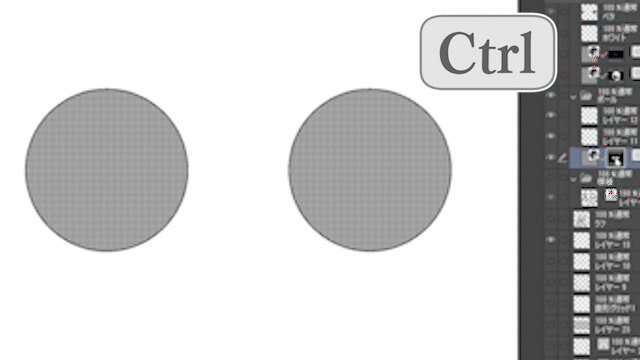
Just like when creating a selection from a layer, with the selection range tools like this, keep in mind that you can add by holding down Shift, and erase by holding down Alt.
Next, use the selection area to draw a line pattern on the clothes without extending it.
If you draw without doing anything, you will have to be careful not to let the line protrude, but if you surround it with a selection area, you can draw freely without worrying about it protruding.
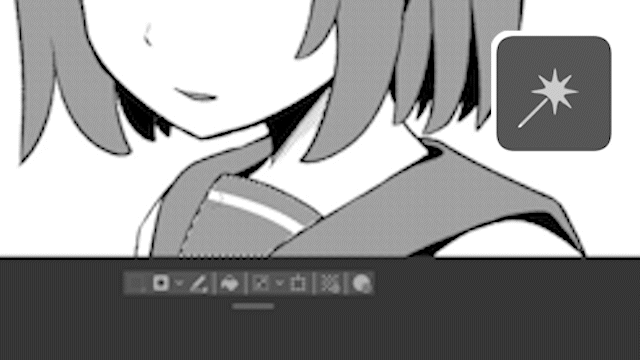
When you want to slightly adjust the pattern using the distortion tool (liquefaction tool), if you leave it as is, it will interfere with the neighboring pattern like this.
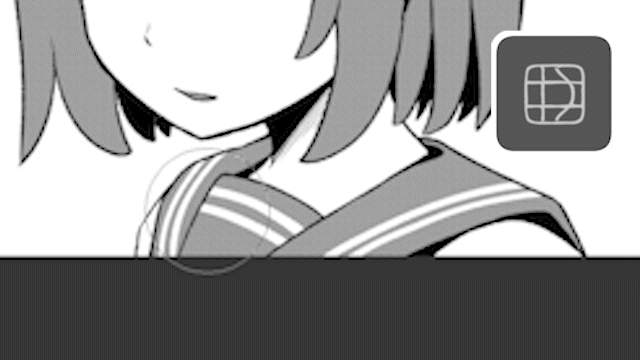
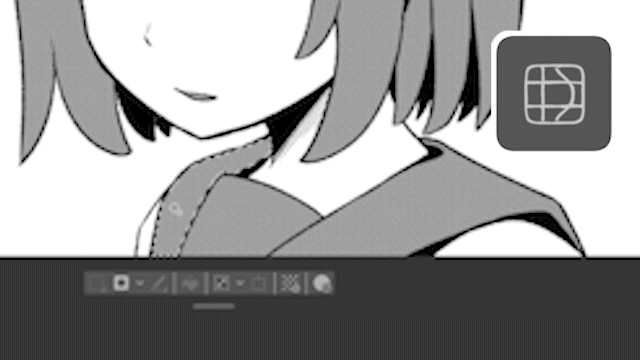
It is convenient to enclose the selected area and then adjust only the selected area.
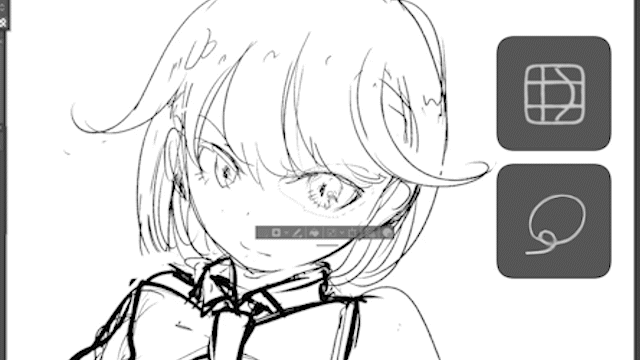
In addition, when drawing a rough sketch, you can select only the eye part and adjust it with the distortion tool (liquefaction tool). This is more flexible and convenient than free deformation or mesh deformation.
1-2. Processing of frames (panels)
I will explain how to finish when the character is on top of the frame (panel).
The upper part shows how to hide the character above the frame (panel), and the lower part shows how to hide the character in the frame (panel) using a selection range.
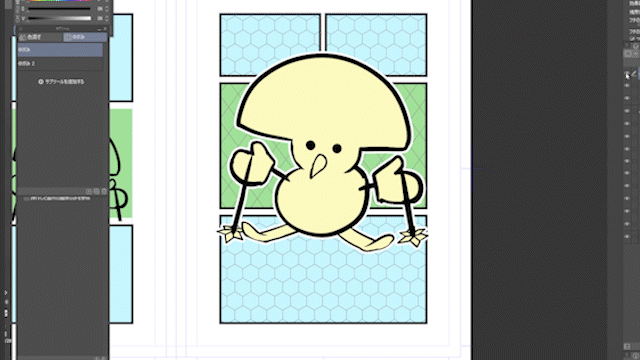
First, hide everything in the frame (panel) folder so that only the border of the frame (panel) is visible. In this state, if you Ctrl + click on the thumbnail of the frame (panel) folder, you will be able to select only the border of the frame (panel).
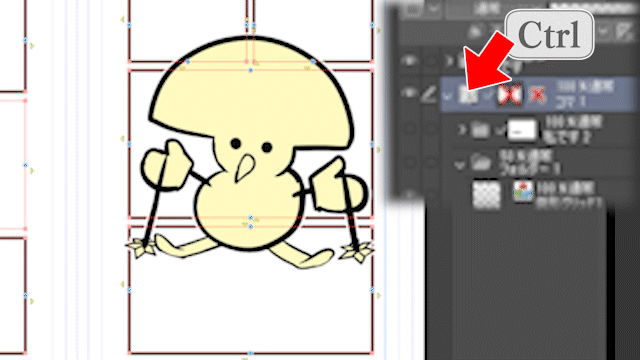
Mask the character using only this frame line selection.
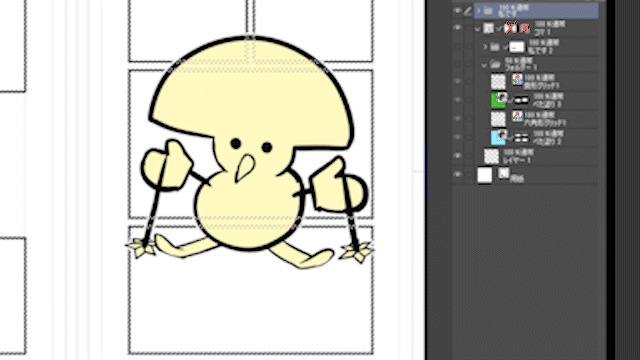
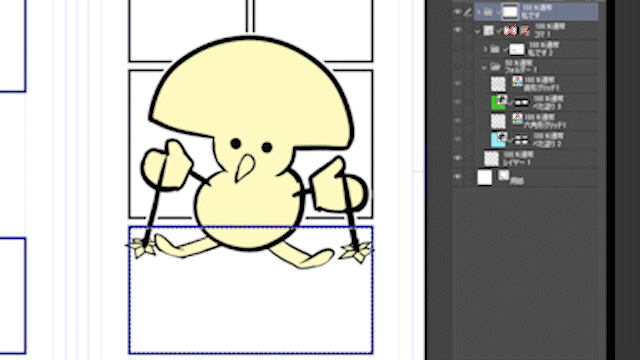
Fill in the mask above the character to make it visible, and create a selection inside the frame (panel) for the bottom part of the character and hide it with the mask.
Next, let's talk about filling in frames (panels) that don't have a border like this.
In this way, you can erase the frame (panel) border by touching it with the object tool and unchecking [Draw frame].
If you try to fill in this state, the fill tool will try to reference the entire canvas beyond the line, and not only will the fill fail, but Clip Studio will run very slowly.
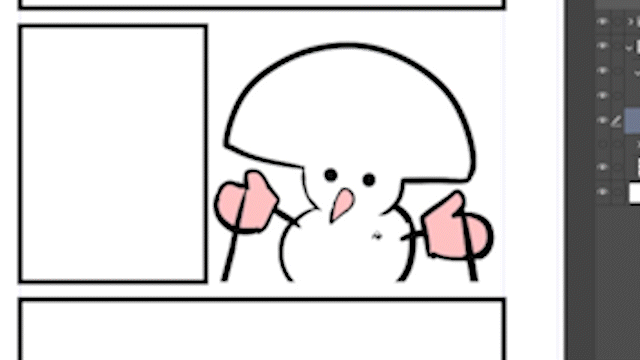
The shrink selection tool is also useful in situations like this.
The mask in the frame (panel) folder still has a part without a frame line, and if you use shrink selection to surround this masked part, you can select the masked part of the frame (panel) without a line.
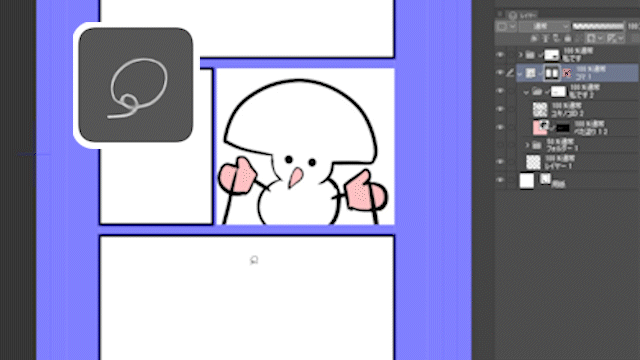
If you have a selection area, you can fill it in without it protruding even if there is no border.
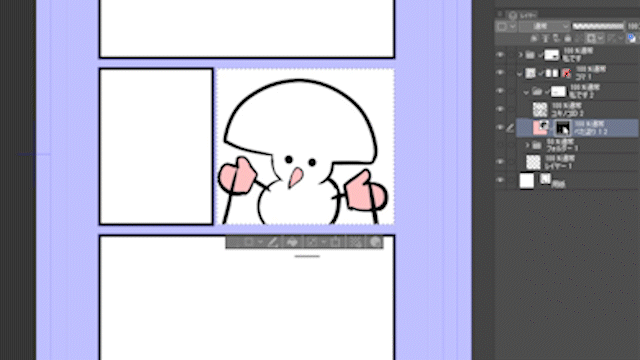
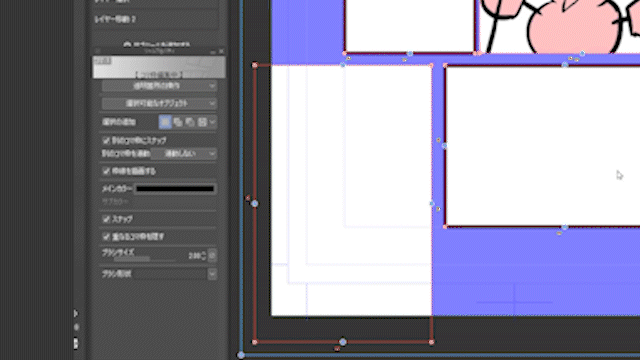
If you want to select a frame (panel) at the edge of the document without a frame line, you can select it by turning on the [Refer to image frame] checkbox in the shrink selection tool.
Note: Cancel filling
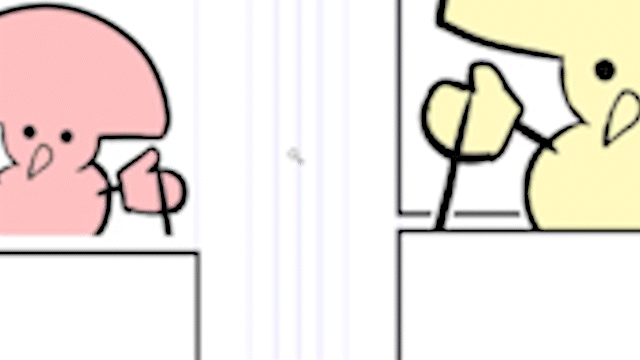
By the way, if Clip Studio freezes because the auto selection tool or fill tool protrudes, you can cancel by pressing the [Exc] key once.
2. Application to background
2-1. Editing pattern brushes
Next, I will show you how to adjust the background drawn with a pattern brush in a selected area.
Backgrounds drawn with a pattern brush tend to be too homogeneous and end up looking thin. However, this impression can be alleviated by vectorizing and adjusting line drawings using selections.
First, as a preparation, select the black line part with [Color range selection] in the [Selection range] menu, cut it out to separate it from the base, and then fill in the part where the base line was. Masu.
Convert the line art to a vector layer using [Convert layer] in the [Layer] menu.
By making the line drawing a vector layer, you can add intonation to the line drawing using the line width correction tool.
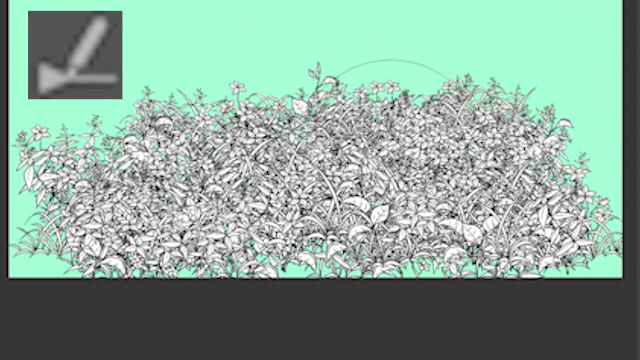
Next, I will show you how to draw a silhouette using a pattern brush.
First, I want to give it a little more depth, so I draw another layer of grass towards the back.
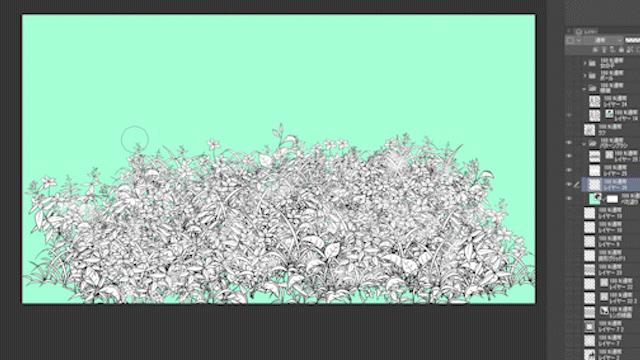
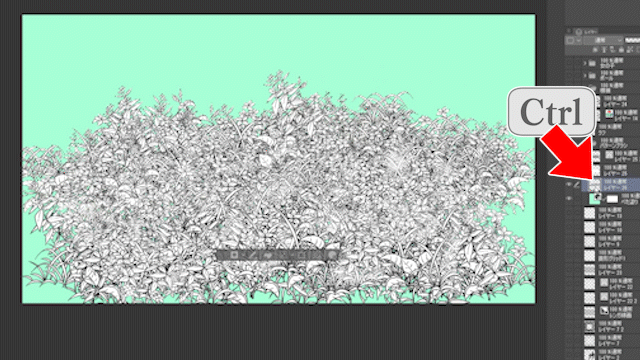
Hold Ctrl and click the thumbnail to select the grass in the back and fill it with white.
Add a line with [Border selection],
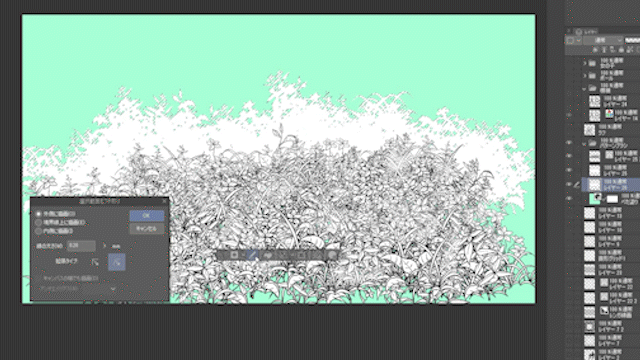
I pasted a screen tone and made the background in the back a silhouette.
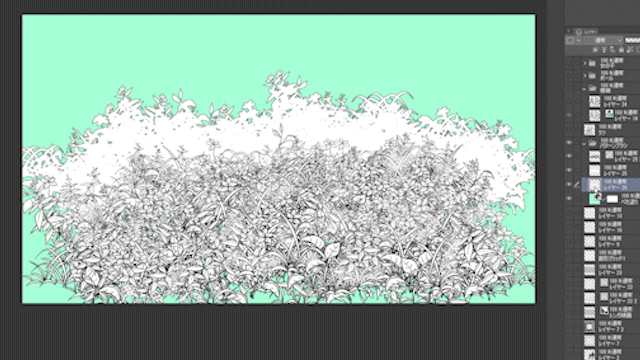
I think it would be better to add a little more to the picture, but if it's a distant view or an unimportant background, this quality may be sufficient, so keep this method in mind.
2-2. Arranging texture materials
Next, I will show you how to use selections to arrange background textures.
Paper is made of brick material like this.
This is pasted as is in the background. It feels a little unsatisfactory.
So let's arrange this brick material to make it a little more luxurious.
First, change the [expression color] of the material to gray,
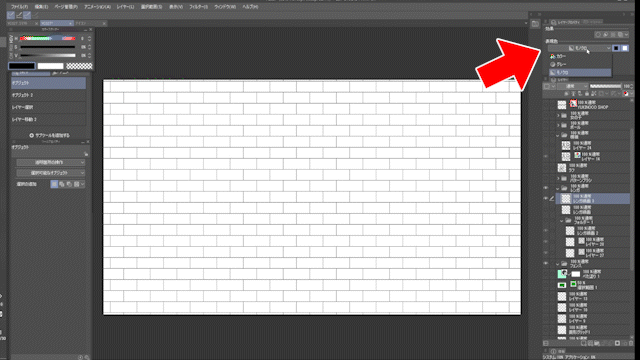
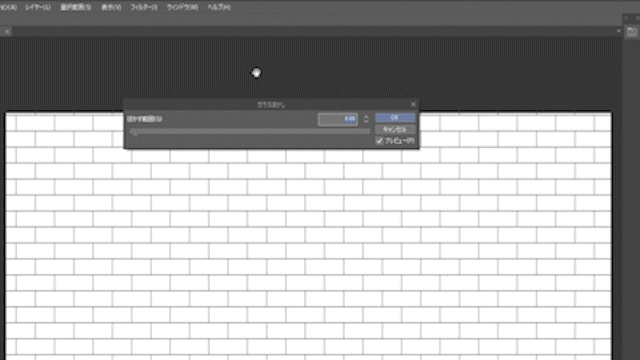
Use [Gaussian Blur] in the [Filter] menu to blur it a little.
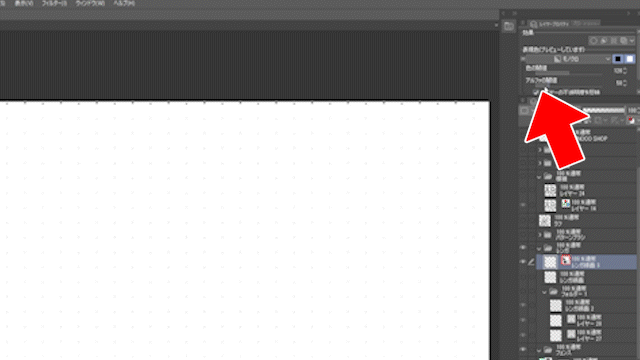
Change the [Expression color] from gray to monochrome again, adjust the alpha threshold so that the corners of the bricks are rounded, and press Apply the expression color being previewed.
Select the brick material layer by holding down Ctrl and clicking the thumbnail,
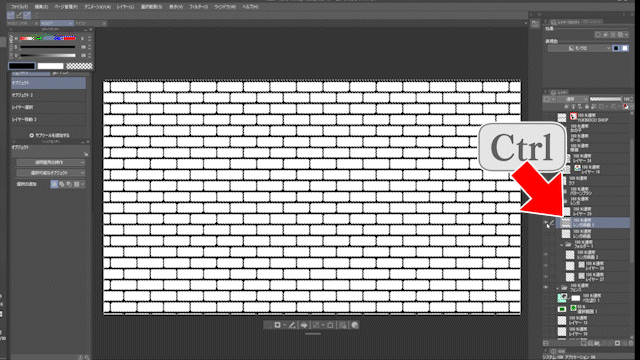
Create a new layer and add a border to the selected area.
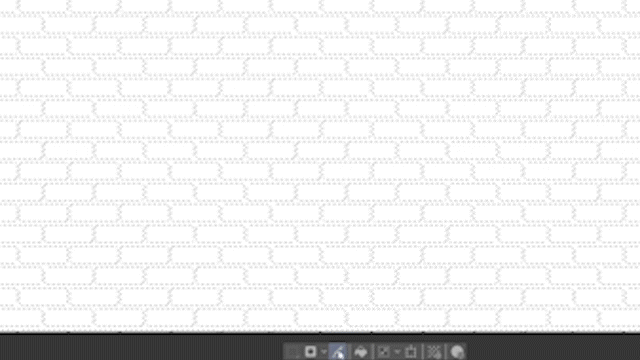
A new brick material has been created.
Furthermore, you can apply screentones to the entire area, select parts of the original material, and erase them to apply screentones only to the brick parts.
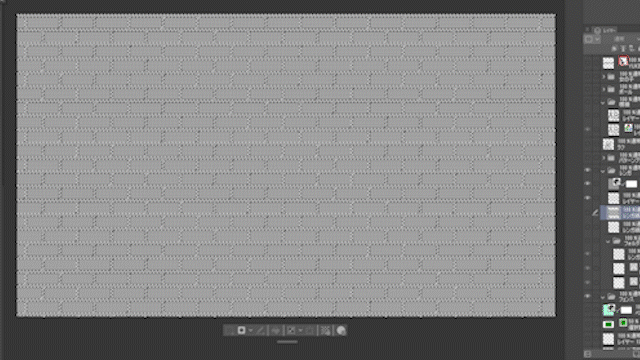
If you paste this into the background, it will look like this.
Furthermore, if you convert the brick line art to a vector layer and then randomize the brush size using the object tool, you can create a more hand-drawn feel, and by correcting the line width or reducing the screen tone, you can create a feeling of even more depth. Masu.
Next, let's make a fence using the same method. First, prepare a grid material like this,
Blur it,
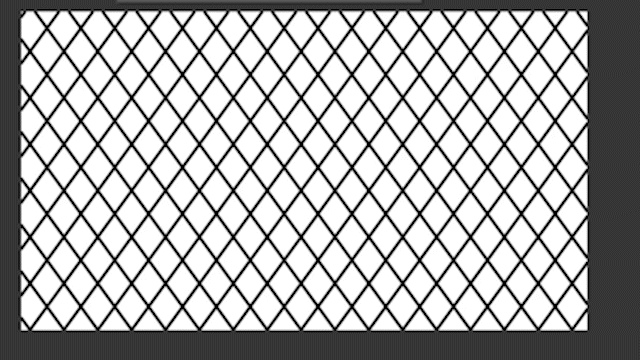
Adjust to create a round part,
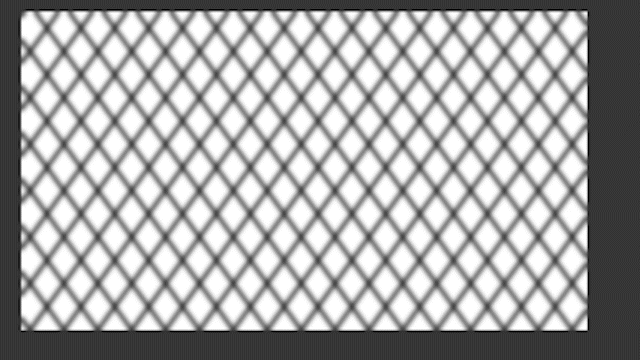
Change the color to white and remove the edges.
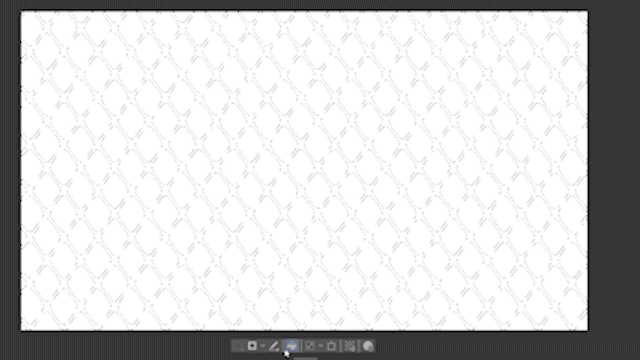
The fence material is ready!
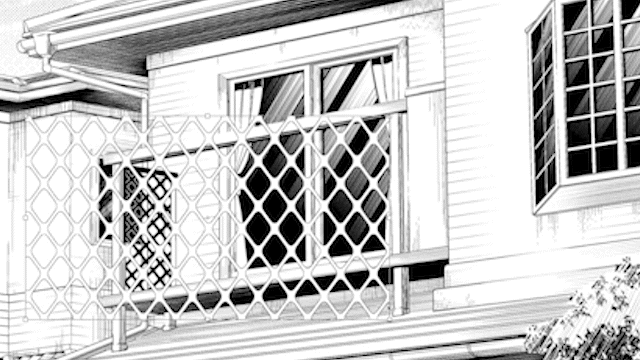
If you paste this on the balcony, it will look like this. It is more fashionable than the original material.
Note: Selection tool and perspective ruler
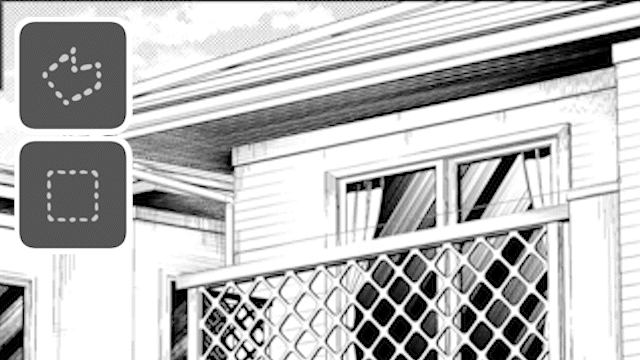
The Rectangle Selection Tool and Polyline Selection Tool can snap to perspective rulers.
This is useful when pasting screen tones and texture materials along the perspective.
At the end
The above was a lecture on how to use selection ranges, which are useful for drawing manga.
You may not be able to quickly increase your drawing speed, but you can use Clip Studio faster and faster as you understand and get used to its functions, so please try your best.
I have explained other techniques using selection ranges in previous TIPS, so please take a look at them if you like.




Comment