
Welcome! In this tutorial I will explain my process to rain in simple frame-to-frame, using Clip Studio Paint.
I am going to skip the explanation of the basics of animation in Clip Studio, so if you're not comfortable with it, I recommend you to check these official tutorials:
Step 1: Gravity, Wind and Point of view
First you need to think, "How is rain going to work in my canvas?" With this, you should be able to determine/choose:
"Where is my camera(canvas/eyes) looking? Up, Down, Out the window?"
"Is it windy? In which direction?"
"Can I see the floor/surface where the water will fall onto?"
Then we step into the technical part.
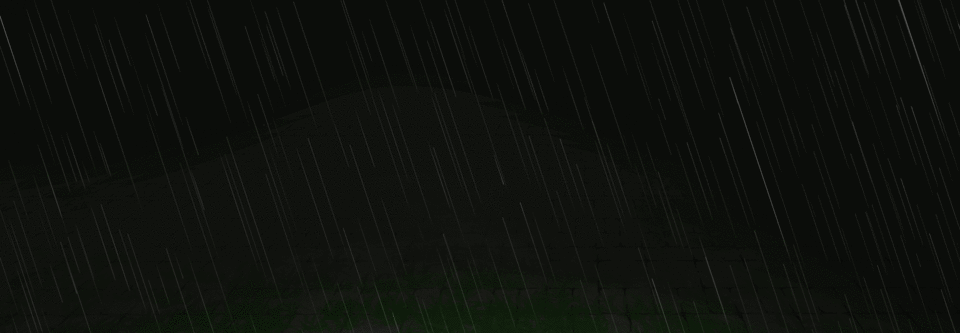
As long as you are looking in any direction aside from Up and Down, your rain drops will ALL be parallel to each other. When looking up or down, the rain drops will look like they almost meet at one single point. You can see the examples following this text:
Notice that while looking Down you can see the droplets after hitting the floor. This makes it much more realistic without much work.
But how about when there's stronger wind?
For this, you just need to move the starting/ending point to whichever direction you want.
Step 2: Rain Animation
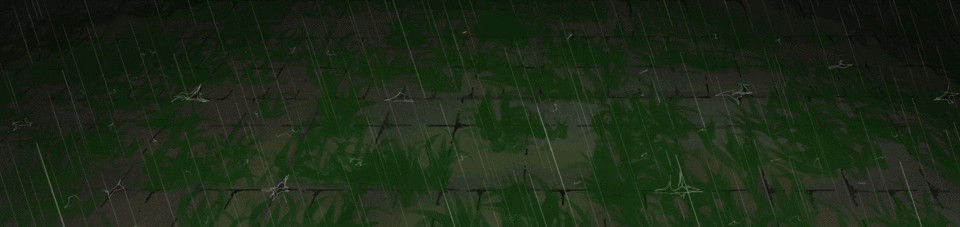
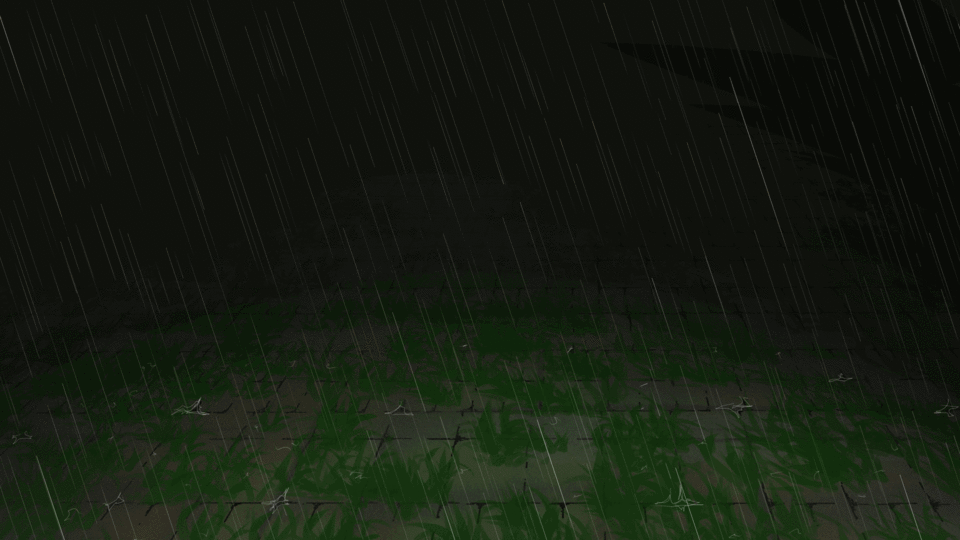
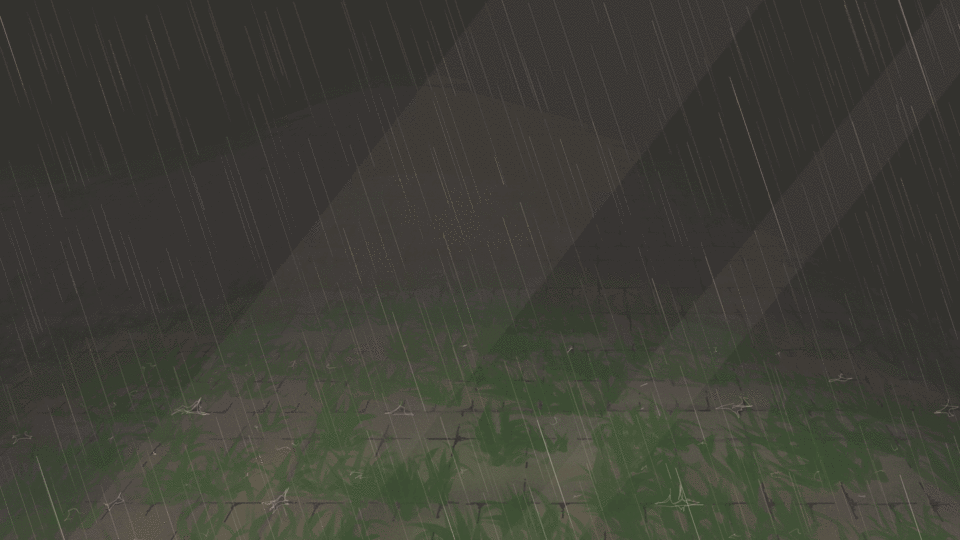
You don't need much for rain to look fairly realistic. Just 3 frames is enough, since the droplets fall so fast, differently from snow. Its also not particularly necessary to make a smooth transition, since, at the end, one would barely notice the same droplet appears twice on screen.
To animate rain, you need around 3 frames, with droplets in different positions. It also helps if you make use of perspective, as in, different layers behind the main one, where the droplets are thinner, smaller, and less visible.
You can also use the rulers in Clip Studio Paint to make it 1000x easier and faster!
Below, I will show examples of this, in slow motion. You can find the finished version on the bottom of this post.
And the process for all rain animation is the same no matter the angle you're seeing it in!
If you can't see the surface it falls onto, then your animation is done in 2 Steps!
Step 3: Details!
Water puddles, ripples, and jumping droplets, there's ways to make rain look real and present, by making it interact with the surrounding ambient, characters and objects.
You can do this by creating puddles on the floor or any concave surface, ripples on those same puddles, a small stream of water or droplets that come from the recently fallen rain.
These, like the rain itself, can take as many or little frames you want, though 3 frames is perfectly ok to give the idea you need with little work.
Next, I'll show an example of this, in slow motion. You can find the finished version on the bottom of this post.
To do this, draw the puddles, and then on the next frames re-draw them. The small differences between the lines will be enough for them. Remember to follow the holes and creases of the surface.
To animate the small splashes, you only need to draw it once in each place.
Of course, if you want more detail, you can add more frames!
And we are done!
Users who liked this post


Comment