
Hi, in this tutorial I will show you how I convert a traditional sketch to digital.
I will use this drawing that I made a while ago in my sketchbook.
Before starting this mini tutorial:
It's important to choose a good photo.
The lines of the drawing should be clearly visible, otherwise some of them might disappear.
If the drawing is colored, black spots might appear, and removing them can be a pain, so it's better if it isn't.
Let's get started.
We will copy the photo from the traditional drawing and paste it onto the canvas.
We do this simply by using RIGHT CLICK, COPY on the photo and then CSP, EDIT, PASTE.
Once we have the photo centered (SCALE/ROTATE tool) we go to the EDIT section and click CONVERT LUMINOSITY TO OPACITY
Now the photo looks grey, to make only the lines visible we will go to LAYER PROPERTIES (if you do not have this window visible you can set it from the WINDOW section) and select MONOCHROME.
Or we can also directly select MONOCHROMATIC and click on the little black square that will appear, it is the same but without going to EDIT.
Now only the lines of the drawing are visible.
And that's it.
Now we can color and edit the drawing as if we had done it from scratch in CSP.
///
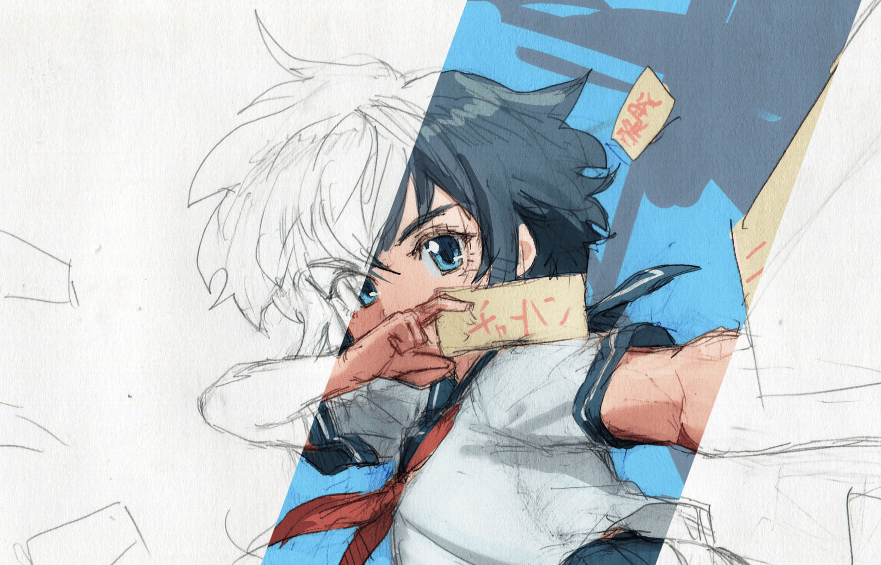
I've modified the drawing a little on the same layer and then I've given it a very basic coloring.
It looks like this:
Thank you for reading, I hope you understood and found it useful.
Users who liked this post


Comment