Animation - Looping
Welcome to the tip of the month! It's the New Year, great time to learn and develop a new skill! Today's subject will be ANIMATION with a focus on Looping!! I'm going to share some tips that I use on my mini projects with Clip Studio Paint Pro and I hope it can help you somehow. Le's do it.! Oh, but before we begin...
Getting Started
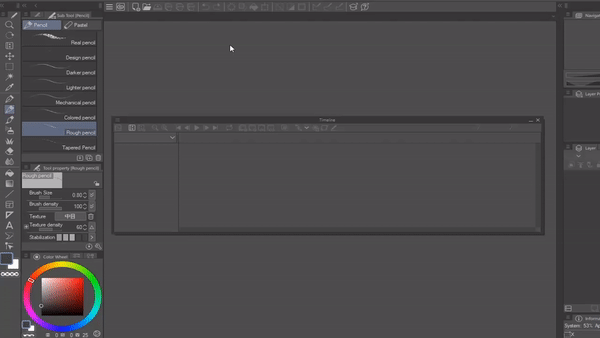
Usually, one of the first things that we do is configure our workspace and shortcuts. We set our layer panel to one side, color wheal to the other and so forth. It isn't different to make animations. In Clip Studio Paint, we have a specific tab for animation. It can be found at Window – Timeline.
I like to get it positioned in the bottom, so I still have some room to draw without worry too much with all the elements around it. You can hide some menus to get extra space if you want.

Let's start creating an animation file. There are different presets, we'll stick with 1280 x 720.
Before we get to the timeline, it is important to know this. In animation, we make movements with sequential drawings. Each drawing will be in a different Frame. The main movements on each action are called Key frames and we start with them.
Every drawing added between the Key frames will smooth the movement. Usually, more drawings means more detail and less speed. There's no right or wrong here. The action will tell you if it needs more drawings or not.
Here's another example. Less drawings can get you more speed. By adding some movements lines and hiding parts of the drawing, we can get this effect.

The number and layer position indicates which drawings we did first. Notice that the drawing number 2 was the second to be made, but it is the 3rd Key frame in the timeline.
Here's the same action, but with more frames.

Drawings number 2 and 5 are flipped variations of drawings number 1 and 4. Let's see the basics of the timeline now.
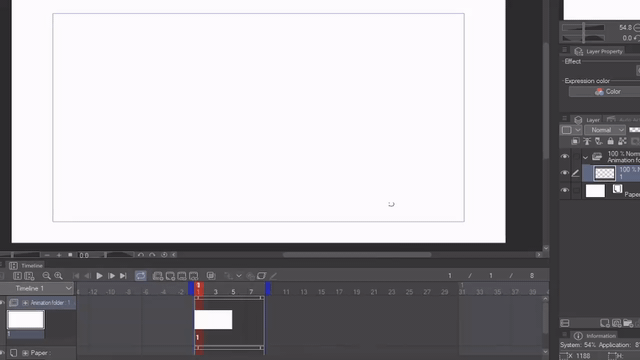
To Start, we'll move the red column in the timeline to frame 1 and click on new animation cel. For every new movement we'll do this step.

When we create a new animation cel, a new layer is created as well holding the information that we added. In the example, Layer 1 = A, Layer 2 = B and Layer 3 = C. Changing the name of the layer will change its name on the timeline too. The order of each frame can be changed by clicking on the specify cell. Look how we change the order of the drawings. By the way, you can quickly access this information hitting the right click of your mouse in the timeline.
And with this, we can start animating! For this tutorial, we won't mess with shortcuts. I think it's better to click at the icons, till we get used with their names and functions. So let's animate something!!
Looping
A very common exercise is the Bouncing Ball. In this sequence, we can see the ball falling and losing strength as it goes forward. By distorting the shape a little, the final result changes and we can see more “emotion” in the action. It's great for cartoons and exaggerated drawings.
However, things can get really crazy when we try to make it loop as a repetitive action. There are many ways to approach this subject, so we are going to send the ball all over to the upper left corner.


We can also, make it longer.

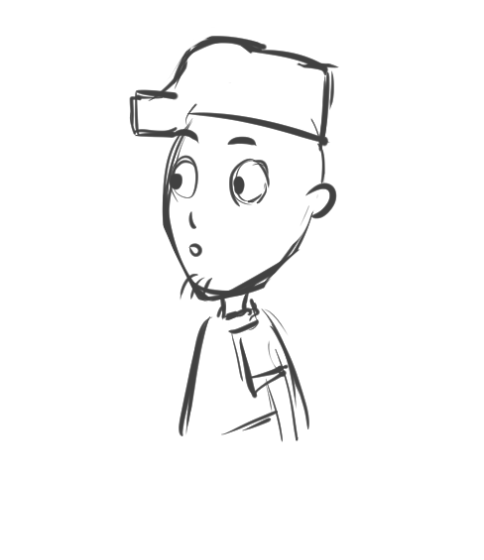
The guy we animated just now can be looped if you position the frames in the timeline like this. With these 8 frames, it will make him look to the sides constantly. If you repeat the frame 1 in the end, the animation will pause a little, but it looks really nice as well.
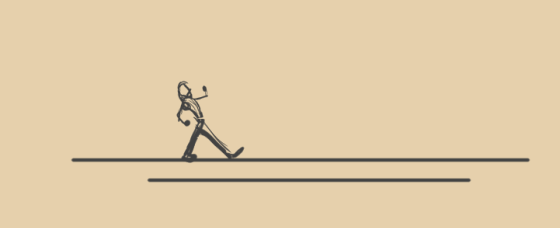
We can do the same with another character. I like to focus first in the main characteristic of the action. In this example, we'll make a person dancing. To loop it till the infinity, we need to connect the last drawing with the first one.
To get more variety, we can add frames in the middle. It will look very funny. As long as you keep connecting the final action with the first one, there will be no limit. In the second image, we repeat some frames to get the effect.


To refine your sketch, you can add more Animation Folders. It's the same concept that we usually use on the layer system. One for Character, one for Background and you can also separate one for shadows. Once you finish, go to File – Export Animation – Animated Gif.
Lasso
One of my favorite tools, it's really good for making selections and masking. In animation, the tool can help you to make quick movements, by selecting an specific area and transforming it. It can be rotation, distortion and scale. By moving the anchor point, you change the base of the rotation.
Different tool but the idea is the same. We are trying to match the final frame with the first one. The lasso is great to make adjustments and a powerful tool in Clip Studio Paint. You can also use the polygonal version and the rectangular selection as well.

Your Turn!
So, if you read it until here, I ask that you try to make something. It doesn't need to be a complicated scene, full of actions and movements, but do a simple animation. Maybe a ball falling from the sky and looping, like we saw at the beginning of this art tip. It is really important to try, and if you want to learn animation, open Clip Studio now and make something simple!
But ok, that's it for now! Hope this art tip can help you. Animation can be a little intimidating in the beginning, but like all the other subjects in art, it all depends on you. The more you try, more you improve. Thank you for reading and have a nice day!
Video + Files
I recorded a video for this art tip, you can check it here.


Commentaire