1. Getting Ready
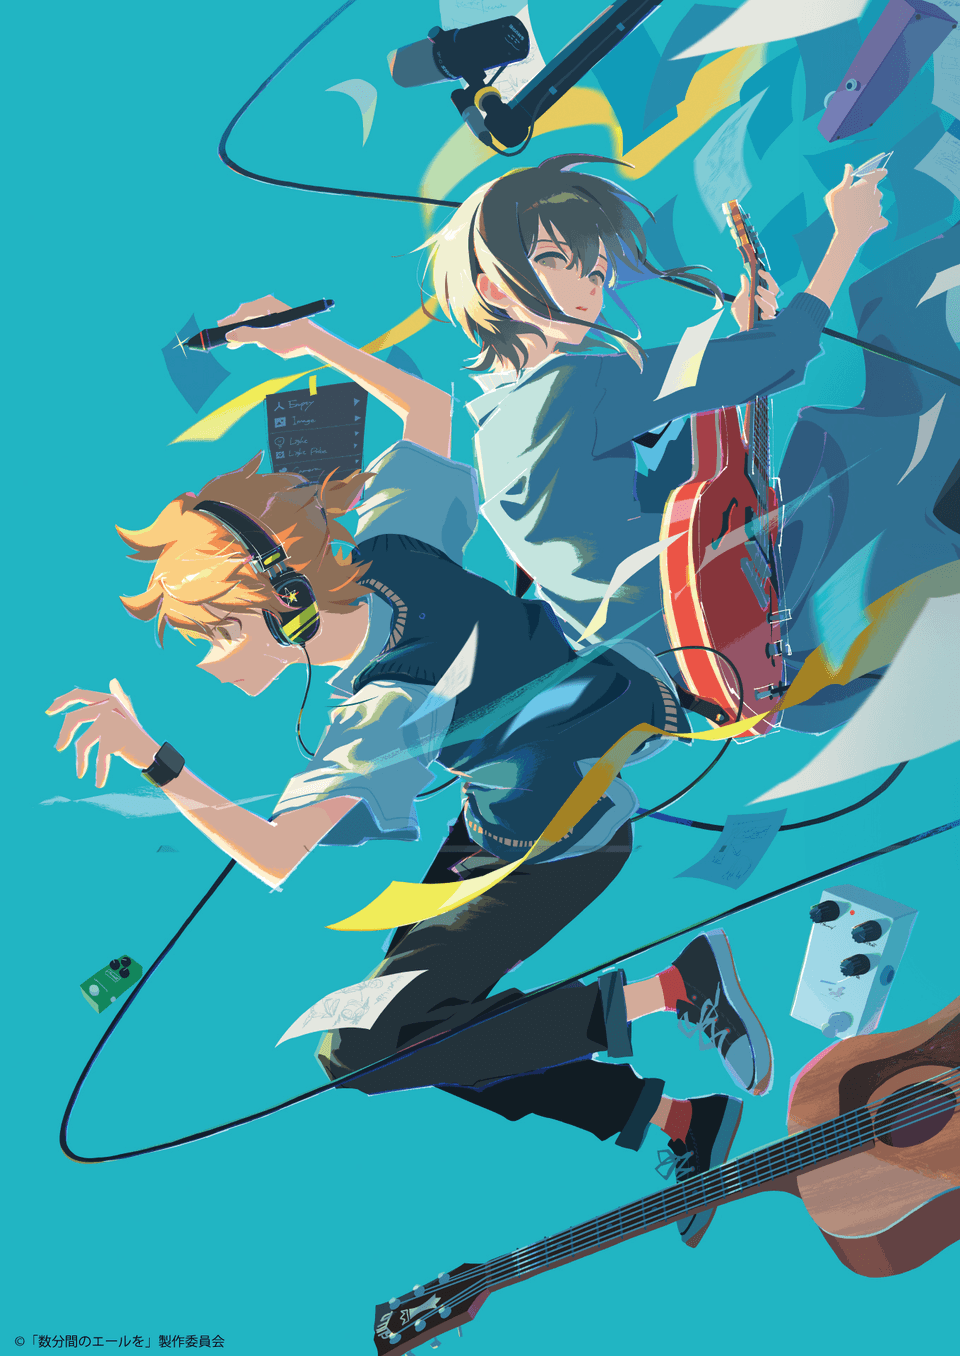
▼ Final illustration is here
・ Artist profile: Tsunoju
I tend to create illustrations with lots of small items, sweets, and so on. I come up with wild ideas every day, hoping that people will find my illustrations fun and exciting to look at. I recently did a coloring tutorial for the Japanese illustration magazine “SS (Small S)”.
[1] Preparing the workspace
To start with, I customize the palette docks on each side of the screen so that it’s easier for me to use. On the right side, I put the color palettes and layer palettes, while on the left side, I put the tool setting palettes. I place the palettes so that they are in easy-to-reach positions.
[2] Shortcut key settings
I register my most frequent shortcut keys in [File] menu > [Shortcut Settings].
· Duplicate layer: Ctrl + G
[3] Preparing the color palette
I create a new color set in the [Color Set] palette.
I load an image with my frequently used colors, then pick out the colors and register the set.
The first row is the skin shades. The colors become deeper as they go to the right.
For the lower rows, I similarly register the base color and shadow colors, as well as some other colors I often use as base colors (red/blue, etc.).
I add transparent spaces to group colors I often use together.
[4] Brush settings
Next I create a brush to use.
I’ll use the following seven brushes.
You can download the original brushes used in this lesson from CLIP STUDIO ASSETS. Simply search for the artist’s name “tsunoju” in the ASSETS search bar.
- You need to register a Clip Studio account to download materials.
・ Line pen (線画)
This is a customized brush based on the [Watercolor] > [Opaque watercolor] brush.
I based this on the watercolor tool because I thought that it would help the lines blend in with the color. I can use this brush for both thick and thin lines.
・ Paintbrush 1 & Paintbrush 2 (色塗1 & 色塗2)
These are customized brushes based on the [Pen] > [Textured pen].
I made these brushes to have a rough texture and to blend color when painted in layers.
I use these brushes a lot, so I decided the settings in advance and made two similar brushes so that I don’t need to change the settings for different uses.
For the brush tip for both Paintbrush 1 and 2, I registered my own image “paint” as well as "Fabric C" and "Hydrangea 1”, which are default materials registered to the Material palette. I looked for materials with the kind of rough texture I like, and I thought these three made a good combination.
・ Blue skin (青肌とか)
This is a customized brush based on the [Marker] > [Milli pen].
As the name suggests, I use this brush when painting blue on the skin. I set a [Border of watercolor] to add a little sharpness with slight roughness and boundary.
・ Detail (細所)
Like the “Blue skin” brush, this is a customized brush based on the [Marker] > [Milli pen].
It is similar to "blue skin", but as the name suggests, I use this to add detailed shadows and create variation in my illustrations.
・ Fill pen (ベタペン)
This is a customized brush based on the [Watercolor] > [Opaque watercolor] brush.
I use it to draw lettering in my illustrations. I set a [Border of watercolor] so that it stands out a little and has a slightly three-dimensional effect.
・ Textured eraser (カサカサ消しゴム)
This is a customized brush based on the [Pen] > [Textured pen].
Rather than an eraser, I made it like a brush that scrapes away color. It erases roughly while leaving the original color in some places.
These are the brushes I made. I’ll use these to create my illustration.


Comment