
Hello! My name is Marredae and today I gonna show you how to create a believable traditional-looking drawing in Clip Studio Paint!
Brush introduction
For this tutorial I've created a special pencil brush:
It made to mimic real pencil, reacting not only to the pressure of your pen, but also to the tilt.
However, you can still use it, even if your tablet doesn't support tilt sensitivity.
To make using this brush more comfortable, I've added two additional versions of it: Sharp Pencil - for sketching and hatcing; and Broad Pencil - for covering big areas.
Also, in this brush pack you can find a textured eraser, made to easily lift up excess color (using light presure), and, well, erase. (I advise against using standard erasers, because they can create edges, that are hard to cover.)
‣ Tip: By lowering the 'Texture density', you can draw dark lines while applying less pressure.
I prefer using just the Tilt Pencil, drawing more perpendicular to the surface when hatching and laying my pen more flat to cover bigger areas.

‣ Tip: If you don't have tilt sensitivity, but also don't want to switch your brushes, you can cover big surfaces with the Sharp Pencil. To do that, just increase the brush size and draw, applying light to medium pressure.
Hatching technique
When I learned how to do hatching in college, I've discovered a couple of tips that helped me to improve my technique.
‣ Keep your tempo. The key element of consistent hatching is in the movement. I find that lines turn out a lot straighter and cleaner-looking when I go fast, rather than slow.
‣ When doing the next layer in crosshatching, change the direction of your lines by 30 or so degrees, instead of all 90. Extreme directional change is often hard to tackle and is quite uncomfortable when drawing. Changing the angle by a little bit not only feels more fluid, but often looks a lot better too.
‣ It's ok to be loose. Sometimes, loose strokes create amazing effects and make your drawing more interesting, less monotone. You don't need to hatch everything, even if you chose a crosshatching technique. Leave the base untouched where it works - you'll finish your drawing quicker without loosing anything.
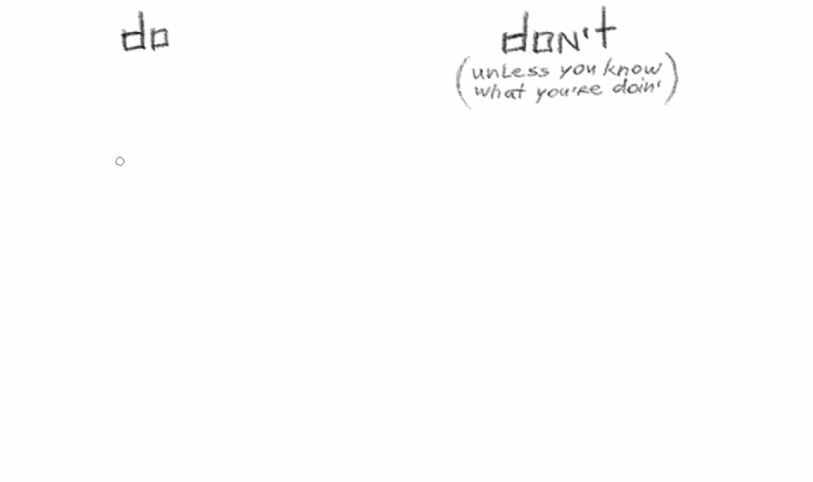
‣ Find your favorite way to draw, don't limit yourself to things someone says are right! I found my preferable way to draw by breaking the rules and I can't express enough how much more enjoyable drawing became for me since!
Drawing steps
Now, I will introduce you to my favorite drawing method using a simplified example:
• Sketching (for the sake of simplicity, represented by a curved line)

• Adding basic colors and values using broad pencil (I tilt my pen more horizontally). For this step I use just the base colors, not thinking about the variety just yet.
‣ Tip: If you don't fill the 'paper' right to the edge and fade it out instead, it creates a very nice and natural traditional effect, because it's often uncomfortable to draw near the edges.
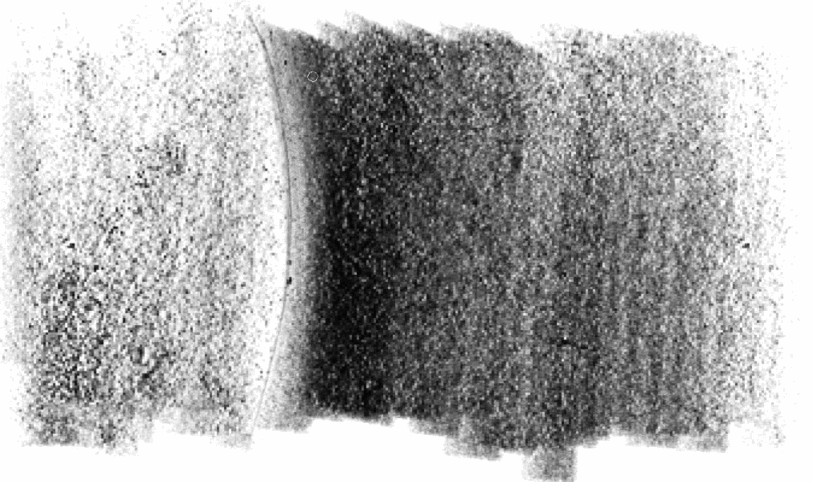
• And, finally, when all the simple values are laid down, I start hatching and adding details. Now I am slightly varying my colors. Everything that wasn't colored good enough in previous step, now gets corrected. This step is the most time consuming because I am defining the form, correcting the edges and using color at the same time, but it's worth it.
‣ Tip: You can very effectively layer the colors when hatching. Real colored pencils have limited palette, so it's usually hard to find the exact color you need. You can try to "mix" several colors by layering them one on the other.
‣ Tip: Don't use a perfectly white canvas, if you want to achieve a truly realistic look. When photographing a real traditional drawing, exposure is adjusted to pick up the drawing and not the color of the paper, so white is often underexposed.
My go-to background color is #C6C6C6, it seems to work well as a paper color too.
Creating a drawing
When you know all the basics, drawing a picture is a pretty straightforward process, so Iv'e decided not to bore you with the unnecessary text and recorded the whole drawing process instead.
And here's the result!
You can find my art here:
Users who liked this post


Comment