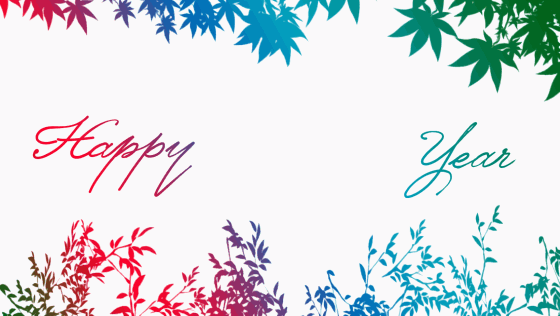
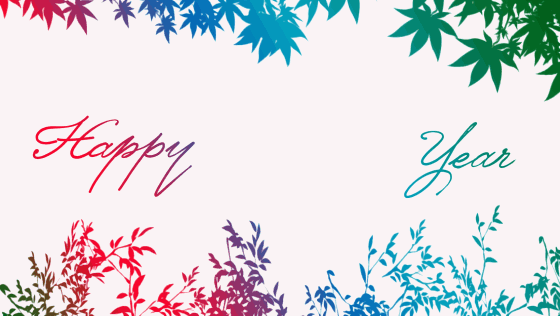
Animated greeting card.
Hi, I'm Chrystian.
In this tutorial I will explain how we can make animated greeting cards using the gradient tools, and timeline of Clip Studio Paint. The EX version is recommended

Canvas
We create a square canvas of 800 x 800 pixels can be larger as long as it is square
We activate the rule in the menu [see / rule]
We choose the tool [operation / object] and we pull from each of the rules a guide towards the middle of the canvas.
In a new layer we make a small cross stroke to identify the center
-We create a new layer, place it under the previous layer.
-We choose the color black
-With the tool figure we create a circle filled with black starting from the center
It is important to keep shift while drawing the circle and enter to accept the shape.
We go to the [layer / ruler / bullet / create perspective ruler] menu and choose perspective from a point.
-We deactivate the vertical ruler by changing it to green.
Fireworks.
-We create a new layer.
-We choose the marker brush and the color white
-We draw four white lines from the inside of the circle contour towards the center, guiding us through the first rules we draw.
It is important to leave a considerable distance unpainted in the center
-We hide the guide layer and leave the perspective layer visible
-In the same layer that we draw the white lines, we make smaller strokes halfway between the first lines.
-We draw some smaller last lines near the outer contour.
At this time the arrangement of the layers is as follows:
We have a list based on fireworks, the next step is to color it.
Color with custom gradient.
-We create a new layer on top of the white lines.
-We open the degraded tool
with the secondary button in the degraded blue sky we duplicate it.
-We name it "golden" and accept.
In the [tool properties] window we double-click on the gradient bar so we can access its settings.
Using three colors we can change, remove and move the colors that appear in the gradient, here applies creativity and personal taste.
-We apply the gradient in the layer we create above the white lines.
-We link the golden layer over the white lines
(We can already hide the layer that marks the center)
Animation
-We make the timeline visible in the menu [window / timeline]
-We create a new timeline in the menu [animation / new timeline]
-We choose the fps speed in 12 and a duration of 5 seconds
-We create a folder with the layers we have worked on and we name it flash.
-Select the golden layer and merge it with the lower layer with the shortcut [ctrl + E], we can also find this command in the layers menu.
-Now we link the layer of the lines with the black circle
With the black circle layer selected.
-In the timeline we activate the option "enable keys for this layer"
Frame 12 equals 1 second.
-We can select between 12 and 9 and press the button, insert password.
-We place ourselves in frame 1 and also insert a password.
-Select the tool [operation / object]
For the next operation it is very important to be in frame 1 with the keys created.
-In the window [tool properties] we reduce the size of the black circle until the golden lines are not visible.
We can click on the play button of the timeline and "voilà" our first magic is ready :)

Add written message.
It is next our card will take shape with the written message.
-We go to the menu [edit / change canvas size] and choose the format 1640x924 pixels.
Note: We can use different formats depending on the occasion.
For this tutorial we will use the template I made with the composition of letters and decorations.
You can also use your own message with the letter tools and decorative brushes.
Once the image is downloaded, we place it on the canvas from the download folder.
-We focus the image and make it slightly larger than the canvas to avoid empty edges
-We click with the right button to the right of the layer and select rasterize
-We select with letters the loop, copy this section in a new layer.
shortcuts [ctrl + c] copy [ctrl + v] paste
Note: Sometimes after using loop, we select small areas without realizing it, I recommend you press [ctrl + d] to release any selection.
-We hide the copy layer
-We return to the original layer and this time we select the word "new"
-Now we press [ctrl + x] cut, [ctrl + v] paste. This will cause the word new to be in a new layer.
The arrangement of the layers will be as follows.
The first layer will be the letters that we will paint in gold
The second layer the word "new"
And the third the words "happy" "year"
-With the "new" and "happy year" layers we create a folder, we call it "color letters"
-On the folder "color letters" we create a new layer, we call it "color gradient"
Multicolored gradient
As we did with the gold, we select the tool [gradient] and duplicate the "blue sky" to this new gradient we call "multicolored"
This time we occupy 4 colors
-We use the gradient in the "gradient color" layer
-We link the "gradient color" layer to the folder below it
Note: To avoid visual fatigue I usually use the color of paper in gray, at this stage it is advisable to turn it to white.
Golden letters
-We create a new layer on "gradient color"
-Select a black color and press the shortcut [alt + backspace] (This will paint the black layer)
-We create a new layer on the "happy new year copy" letter layer
-We apply the golden gradient that we had created previously and link the layer with the one below.
Preparing animation
Now we are ready to add the animated effects to our elements.
-We create the folder for the golden letters and the folder for colored letters.
-We move the flash folder over the golden letters folder (Up to everything)
Some concepts about the timeline and interpolation tools.
1 Move the entire clip
2 It is possible to modify where the clip starts and ends
3 It is possible to change the key position
4 With the right mouse button we can divide clip, delete selected key or copy and paste.
Second animation
-We hide the folder of the golden letters.
-In the color letters folder we go to the "new" layer and add a blank layer mask
-With the tool [loop / rectangle] we select a rectangle that covers the word new and a small part of the previous word.
With the black color selected in the layer we made on the "new" layer, we press the shortcut [alt + backspace] this will paint the rectangle.
-With a soft rubber we make a gradient in the right part of the rectangle without deleting the area that covers new.
-We release the selection with [ctrl + d] [comand + d] (in mac)
-Previewing [ctrl] or [comand] we touch the rectangle layer, this will select the painted area.
-Go to the "new" layer mask and click on [backspace] on the keyboard.
We have passed the shape of the rectangle to the layer mask. (we can delete or hide the rectangle layer)
In this way we have hidden the word new, which will appear again during the animation.
-Let's go to the timeline.
-We activate keys for the "new" layer
-Let's mask in the timeline
-We create keys:
In the tool properties window, in the transform mask / position section we create a new key in in frame 3 of the second zero and in frame 7 of the second 1
With the [operation] [object] tool
-Located in the second frame we move the layer mask to the right until the word new is visible
If we play in the timeline we can see the pleasant result.

Third animation-golden letters
-We make the folder of golden letters visible.
-Select the folder "golden letters" and in the timeline we enable the keys
-Select the tool [operation] [object]
-In the window [tool properties] in the opacity section we add a key in frame 1 of second 2 and another key in frame 12 of second 2.
-In the timeline we click on the first key and the [tool properties] lower the opacity to zero.
Now we can see how our colored letters turn golden

Fireworks
So far we have been creating folders and we have named them, as well as their layers, which gives us a very useful order.
-We go to the folder we made at the beginning and place up with the flash name.
-We delete the rule layers and the center mark.
Remember that the black circle layer has the keys enabled
In the timeline, with the circle layer selected,
-We disable the keys, this will temporarily erase the keys but will allow us to work more comfortably.
-Copy the flash folder until there are four equal folders.
-We create a new folder where we introduce the four "flashes".
-Naming the new folder as "fireworks"
Fireworks accommodate:
-In the layers window (Rename with number from bottom to top)
-On the canvas
-And in the timeline
On the canvas:
-Select the "flash 1" layer and press the shortcut [ctrl + t]
-We take it to the next position and accept
Following the same method, we accommodate all the flashes in the following order, it is advisable to slightly vary the height and size of each of the three above.
In the timeline:
Select the circles one by one and re-activate the keys
This will return the animation settings.
With the handle that appears when touching the end of the clip, we reduce its duration to a few frames after the last key.
Once the clips of the circles have a small size.
-With the hand icon that appears when you hover the cursor over the top of the clip, we accommodate the skimming stepwise.
-We place them from the second 3.
This will cause them to appear consecutively. After the golden letters.
With the cursor in the timeline we can modify the keys, the position and duration of the clips.
Correction of the center of the flashes:
-We go to the first key and with the tool [operation] [object], in the tool properties window we delete the keys
-In the same frame and with the same active tool, we change the center of rotation to the center of our circle
-In the tool properties window we reduce the scale size until the golden lines disappear.
This will reactivate the key but with the center of the correct circle.
-Finally we carry the folder "fireworks" above the black layer, inside the folder "golden letters"
Ready

It only remains to export our card, for this we are going to [file / export animation]
I recommend the animated video or gif formats.
After selecting the folder where they will be saved, a window appears where you can configure the output format.
If you choose gif, try to place the same fps speed you gave to the timeline, in this case 12, and most of the time you will want the unlimited number of loops.
In the case of video you can choose 24 or 12 fps.
You are ready to create animated cards and share them on your social networks.
Thank you very much for following this tutorial, I hope you found the tips helpful.
Best wishes for this new year, have a great time see you next time.


Comment