
Introduction
This is it. The guide that covers not only how to use Clip Studio Paint's 3D models, but also how to pose the characters to not be rigid barbie dolls. This video will take you from knowing nothing about posing, to the tips and tricks that 3D animators use to maximize their pose clarity and energy.
So, if you've been wanting to use 3D but leary of it because the poses always look bad, uninteresting and doll-like, well this is the video for you. Hope it helps you use reference for your art, enables you to make art faster and allows your 3D reference to look human. Because no one wants their reference to look like it has a stick shoved up it's....
Cheers,
@AerowKnight
- thegentlemanpanda.com
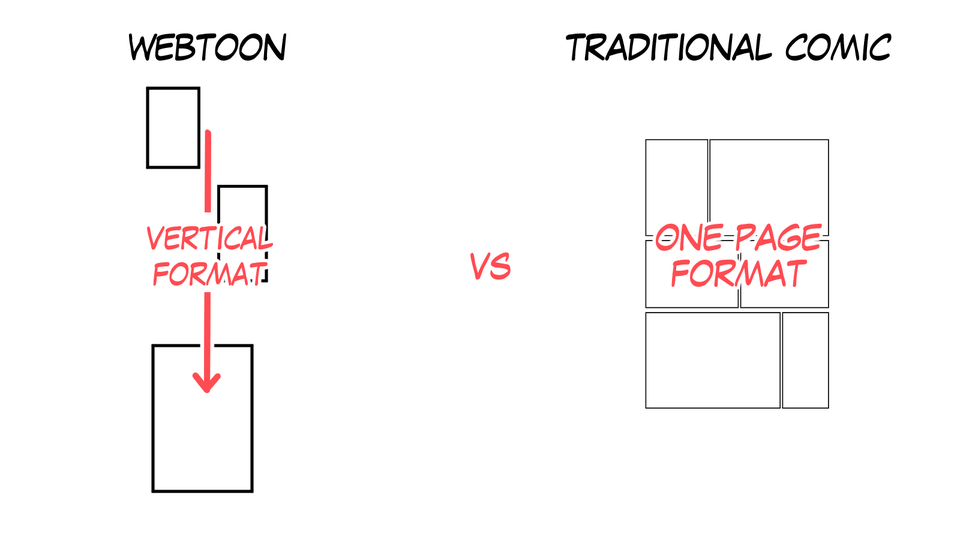
Want to see my work? Check out my Webtoon!!
The Youtube Video (the best way to learn it all)
Adding a 3D character
First, you'll want to make a new canvas. The 3D models work in all of them, so you can use this for illustration, comics, webtoons, etc.
Once you have a canvas, it's time to bring in your 3d model!
- Open the sidebar located on the right side of the screen by clicking on any of the little folder icons
Once you've opened the sidebar, you want to navigate to the 3D model section of the browser.
1. In the list of assets, click the '3D' section
2. Then click, 'Body type' from that list
3. Any of these models will work with these tips, but we will be using the standard '3D drawing figure'. Click, drag and drop the model into your canvas
Moving the 3D Camera
In order to manipulate the camera or character in 3D, you have to use the right tool.
- In the toolbar, locate the 'Operation' tool and select it
Once you have that tool selected, you will be ready to move around in 3D space.
Moving the camera:
Left-click and drag to rotate around the scene
Right-click and drag to zoom in and out of the scene
Middle mouse click (click the scroll wheel) and drag to pan the scene
(refer to the video for examples)
Using the Character's Joints
To select different parts of the body, simply click on the area you'd like to move.
- Click the forearm and you'll see it light up, and show a 3D widget for movement
The widget that appears has a bunch of lines on it, these are the 3 different 'axis' you can move this part of the body.
Think of it like math- where you plot X, Y and Z coordinates? You can rotate the joint in each of these directions by clicking and dragging on these lines.
Click and drag the blue rotation line to rotate up and down
Click and drag the red rotation line to rotate side to side
Click and drag the green rotation line to rotate around
*Notice: You'll notice that certain joints, like the elbows and knees, will only have one rotation line. That's because these joints only rotate one way. Your elbow can't rotate sideways after all!
Another Way to Use the Character's Joints
There is another way to pose a character, rather than going joint by joint through the body, and that is with dot selection.
- With one area lit up (selected), click on the same area again to swap to the alternative selection method
Photo A- Joint Selection
Photo B- Dot Selection
In the dot selection mode, you can click the end joints (such as the ankle or wrist) and the rest of the arm/leg will follow your movements.
- Click and drag the wrist joint. Notice that the elbow and shoulder will follow the hand.
For those of you who know 3D, this is the FK/IK switch.
You'll notice that these dots have not only the rotation lines, but also have colored arrows as well.
- Click and drag each arrow to move the wrist along that axis line
Blue: Back and Forth
Red: Side to Side
Green: Up and Down
My Tip on How to use Both Joint Selections
A tip on my personal method of using these selection tools:
When I start a pose, I'll use the dot selection method first. Let's say I want a character to push a door open. I'll place the character's hand on the door first, and then I'll swap to the line/rotation selection and tweak the pose using the rotation lines.
This allows me to get the basic pose out first, and then detail it with better specifics afterwards.
The Rigidity/Stiffness Problem- Concept
Now that you know the basics of HOW to pose, now I want to take a minute to talk about the how to pose WELL aspect of 3D reference.
The video goes into much better specifics on this matter, as I can talk and showcase exactly what I mean. I highly advise you to watch the full video if you want to fix the classic issue of stiffness.
The short answer is this: Stiffness doesn't come because the big, overall pose is bad. Rigidity is when all of the little muscle movements that make us human are not in play.
The best way to fix stiffness is by ACTING OUT THE POSE.
Actually putting yourself in position of what the character is doing, and then FEELing what muscles are moving and where they are located.
This is a skillset in of itself. Learning to self actualize and feel where your muscles are is something that will take time and effort.
Creating good 3D reference is a skillset itself. Just like learning to Ink straight lines, or paint lighting or draw perspective.
Don't expect to be amazing at it first try! It's okay that it'll take time. The stereotype that '3D is easy' or '3D is cheating' are both uneducated misnomers. It's just another tool that will take time for you to get good with: making poses FEEL human; there is life behind that 3D figure!
So don't get dismayed when your first set of poses feel very doll-like and lack energy. You'll get there, as we all do, with one word: Practice!
Practicing 3D Posing
Instead of mindlessly practicing, I'm here to give you helpful tips of mindful practice. The mindfulness is key for improving quickly and intentionally.
In the video I go over the specifics of each point, but here's the checklist of what to look for as you are finishing a pose:
- Symmetry: does my character have perfect symmetry on the right/left side? Humans are never symmetrical, from our foot placement, to the angles of our knees, to the dominant hand and the leading leg. If your pose is looking a bit robotic perfection, muck it up a bit with some humanity by making sure your feet, hands, knees, shoulders, elbows, etc all are asymmetrical.
- Weight/Balance: does my character feel like there is a weight to them? We have this lovely thing called gravity, and it forces our muscles to push our body's weight around as we move. Make sure your character feels like they are moving with weight instead of floating. Look for locked out bones and figure out what leg is the weight baring one. Check for body balance, such as an arm moving far up to the left, something must counter balance that on the right.
- Spine Rotation: does my character's spine rotate in the direction of the movement? Spines are 'C' curves or 'S' curves, they are never stick straight. If there is one obvious issue to bad/stiff posing, this is the major culprit. The spine should never be stiff, because it's made up of so many intricate bones/muscles, it should be rotating/spinning in a certain direction!
-Feminine/Masculine poses (not genders, poses!) : does my character have a sense of strength or softness in this pose? Masculine poses are more straight and boxy. They rely on C curves and the major rotation happens through the upper body and chest. Rarely do the hips rotate. Feminine poses are more flexible and soft. They rely on the S curves and the major rotation happens through the lower body, especially the shoulder to hip rotation.
IE: feminine poses are like a character crying. There should be gentle curves and overall softness to the pose.
IE: masculine poses are like a character readying for battle. There should be very squared shoulders, and an overall strength to the pose.
Example of Posing
In the video I cover an example of posing by using the above tips checklist to fix a stiff default pose from CSP's library. You can watch me work in a speed-posing process in the video, but here are the before and afters.
The biggest thing to keep in mind as you review these poses is to see how I'm using the checklist:
- Symmetry
-Weight/Balance
-Spine Rotation
-Fem/Masc poses
Outtro
Hope this example helped you! If you have questions or requests of what tutorial you'd like to see next, comment below or comment in the youtube video! (the best way is on the video, because I'll get notified)
My biggest tip is that you keep in mind the mental state the character is at and try to replicate it as best as you can. Looking at the two poses I made above, you'll notice that the character is 'thinking' some emotion. You can feel the sass, or the relaxation. Focus on that, the internal mentality that your character has: are they happy, sad, upset, angry? Try and view the pose through that emotion.
And, with that, I wish you good poses and may the stiffness flee from your 3D reference!
- Aerow
Users who liked this post


Comment