
Layers are an essential element in image editing programs and understanding how they work will help us improve our work process.
In this article I will explain the basic features of layers using Clip Studio Paint.
NOTE: The name of the windows and tools are written in English, this is because I recommend using the programs in this language since it is easier to find information and in the process we expand our English vocabulary.
Layers in Clip Studio Paint
To start we must open the Layers window, this is already open in the default settings of Clip Studio Paint, if for some reason this window is not open we can activate it by checking the "Layers" option from the "Windows" tab.
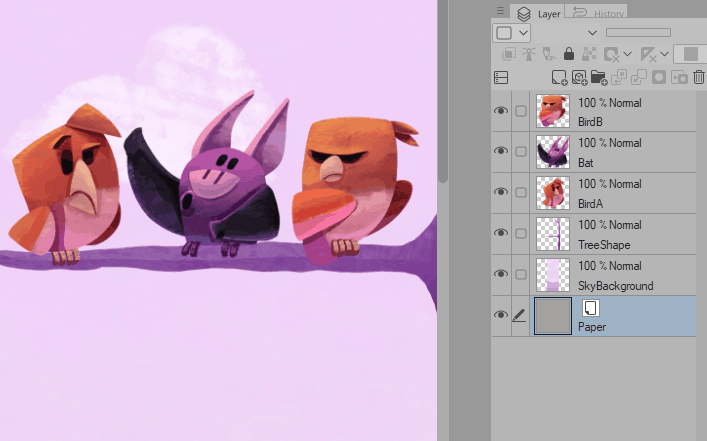
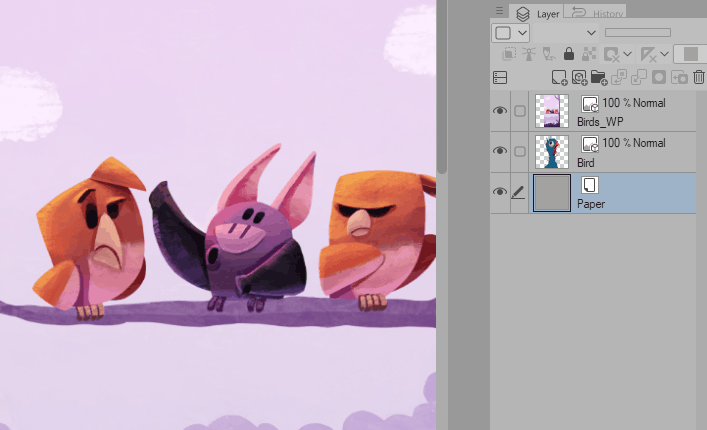
Now we must understand how the layers work and for this it is enough to imagine a stack of acetate sheets with several figures painted on each one of the sheets, and thanks to the transparency of this material we will be able to see what is behind the unpainted area of each one. sheet.
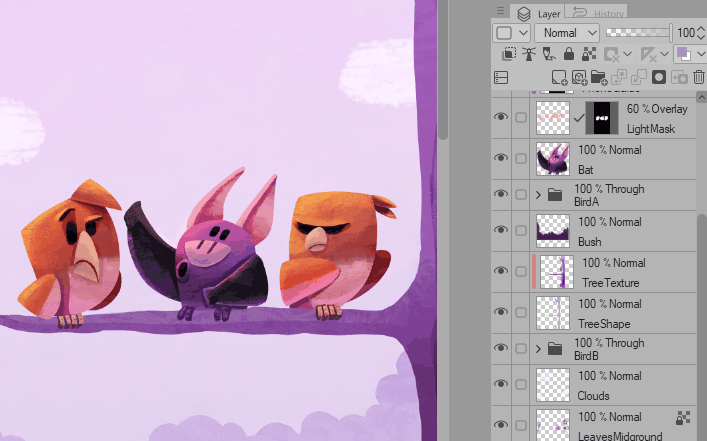
These sheets are represented as layers (Layers) in image, video and even audio editing programs. When creating a new layer it will be placed on top of the existing layers, then you can arrange them by changing the order simply by clicking and dragging the layer.
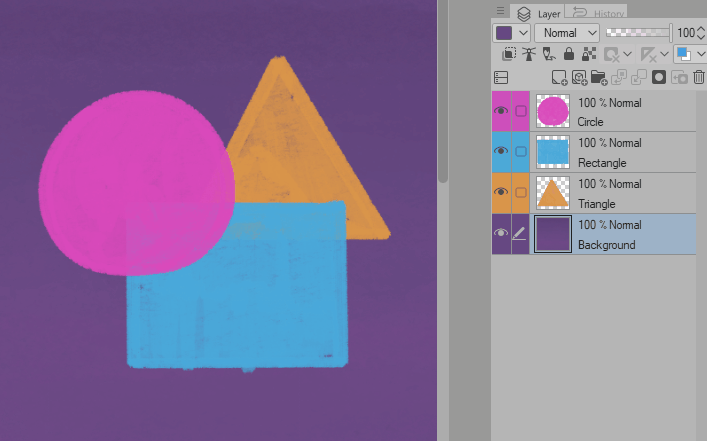
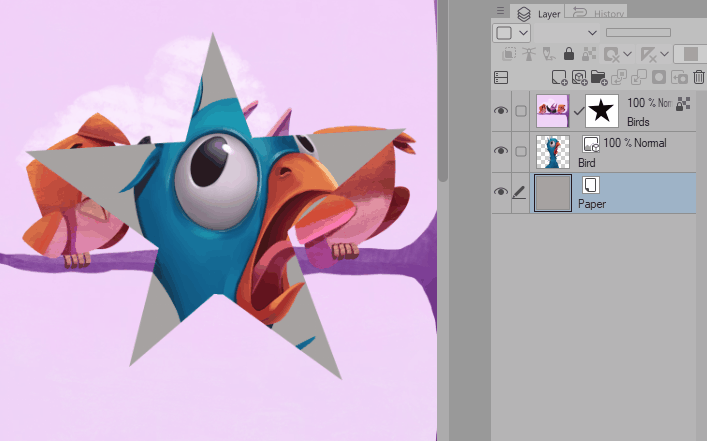
Something very important is to understand how opacity works when a pixel has a solid color it is known as opaque pixel and by reducing its opacity it will become transparent.
Being at %100 opacity you will not be able to see anything from the layers that are below these pixels, being at %50 we will be able to partially see what is below and having %0 opacity the layer will be completely transparent allowing you to see everything on the bottom layer.
The opacity can also be controlled using a digitizing tablet which allows us to create interesting textures in our drawings and paintings.

The Layers Panel (Window Layers)
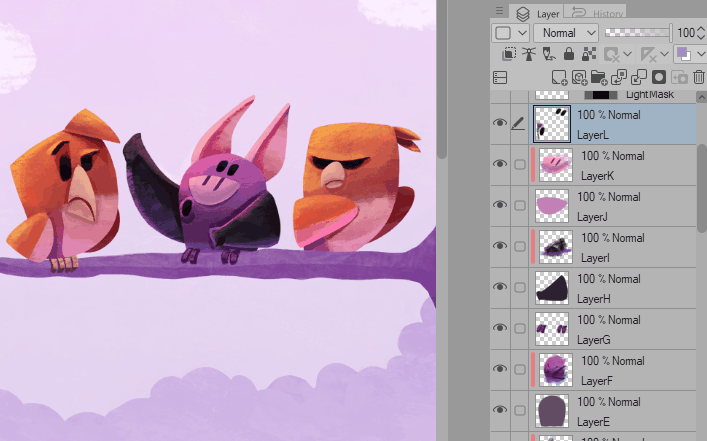
In the layers panel we can find several blocks which indicate information about the configuration of our layers.
Layer functions: It consists of several icons which modify different parameters of a selected layer, I will explain how each of the options works later.
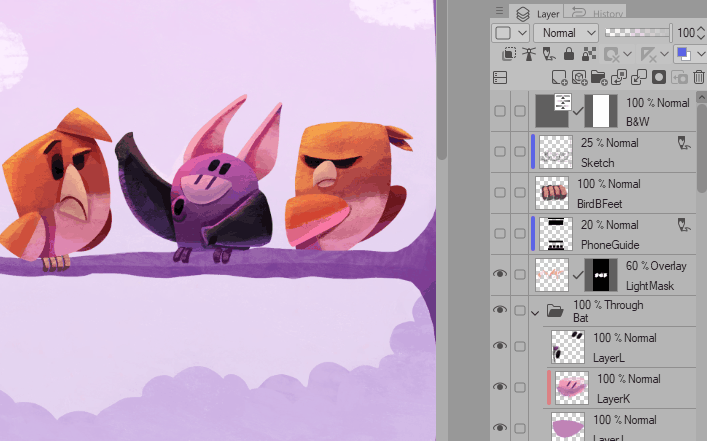
Show hide layers: In this column we can hide or show the content of a layer by clicking, when a layer is visible the icon of an eye will appear and when it is deactivated it will not show any icon.
Editing and selection: Here it shows which layers you have selected (shows a cross icon), which layer is being edited (shows a pencil icon) and if a layer is marked as a reference layer (shows the icon of an antenna).
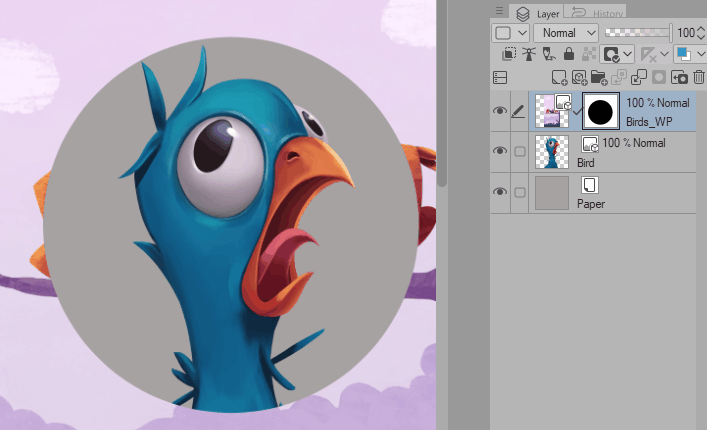
Layer preview: Here you will see the thumbnail of the content of each of the layers and their name. We can edit the name of each of the layers by double clicking on it and editing the text.
Layer icon: Here you can see the limitations of each of the layers, it will show the icon of a lock if the layer is locked, the icon of a lock and a grid to indicate that the transparent pixels are locked and the icon of a pencil if the layer is labeled draft layer.
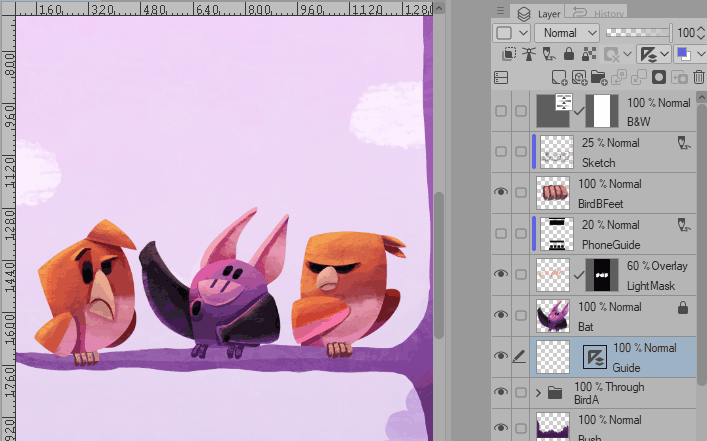
Scroll Bar: This will be visible when there are too many layers and it is not possible to display all of them in the current size of the window.
Now with the basic knowledge of how the layers work we can see all the options that the layer panel offers us and know what their functions are.
layer functions
In the layers panel we can find several icons which are very useful when working, then I will briefly explain what their functions are.
a) Change Palette color
This option is focused on organization, with it we can change the color of our layers and make them easier to recognize by taking a quick look.
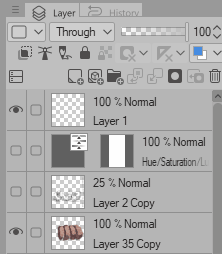
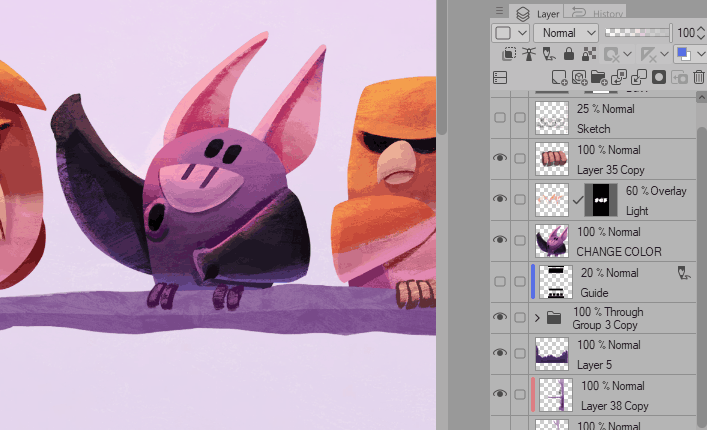
b) Blending Mode
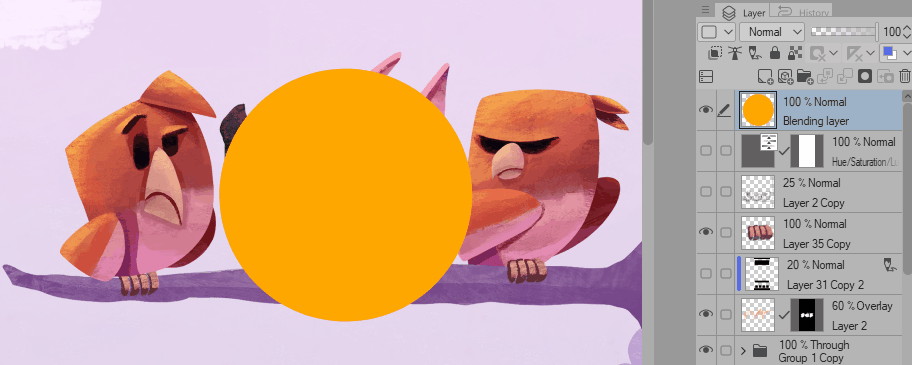
It allows us to modify how the color of the selected layer is mixed with the rest of the layers that are below it.
The normal blending mode is the default and does not alter the color in any way.
c) Opacity

This is a very useful option that allows us to modify the transparency of our layer, when the opacity bar is at 100 the pixels that we have painted will be opaque and you will not be able to see anything from the layers that are below them and as they decrease this number the pixels will become transparent until they reach zero.
d) Clip to layer Bellow
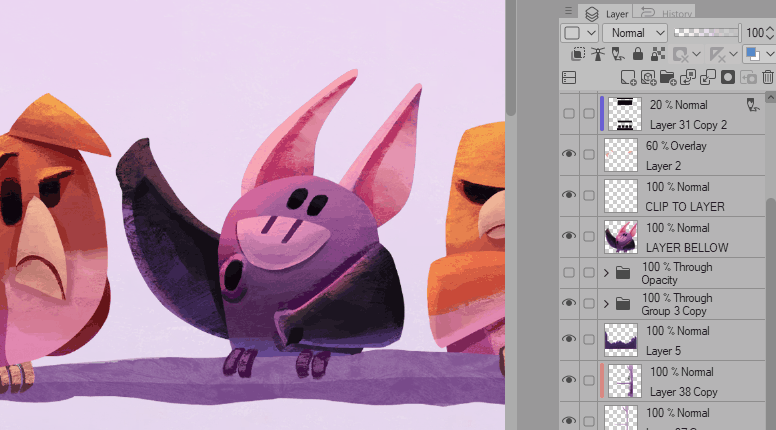
With this option all the opaque pixels that we have in a layer will be limited to the opaque pixels of the lower layer, hiding all the pixels that do not match this layer.
When this option is active, a red vertical line will appear on the left side of the layer thumbnail.
e) Set as reference layer
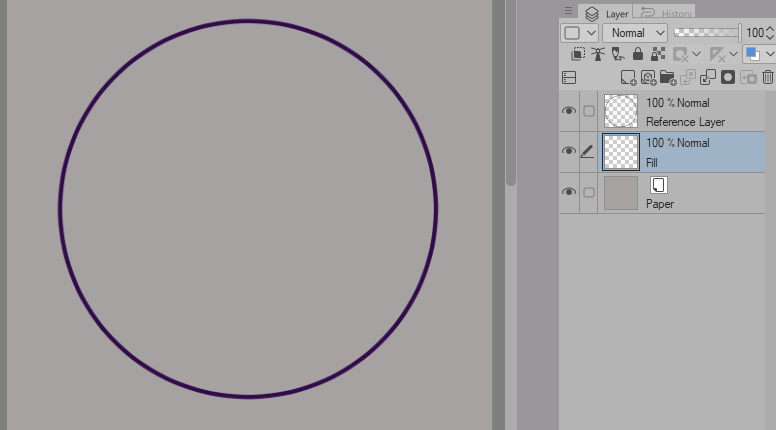
It will label our layer as "reference layer", by doing this we tell Clip Studio Paint to consider this layer as a reference, when we use tools with this option activated it will only consider the layers with this same label and will exclude all the others, for example: Using the fill tool will only fill the shapes with the reference layer label.
f) Set as draft Layer
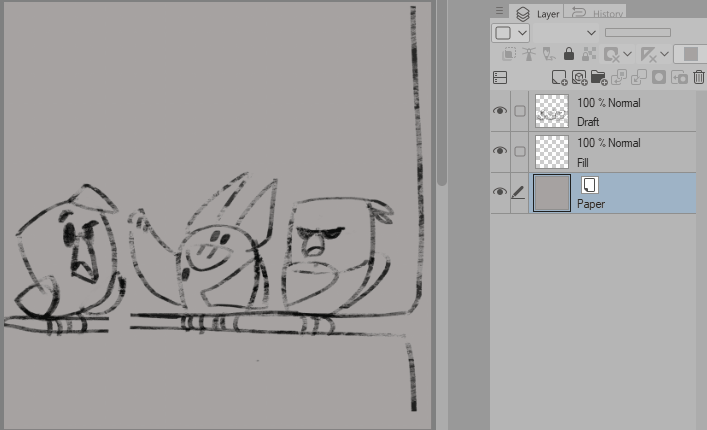
By activating this option we tell Clip Studio Paint that this layer is considered as a sketch, which means that it will not be taken into account by the rest of the tools and it will not even be visible when exporting or printing, basically it will only serve as a visual guide.
g) Lock Layer
Locks the layer avoiding making any modifications to it; like paint, move, change opacity and even delete it.
h) Lock transparent pixels
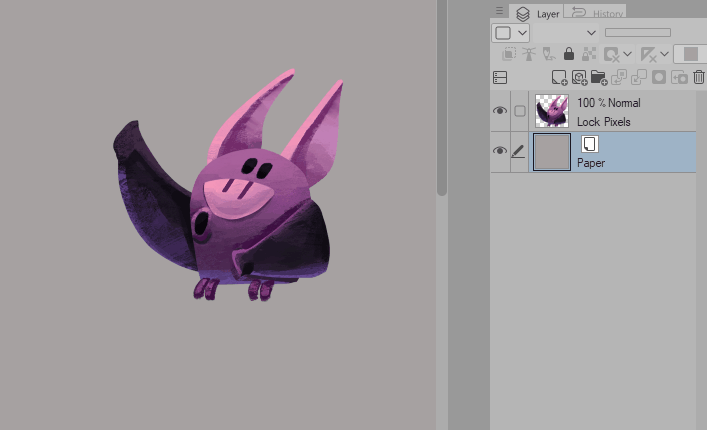
It blocks all the transparent pixels and we can only modify the opaque pixels, very useful for not altering the existing shape.
i) Mask options
Here we will find the options of the mask tool, the two available options are:
Enable Mask: Turns the mask on and off.
Show Mask area: Reveals the mask using a blue tint to represent the area that is visible through the mask.
j) Rules option
They are display options for rulers and guides, the available options are:
Show in all layers: Activating it shows the rulers and guides in all layers.
Show in same folder: When activated, it shows the rules and guides in all the layers that are in the same folder.
Show only when editing target: Activating it will only show the rulers and guides on the designated layer and when this layer is being edited.
Link guide to ruler: By activating this option the rulers will move along with the content of the layer and by deactivating this option the rulers will not move when we move the content of the layer
k) Change layer color
Create a gradient of the two selected colors, for example: if we select white and black, our image will become grayscale.
l) Show layer in 2 panes
This is a very useful tool when working with documents that have many layers, basically it divides the panel into two parts allowing to visualize two groups of layers that are distant from each other.
m) New raster Layer
Create a raster layer. A rasterized layer allows us to modify the pixels by varying its color and opacity and since it is not calculated mathematically it allows us to have better control of the stroke and even use tools such as the "Fill" paint bucket and more tools available in Clip Studio Paint.
This layer is very useful for digital painting.
n) New vector layer
Create a vector layer which allows us to create vector strokes and use all the tools designed to handle vectors within Clip Studio Paint. Vectors are mathematically calculated by the computer and allow us to modify the stroke after creating it and also allow us to change the size without losing quality.
This layer is very useful for working lineart.
o) New layer folder
It allows us to group the layers in a folder and keep our dashboard organized and easy to edit and navigate.
p) Transfer to lower layer

Transfers all the content of the selected layer to the layer below, leaving the original layer completely empty.
q) Combine to layer bellow
Merges the selected layer with the layer below making the two layers one.
r) Create layer mask
Create a mask that allows us to select which area of the layer is opaque and transparent. When creating a layer, a white box will appear on the right side of the thumbnail, we can edit it by clicking on this box and painting in the work area, the painted areas will be black and it will make all the content of the matching layer transparent , we can make the area transparent again by using the eraser a brush with transparent color.
In the masks, the white color indicates which area is opaque and the black color indicates the transparent areas of the mask.
s) Apply mask to layer
Applies the mask to the layer and removes information that is not visible from the original content.
t) Delete layer
Delete any layer except the ones that are locked, you can also delete the masks when you select it and click on this icon.
final words
So far all the information about the layers that I can share, at first all this information may be too much but you quickly understand it and implement it naturally in your workflow.
Tell me what you thought of the article and if you have any questions feel free to let me know through the comments or on any of my social networks.
My networks:
Users who liked this post


Comment