How to animate with Keyframes in CLIP STUDIO PAINT
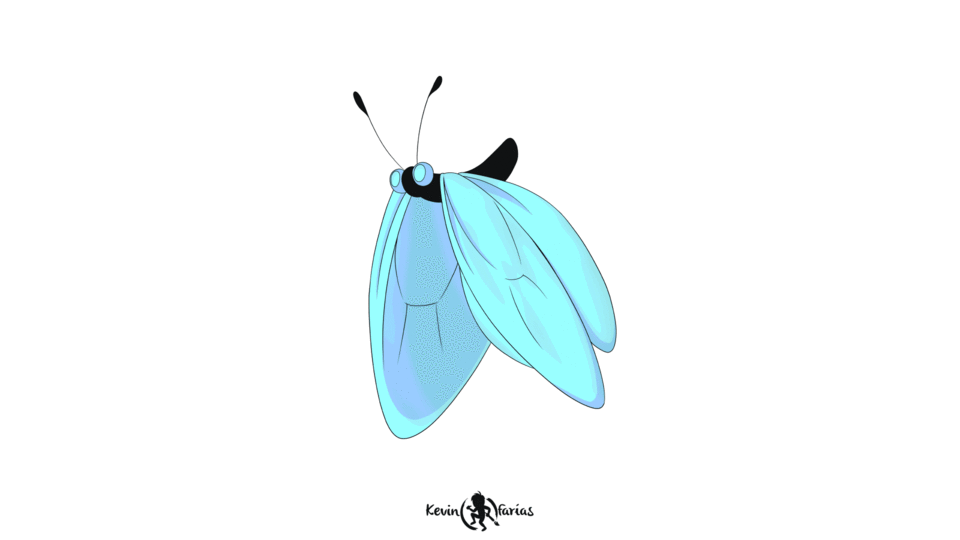
Hello! In this article I will teach you How to animate with Keyframes in CLIP STUDIO PAINT, for this, we will use an animation of a cycle of a butterfly that I have made in another project and it is the following:

So, let's go with the super tutorial where I will show you step by step how to animate with keyframes in Clip Studio Paint.
(1) TUTORIAL: How to animate with Keyframes in CLIP STUDIO PAINT
🛎 Activate subtitles in:
Settings - Subtitles - Automatic Translation - Choose your language 😉
What do you think about the video?
It is a really useful tool that will surely enhance our Animation projects.
Now, I invite you to a summary of the tutorial with a step by step.
(2) Step by step to Animate with Keyframes
Let's go with a summary of the tutorial.
(3) Creation of the Project:
These are the settings that I recommend when doing 2D Animation in Clip Studio Paint. Width 8,000 x Height 4,500. Resolution 600. And the duration of 72 Frames at 24 Speed (FPS)
Project created.
I recommend deleting the Animation folder that is by default, because we will work with a different one.
(4) Path Line:
In a new layer we draw a line to be the guide for the animation we will do with keyframes.
(5) Butterfly Animation Cycle:
We copied the animation of the flight cycle of a butterfly made in another project, developed in 8 fps.
At the time of pasting the animation you will notice that the 8 fps animation converts to 24 fps. Since it takes the settings of the project that we created at the beginning of the tutorial.
I love that :)
(6) Activate Keyframes in Clip Studio Paint
Now, when we start animating with keyframes, we first activate the Enable Keys for this layer option in the timeline.
Immediately the Object tool is activated and a blue rectangle appears to be able to scale and move the animation layer.
(7) Insert Keyframes
We go to frame 1 and we give the option Insert Key.
There is also the option to Delete Key. When it is necessary to remove them.
(8) Animating with Keyframes
Now in the timeline we are going to move and guide us along the trajectory line to animate the flight of the butterfly, using Key Frames.
(9) Duplicate an Animation on the Timeline
To continue with our animation we will duplicate the butterfly's flight cycle to complete the timeline, for this we must click on the upper part of the animation, right button / copy. Then we advance to the empty frame and with right button / paste, we paste the duplicated animation.
(10) Animating keyframes of the second cycle
Now after pasting the animation cycle, we delete the keyframes and create new ones by adapting the movement of the butterfly to the trajectory line of its flight. If we have space, we duplicate the animation again;)
(11) Flight path preview

(12) Add a Fund
Now, to keep things simple, we will add a background using Clip Studio Paint resources.
(13) 2D camera
To create the 2D Camera we must go to Animation - New Animation Layer - 2D Camera Folder
Then we insert keys in the first and last frame of the 2D Camera Folder animating their movement from right to left, to follow the trajectory of the butterfly's flight.
(14) 2D Camera Preview
We can see the trajectory of the animated 2D Camera.

Remember to activate the preview in Animation - Playback Settings - Render 2D Camera. So you can see the final frame of your animation.
(15) Elements in 2D Camera
For the elements to be visible correctly with the movement of the 2D Camera you must insert all the layers inside the Camera folder.
(16) Animation Preview with 2D Camera

(17) Export your Animation
For this we are going to: File - Export Animation - Movie. And we create our animation as video. Remember to choose the folder where you want to export your animation and export in 1920x1080. Full HD.
(18) Final Animation with Keyframes and 2D Camera

I hope this super article is very useful for your future animations.
I leave you a greeting, that you are very well and until next time!


Comment