
Hello! I'm oodi and today I would like to share some useful tricks to save your time while animating in CSP!
The tutorial consists of the basics of animation, canvas setup, useful functions, and more!
Let's begin!

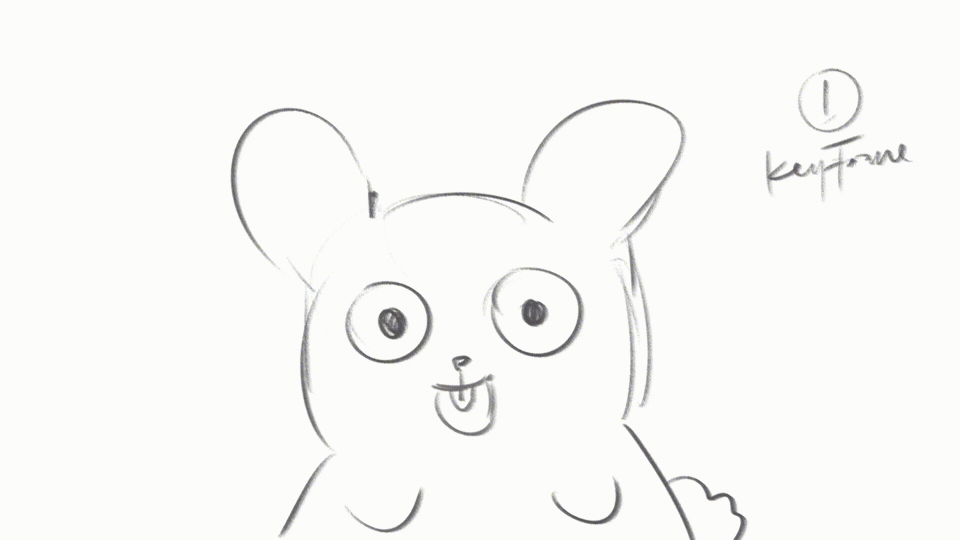
The animation I will be making today is simple! Just a bunny with large eyes blinking and smiling!
Canvas Setup for Animation
The canvas setup is the same as the illustration's mode, to begin:
💡 click File > New > Animation (the icon is the last of the list)
Here is where you can change your canvas size to your liking.
There is a size preset for animation which CSP has provided, but you can go with "custom" if you have a preferred size in mind.
Timeline Setup - FPS and Playback Time
Now we're changing the setting of the timeline
💡 FPS means Frame Per Second.
💡 If you set your canvas to 12 FPS, there are 12 images (still images) that make up the motion in your video in 1 second (ideally).
💡 In CSP, you can change the FPS in "Frame Rate" section.
💡 Playback Time is how many frames you want to use to extend the duration of your animation.
Let's say you set the playback rate to 12 with 12FPS, then the calculation is 12/12FPS=1, so the duration of your animation is only 1 second.
💡 If you want a longer animation, just increase the playback rate.
For example, you set the Playback Time to 30, so 30/12FPS = 2.5 seconds. Your animation is gonna be 2.5 seconds long.
Inside The Canvas & Timeline
Basically, the look of the animation canvas is the same as the illustration.
You need to know that the frame inside the canvas indicates the output of the animation. So, if you draw outside the frame, it won't show up after you render your animation.
For example, we have a drawing of a scenery with mountains, a road, sun, etc.
Then the final output of the animation scenery is anything that is drawn inside the smaller rectangle.
To show the animation panel, click Windows > Timeline (check the timeline)
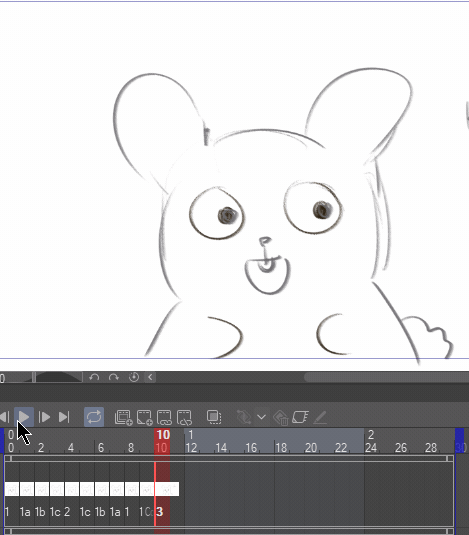
After the timeline shows up, you will find this look.
The panel represents 2 important sections, the horizontal is the frame, and the vertical is the track, or we can just call it ''layer'', or in CSP, the name is "animation cel" which is located inside the "animation folder". You will draw inside the animation folder :)!
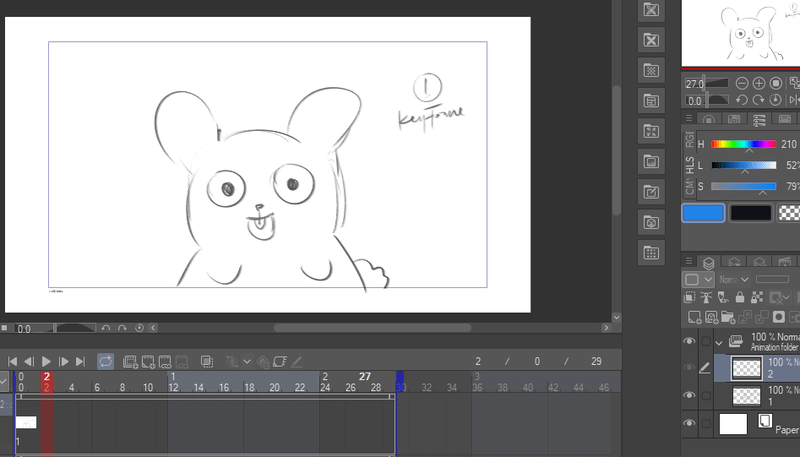
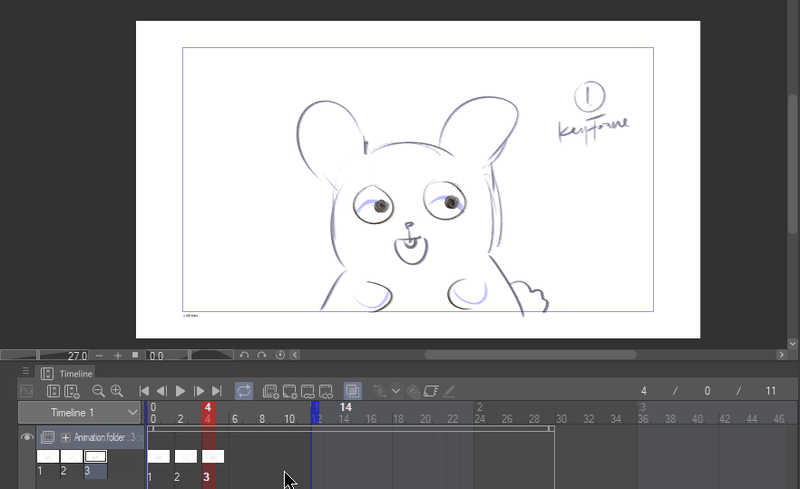
Sketching: 1st keyframe
💡 Keyframe is the main (key) movement that will be depicted in your animation.
and the movement between keyframes is called in between, its function is to make the details of the movement so that it doesn't become stiff and the movement makes more sense.
To start drawing, you can go to the layer property as usual.
You will find every animation cel is inside the "Animation Folder".
Then just start drawing as we usually do. For me, I'm going to make a cute bunny that's blinking and smiling as the 1st keyframe.
I'm starting on the "0" (zero) frame, and inside the Layer 1, which is represented in the timeline panel as "1".
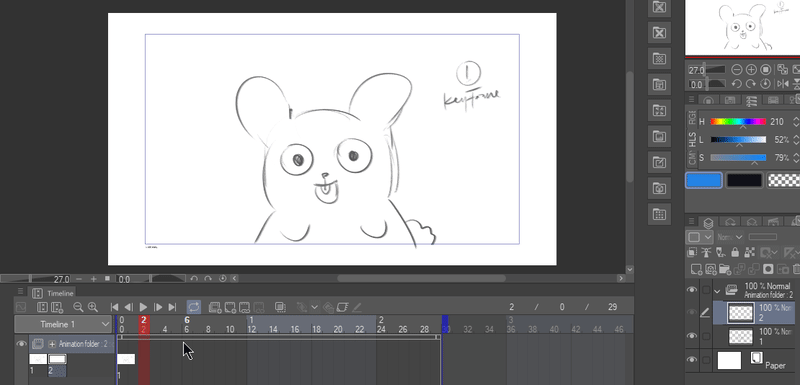
Sketching: 2nd keyframe - adding new layer & make it shows up on the timeline
Now let's move on to the 2nd keyframe!
To add a new layer, you can go to the timeline panel, and choose "add animation cel" which is listed as an icon of a box with a plus on it.
Oh, and btw, I'm using the 2nd frame to sketch the 2nd keyframe of the bunny.
I forgot to tell you, that you can also add a new layer using the layer properties. Please go to the layer properties, and click "New Raster Layer", or any type of layer that you prefer.
I'm gonna name it Layer 2.
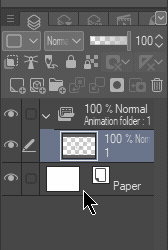
But shockingly, Layer 2 doesn't show up on the timeline. Thus, we can't continue drawing :( .. then, what should we do?
Don't worry, the solution is simple, all you need to do is Right-Click the timeline, to where you want Layer 2 to show up to, and choose "Layer 2".
Now you can continue drawing on Layer 2!
Sketching: 2nd keyframe - onion skin
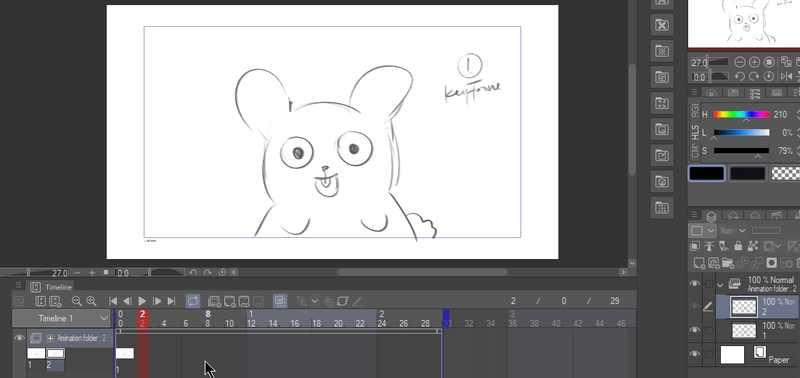
But you faced another problem here, you forgot what the bunny looked like and what does it do on the previous layer!
That's ok, on some occasions, maybe you'll find it troublesome to remember the previous image.
Don't worry, there's such a thing as Onion Skin :D!!!!!!!
💡 Onion Skin is used to preview the previous and subsequent drawings with a lower opacity, so you can trace your previous drawing easily.
After you enable the onion skin, you'll be able to see the 1st keyframe of the bunny. And trace it over to create the 2nd keyframe!
Sketching: 2nd keyframe - copy & paste
Are you in a hurry? Or feeling too lazy to trace it over again?
Don't worry, you can copy & paste instead :))))
First of all, if you're going to copy & paste Layer 1, then our previous Layer 2 won't be necessary anymore. So, we're going to delete it.
Right-click on the frame of Layer 2, then choose "Delete".
Delete is a function to remove the chosen active frame on the timeline, while "Delete frame" is a function to completely remove 1 frame from the timeline.
To copy and paste, simply copy/duplicate the wanted Layer in the "Layer Properties", and paste (Ctrl + C and Ctrl + V).
Then to make it active, do the same step as before, Right-click on the timeline panel, and choose the destined layer.
Let's continue our sketch, shall we?
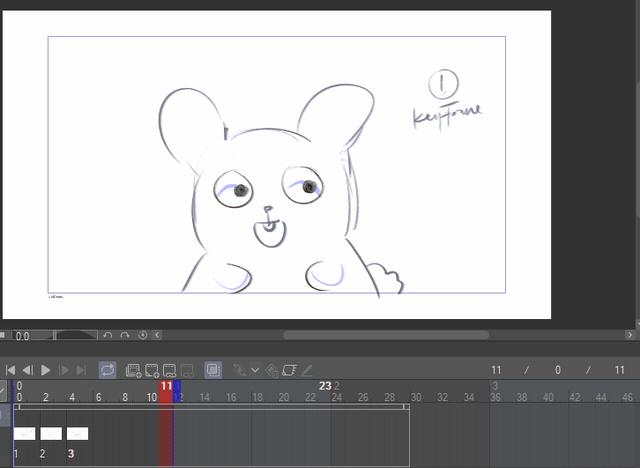
I will create the 2nd keyframe, and the bunny will close both of its eyes and open its mouth widely. All I need to change was just the eyes and the mouth.
Sketching: 3rd keyframe - preview animation playback
Now that you've learned all the functions, creating the 3rd Keyframe would be very easy right :)
For the 3rd keyframe, the bunny is opening both of its eyes while looking at the side, while maintaining its smiley face. All I need to change is just the eyes because I'm copying the previous layer! It's really time saving :"D
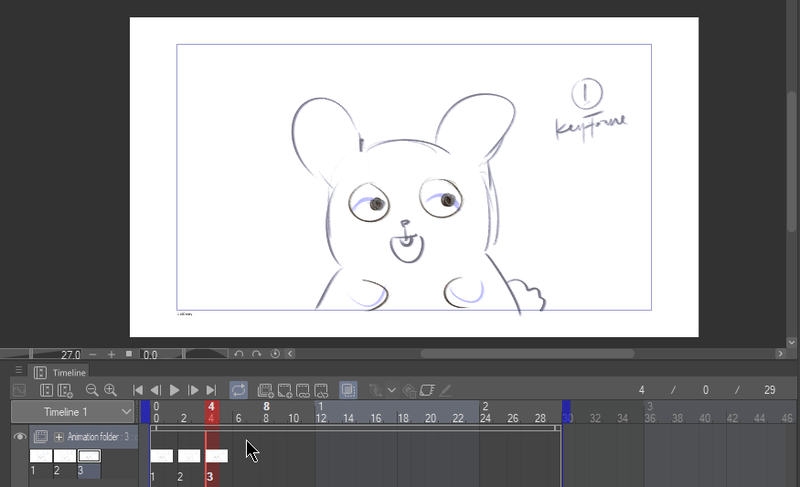
Now we're done with the keyframes!
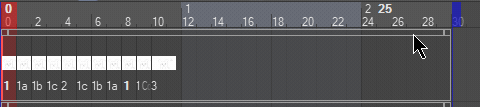
We want to see how it goes right? All you need to do is just click the play button
Or, the second option is to drag your pointer across the frame numbers, like this:
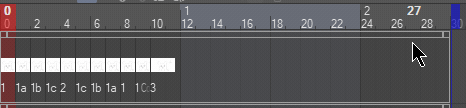
If you think the timing is too slow or too quick, you can adjust the pace by moving them around until it satisfies you!
Just click and drag the frame just like the example :) (make sure your pointer to click exactly on the frame)
In-between or Tweening
💡 Tweening is a technique to create transitional frames between the keyframes, make them smoother, and show evolution between one object and another.
The in-betweens that I will make are between Layer 1 - Layer 2, and between Layer 2 - Layer 3.
So if the keyframe in Layer 1 is the bunny closing its mouth while looking up straight, the in-betweens will be of its eyes gradually closing while its mouth gradually opens to match the keyframe in Layer 2.
To create the space for the in-betweens, I moved the Layer 2 and Layer 3 far away ~
Then I copied Layer 1, put it on the frame "1" right beside the frame "0". The name is Layer 1a.
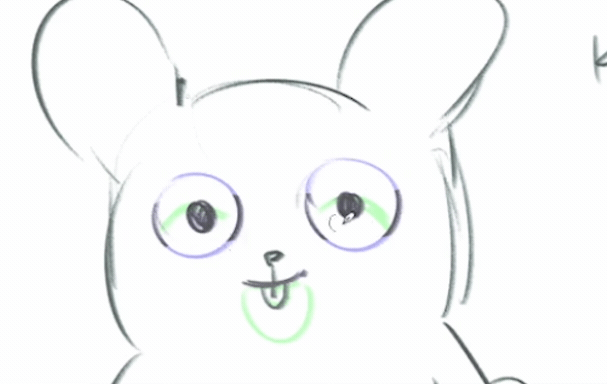
I start working on Layer 1a, by erasing the eyes to create "closing eyelids".
For 1a, since it's a first in-between, the rabbits shouldn't close too much of its eyes, we will work on that on Layer 1b, 1c, etc until the evolution matches the 2nd keyframe!
Since this tutorial is already too long, I will skip the process of drawing the next in-betweens....
If you want to see the full process please watch the youtube video^^!
Here is the summary of the in-betweens from Layer 2 to Layer 3!
Final Preview
Finally, we're done! Here is the preview of our bunny!
More Useful Tips
When you play the animation, sometimes it took too much time for the playback to loop again, right? Like this:
To shorten the route, you can:
1. Cut the unused frames
Click and drag the top edge of the white grid to the desired position
2. Cut the playback timing
Click and drag the blue mark on top of the white line to the desired position. By doing this, the total of your frames is still the same, it just cuts out the playback route.
Closing
Thank you for reaching this end! :"D
I hope my tutorial is helpful! I'm really sorry for my English, I have many things to say but I have very limited vocabularies :(
If you have questions please do ask in the comment below and I will try my best to answer all of them! Have a good day!
Users who liked this post


Comment