
Introduction
Abandoned place is a building or a place that is no longer used or occupied. A place is likely to be abandoned if somehow maintenance is not possible so that it can't be used/occupied anymore. Natural disasters, environmental hazards, or economic circumstances are a few reasons why a place is abandoned in the first place.
Abandoned places can give us all kinds of emotions. From eerie, creepy feelings because of the lack of presence of humans to introspective thoughts about how nature can easily reclaim what humans had built so hard.
Konbini (コンビニ; コンビニエンスストア; short of convenience store) is a retail business, usually small in size, that sells everyday needs. It usually sells everyday items such as groceries, foods, drinks, etc. and also service products like payment and photocopying service. When researching about konbini, we usually see an amazing assortment of delicious ready-made meals such as bento and sandwiches. They are a quite interesting one-stop place for practical and fast lifestyle in this modern era.
In this tutorial, we will try to illustrate a small abandoned konbini somewhere in an unknown rural area. The story is that the konbini was thriving once in that area until some mysterious circumstances forced the konbini to be abandoned. Several years later, when a group of urban explorers explored the area, they found the konbini was already claimed back by nature and now it looks decayed, damaged and surrounded by shrubs and vines.
To do the illustration, we will be using 3D primitives to build a brand new konbini first. After that, we will turn it into an abandoned konbini using various brushes, from default brushes included in Clip Studio Paint to brushes from CLIP STUDIO ASSETS. Let's get started!
Sketching
Before building the konbini using 3D primitives, we will need to sketch how it looks first. The sketch process is largely inspired by the shops on my previous tutorial here.
The sketch is also needed to plan the size of the konbini and the dimensions of various parts of it.
Let's begin by creating a new document. We will be using a 2560 x 1920 px (4:3 aspect ratio) 72 dpi canvas size for this tutorial.
Here, I began sketching the main shape of the konbini first before sketching various parts of the konbini such as the door, windows, and the signs.
I chose to use a metal shutter door instead of normal doors to make it look like it’s been closed permanently.
After that, we can now label the dimensions of the various parts of the konbini. The dimensions are based on the units of 3D primitives and will be used in the next section of this tutorial. As a note, you don’t have to do detailed dimensioning like below. You can just label the dimensions of the most important parts and improvise some of them later if you like.
Next, we will try to create an interesting composition for the illustration. To do this, you can try to imagine and sketch the konbini three-dimensionally based on the sketch plan and position it on the canvas using rule of thirds.
For the konbini, I chose to make the eye-level (horizon) on the bottom so that it would look intimidating and stand out.
After sketching the konbini, you can position it on the left-third or right-third of the canvas. I chose to position it on the right-third purely for aesthetic reasons.
Next, we will try to design the environment so that it would guide the eye of the viewer into the konbini. Here, I sketched the forest behind and the shrubs around the konbini. I also sketched the vines growing on it.
As you can see on the image below, I tried to guide the eye of the viewer using the shrubs and the background forest to the konbini sign. You can do this differently if you like, maybe by adding other natural elements or anything you can imagine.
Next, we can sketch the grass surrounding the konbini.
After that, we can sketch the dried branches wrapping the konbini to add more realism.
Finally, we can add clouds on the background so that the konbini would stand out more. This addition will look better when we reach the environment rendering step later.
Here is the finished compositional sketch.
Creating the Konbini Using 3D Primitives
If you want to draw backgrounds or complicated objects but you're still unsure about how to draw them in advanced perspective projection or maybe you want to save time drawing them because you're on tight deadlines, using 3D Primitives in Clip Studio Paint can be a very helpful and efficient way to do them.
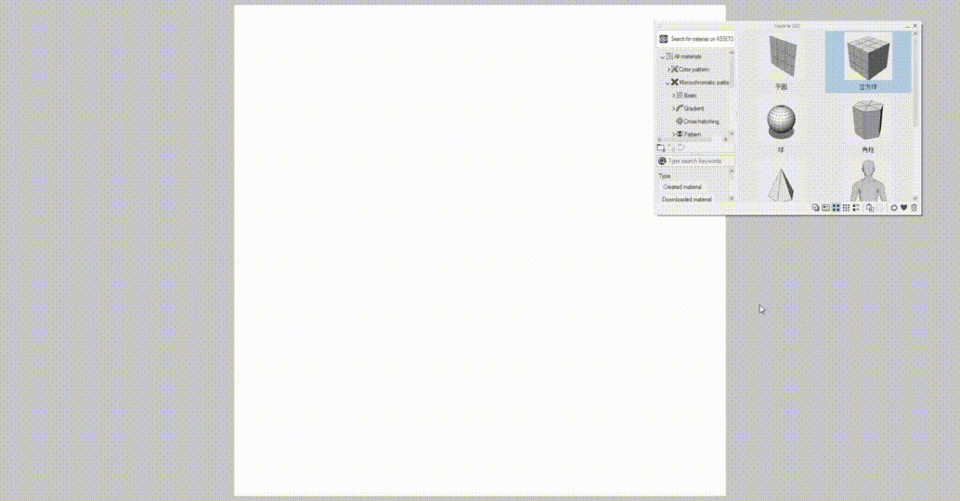
What are 3D Primitives? It’s a feature in Clip Studio Paint version 1.11.6 onwards in which you can add various basic 3D shapes to the canvas. The 3D shapes are composed of Plane, Cube, Sphere, Prism, and Pyramid.
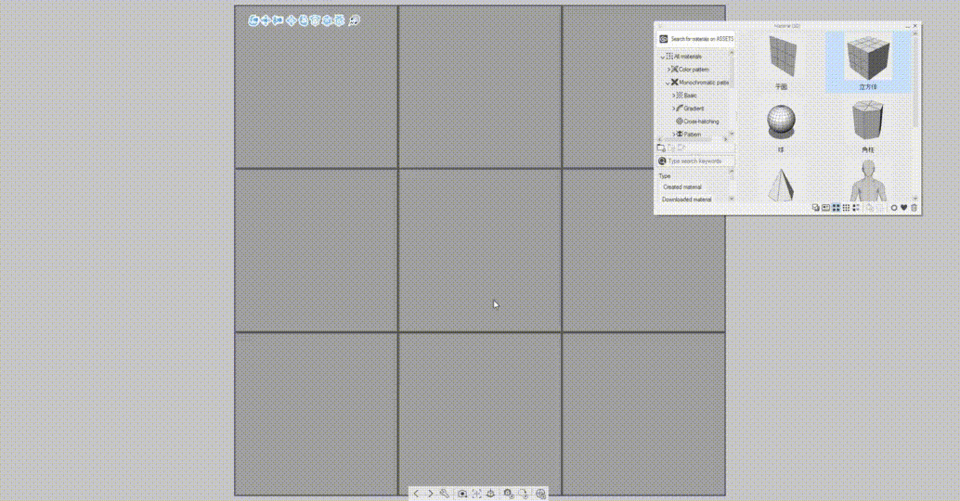
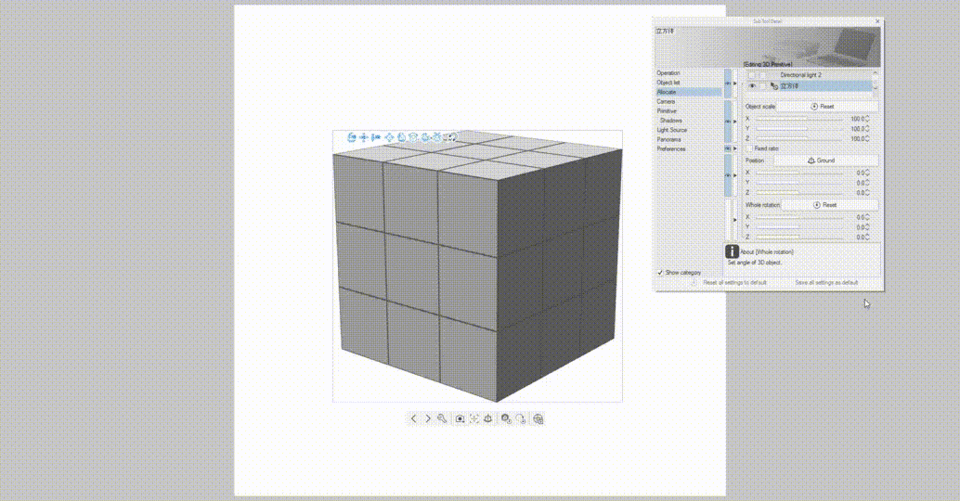
For starters, let’s try adding a cube onto the canvas. To do this, you can drag and drop the cube from [Material [3D]] palette to the canvas.
You can adjust the camera of the 3D object using the camera controls on top left. The controls are consisted of [Rotation], [Pan], and [Zoom].
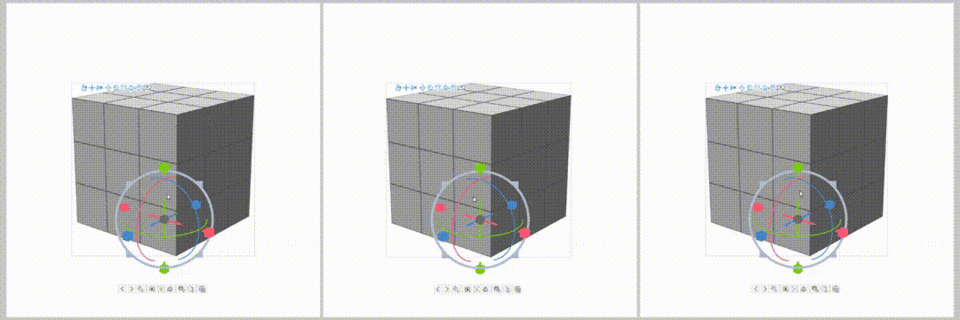
To move/rotate/resize/scale the cube, simply click the object once and drag the corresponding handle shown below. The object will be moved/rotated/resized/scaled along the handle axis (X (red), Y (green), and Z (blue) axis).
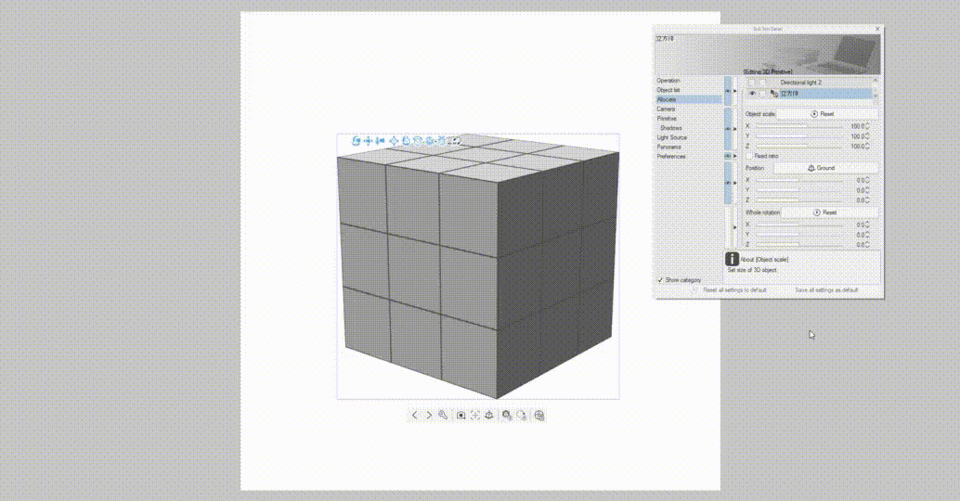
You can also use the parametric object size and position on the [Sub Tool Detail] palette (click the wrench icon) to parametrically move/rotate/resize the cube by typing a value on it. This parametric feature is what we will mostly use on this tutorial.
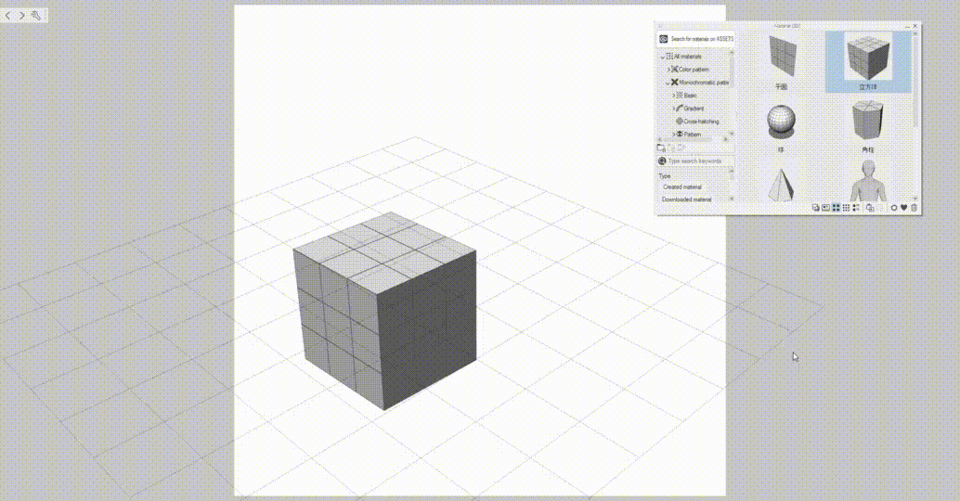
To add another 3D primitive, you can add it on the same 3D layer by clicking the 3D layer first then drag-and-drop the 3D primitive you want to add to the canvas. To snap the 3D primitive to another 3D primitives, enable [Snapping] first (the magnet icon).

You can also add another 3D primitive on a new 3D layer. The difference is if you put it on the same 3D layer, you can snap it onto another 3D primitives on that layer. But if you put it on a new 3D layer, you can’t snap it onto another 3D primitives on the other layer as you can see on this image below.
You can take a look at this official TIPS below for more in-depth tutorial on 3D primitives.
The possibility of using 3D primitives are endless. You can use them simply as a base for any drawing you want to do or you can push your creativity to your limits and create then render any complicated objects by only using them, without the need of advanced 3D modelling skills.
With that in mind, in this section of the tutorial, we will try to build a konbini building using only 3D primitives as a base for the illustration. Why not just draw/paint the building directly instead of using 3D primitives? As stated in the beginning of this section, the process is relatively more efficient. It's also more flexible because we can just edit the 3D model or adjust the camera of the scene to make changes instead of redrawing it multiple times.
To build the konbini, we will use cubes and planes for the walls and the windows and prisms for the roofs and the piping.
First, let’s create a base ground for the konbini. I used a cube and resize it according to the sketch plan made before using parametric options. I also set the [Show wireframe] enabled and [Sub-divisions] ([Sub Tool Detail] palette → [Primitive]) to "1" for X, Y, and Z for the 3D primitives (except for some prisms) used in this tutorial. This is done to create a lineart from the 3D shape.
After that, we will create the side walls for the konbini by using another cube on top of the base ground. Enable [Snapping] then resize and move it parametrically based on the plan. But before that, I set the camera perspective to lowest value ("1") so that the 3D primitives won't look distorted when building the konbini.
Next, we will duplicate the side wall by copying it (Ctrl+C) then pasting it (Ctrl+V). Move it to the other side.
After that, we can create the front wall. The reason why we use separate walls/cubes rather than a single cube for the main building is to avoid clipping by the other parts (such as the windows and the shutter door). For the back wall, we can leave it open because it will be hidden from the view.
Next, we will add the roofing using a cube and a prism. Use cubes for the gutter and prisms for the roof tiles. For the gutter, I set the [Sub-divisions] Y to "3" to create a line pattern on it.
To turn the prism into a triangular shape, set the [Sub-divisions] X to “3” (Y and Z to “1”). After that, rotate the prism on the X axis by 180°, Y axis by 90°, and Z axis by -90° and then move it to above the gutter.
You can do the same steps as above for the smaller rainsheds.
After making the base building, we can now add more details on the building. The details are the shutter door, the windows, the front and side signs, the piping, and the outdoor AC fan.
First, we will create the shutter door using cubes for the frame and a plane for the rolling metal door itself. To create the door frame, add another cube and resize and move it according to the sketch. After that, duplicate the cube twice then resize and move one to the top and one to the other side.
To create the rolling metal door, add a new plane and set the [Sub-divisions] X to 20. The subdivisions will create the effect of metal slats on it. After that, position it on the door frame.
Next, we will create the windows on the second floor of the building. To do this, you can create the window frame first by using cubes. Use planes for the glass and position it accordingly.
After that, we can create the front and side signs of the konbini. For the front sign, use a cube. For the side sign, use a combination of a cube and two cylinders. The cylinders are not directly available on the 3D primitives but you can make one using a prism and set its' [Sub-divisions] X to the maximum value (“20”).
For the piping, use the same method as above to make the cylinders. Use the rotation handle to rotate the cylinder.
Use cubes to build the outdoor AC fan.
After that, you can lock all the objects so that they won’t move when you enter the 3D edit mode.
The 3D building of konbini is now finished.
Flat Coloring
Before flat coloring, let’s set the camera of the konbini to match the sketch. Set the [Perspective] to "8" and move/rotate/pan the camera. You might want to unlock and select an object first so that the camera will be movable.
After that, you can lock the camera position so that it won’t move when we're adding colors to the konbini.
Before continuing, you might be wondering why the 3D model colors don't look like the default 3D models? It's because I've adjusted the lighting and ambient lighting in advance. This is done to create the lighting and shadows and make the rendering process more efficient.
To do that, you can set the lighting to yellow with 1.00 intensity and ambient light to dark blue with 2.07 intensity to give color to the shadow. The intensity is chosen to make the impression of the konbini and the environment are below clouds' shadow. It is also chosen to contrast between the sky and the konbini itself. Because of this, we won’t need to add additional shadows on the konbini for the next section of this tutorial.
Let's continue by setting the 3D model layer [Blending mode] to “Multiply” first. You can rasterize it first if you like but I just left it not rasterized in case I need to edit the 3D model sometime.
After that, select the outside of the 3D layer using [Refer to editing layer only] and invert the selection. Create a new raster layer below the 3D model and fill it with wall base color.
After that, fill all the parts with colors with any opaque brush. It’s recommended to create a color scheme for the parts. I chose a reddish brown color scheme for the building signs and the windows and bluish gray for the roofs and the shutter door.
Next, we can add main text sign of the konbini and other supporting texts to the building signs on new raster layers. Here, I used [Figure] and [Text] tools to create them. Create the signs on rectangles with the aspect ratio based on the plan sketch.
As a note, the gray background will be removed once the signs are put in the 3d model. I put here for contrast because the text color is almost the same as the Paper color.
Finally, you can transform the signs using [Free Transform] ( [Edit] → [Transform] → [Free Transform] menu or Ctrl+Shift+T) so that it matches with the perspective of the model.
Flat coloring is now finished.
Rendering the Abandoned Konbini
To transform the brand-new-looking konbini into abandoned-looking konbini, we will need the “Wall Dirt Brushes” from CLIP STUDIO ASSETS.
It’s an amazing collection of brushes to help us paint the decay on the building. Be sure to check and download it.
First, let’s create a new layer above the part you want to paint and set it to [Clip to Layer Below]. After that, you can paint the dirt on that layer using a combination of the brush and try to make it as natural as possible.
It's a good idea to create a color scheme first before we begin rendering. Here are the colors I mostly used to render the decay on the konbini.
To begin, we can paint the wall primer first to give the impression of peeled paint on the wall.
Next, we will paint the dirt from the ground and moss. You can paint them on the same layer or create as many layers as you need and set them to [Clip to Layer Below] to paint them. I used many layers method to paint all the decay in this tutorial.
Paint the rust dripping to the walls from the roofs and the signs to add more realism.
After that, we can paint the rust on shutter door using the same method. Add some yellow and some green here and there to the shutter door to make it look more rusty.
You can paint more rust details using [Running color spray] and [Soft] airbrush.
After that, paint the smaller rust spots using smaller size brush by following the slat lines.
Next, we will paint the decay on the front and side signs. We can assume that both are made from metal so we will add flaking paint coat and rusty interior beneath it. Before painting it, hide the sign text layers first.
After painting the rust, we can now unhide the sign text layers again. Select the layers and mask both of the layers using [Create layer mask]. Erase the mask using the dirt brush set to transparent. Make it so that the paint looks flaking and disappearing from the signs while keeping the signs still identifiable.
Next, we will make the windows look broken. You can paint the decay on the window frames first with darker brown then add some white to give the impression of mold growing on the wooden frame.
After that, we can paint the reflection of the sky on the glass using [Gradient] tool. Set the gradient from white to transparent and paint the reflection vertically. I also painted the reflection of the clouds using [Clouds] brush on the glass.
After that, let’s make the glass look shattered by using an opaque brush (I used [Felt pen]). Set the color close to black to give the impression of unlighted room. Paint the shattered glass randomly here.
After that, we can enhance the broken glass look by painting the cracks with [Crack] brush ([Decoration] tool category → [Background] sub tool) and the mold growing on them using [Running color spray]. Use white for these.
Finally, we can move on to painting rust spots on the rainshed and the roof by using the same method before.
Finally, we can add the decay to the ceiling. We also need to add the light reflections of the windows and the rust to the various parts of the konbini (the ceilings, rainsheds, and the signs).
For the light reflections, set the layer [Blending mode] to "Add (Glow)" and lower the opacity to 44%. For the decay, lower the opacity to 25%.
Here is the layer arrangement of the konbini building.
The konbini now looks decayed and feels like it’s been abandoned for a long time.
Rendering the Environment
For the first part, we will paint the sky, the background forest, the ground. and the clouds for the environment. You will want to group the konbini layers first on a new layer folder first. Also, for better organization, you will want to group the background elements (the sky, the background forest, and the clouds) and foreground elements (the plants surrounding the konbini) separately on their own layer folders.
Here are the colors I used for the sky, the background forest, and the ground. For the clouds, it's mostly close to pure white.
First, let's paint the ground. Create a new raster layer and put it above the konbini folder. You can use any opaque brush to paint the ground (I used [Chalk] brush here).
Next, we can paint the sky using the [Gradient] tool. To do this, you can drag the [Gradient] tool (using [Foreground to transparent] sub tool) vertically using the sky color.
For this step, we will mostly use the [Background] sub tool on [Decoration] tool category. To begin, we can paint the background forest using the [Leaves] brush. I modified the brush settings to make it paint solid color and turned off the [Color Jitter]. This brush will also be used next in the second part of this section of the tutorial.
Paint the background forest with background forest color (bluish dark green). We use this color to give it the atmospheric effect because the forest is located far from the konbini.
After that, create a new raster layer above it and enable [Clip to Layer Below] and paint some light blue using [Soft] airbrush to boost the atmospheric effect.
After that, we can paint the clouds using [Cloud] brush. You can use the brush as it is or modify it like I did here. Paint the clouds so that it makes the konbini stand out more.
Here is the layer arrangement for the background elements.
For the second part, we can move on to paint the shrubs, vines, and grass surrounding the abandoned konbini to enhance the decaying impression.
We can separate the process of painting each of them into three parts. Those parts are the shadows, the midtones, and the highlights. I used just these three colors to paint them.
First, create different layer folders for the shrubs, vines, and grass for better organization. After that, create new raster layers as needed inside each folder.
As a base, we can paint the shadows first, which also function as the silhouette. Here, I painted the silhouette of the shrubs and the vines growing on the building first. Paint them by using the modified [Leaves] brush same as before and add some random shapes here and there. Try to make it look like it’s been occurring naturally.
After painting the silhouette, you can create a new raster layer above it to paint the midtones. Lower the brush opacity to 70~90% and paint lightly using the midtones color. Even though the konbini environment is on the clouds' shadow, it’s better to set the light direction to not confuse ourselves when painting the midtones.
Finally, we can paint the highlights above the midtones using highlights color. Use the same method as above but gradually increase the brush size as it goes closer to the viewer.
For the grass, I used a modified [Grass] brush (with [Color Jitter] turned off) for the grass itself and same method as before. Still, make sure to paint them to look like they’ve been growing naturally.
For the back shrubs, I adjusted the color a little bit using correction layer also for the atmospheric effect.
For the final part, we will paint the piled-up dried branches of the vines that’s been growing on the konbini. To our surprise, we can paint them using the same [Crack] brush used for the windows. Paint them on the various area of the konbini by using dark brown (I used color that is close to the wooden frame decay color) and also try to make it look like they've been occurring naturally.
With that, we're now ready to move on to the finishing step.
Finishing
For the finishing, we can add some reds to the plants to make it less intense and looking more natural. Paint them on the very top layer and set the layer [Blending mode] to "Color" and the layer opacity to 60%.
For the final step, I adjusted the value using [Tone curve] correction layer and the saturation using [HSL] correction layer to make minor corrections to the saturation and value components.
Here is the final layer arrangement of this tutorial.
The illustration is now finished.
I hope you find this tutorial useful. Thanks for reading!
Users who liked this post


Comment