
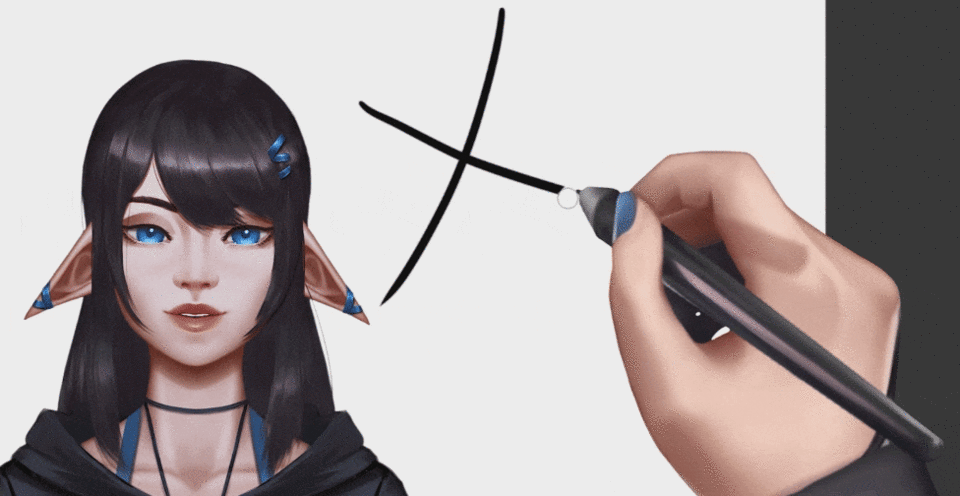
Hi everyone! This is my written version tutorial about using Vector layers effectively, I genuinely believe there is any every reason to use vector layers while using and stylizing your lineart!
And I'll do my best to show you both why and how to use Vector Layers in an a effective way to cut hours out of your process.

(𝐻𝑖𝑔ℎ𝑙𝑦 𝑟𝑒𝑐𝑜𝑚𝑚𝑒𝑛𝑑𝑒𝑑 𝑒𝑠𝑝𝑒𝑐𝑖𝑎𝑙𝑙𝑦 𝑖𝑓 𝑦𝑜𝑢 𝑎𝑟𝑒 𝑛𝑒𝑤 𝑡𝑜 𝐶𝑙𝑖𝑝 𝑆𝑡𝑢𝑑𝑖𝑜)
𝗩𝗜𝗗𝗘𝗢 𝗩𝗲𝗿𝘀𝗶𝗼𝗻 𝗨𝗥𝗟:
Why use Vector Layers? 💭
Vector Layers! Why are vectors useful? Well let me first explain- why using them can save you countless hours.
We draw an awesome sketch and then we do the lineart, and then we realize the resolution was really low!? Well If you drew it with a vector layer you can just rescale the lineart to be as big as you want without losing any line quality!
*𝘕𝘰𝘵𝘦, 𝘙𝘢𝘴𝘵𝘦𝘳𝘪𝘻𝘦𝘥 𝘭𝘢𝘺𝘦𝘳𝘴 𝘢𝘳𝘦 𝘯𝘰𝘳𝘮𝘢𝘭, 𝘯𝘰𝘯𝘦-𝘷𝘦𝘤𝘵𝘰𝘳 𝘭𝘢𝘺𝘦𝘳𝘴 𝘵𝘩𝘢𝘵 𝘢𝘳𝘦 𝘤𝘳𝘦𝘢𝘵𝘦𝘥 𝘸𝘩𝘦𝘯𝘦𝘷𝘦𝘳 𝘺𝘰𝘶 𝘮𝘢𝘬𝘦 𝘢 𝘭𝘢𝘺𝘦𝘳.
When you draw on a vector layer we will get vector lines which will always have crisp and sharp lines because they aren't dependents on resolution
Vector lines are based on mathematical equations! ..Which makes them ideal if you have a smaller drawing tablet too!
We also sometimes draw a line that crosses another one and we delete the intersection, and then we are left with this annoying little in-dent! But!
Vector layers you can just delete the whole excess line in like a second!~
Anyways! It's worth the time to check out what vector layers are all about,
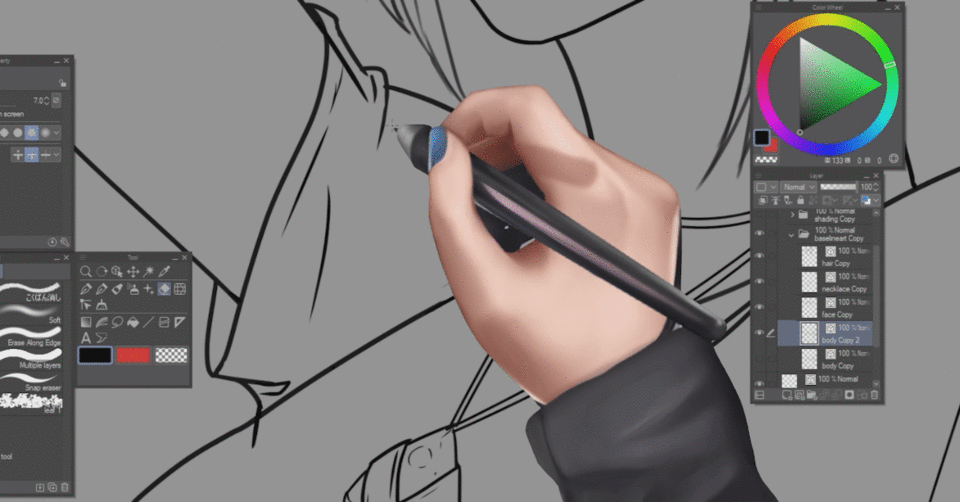
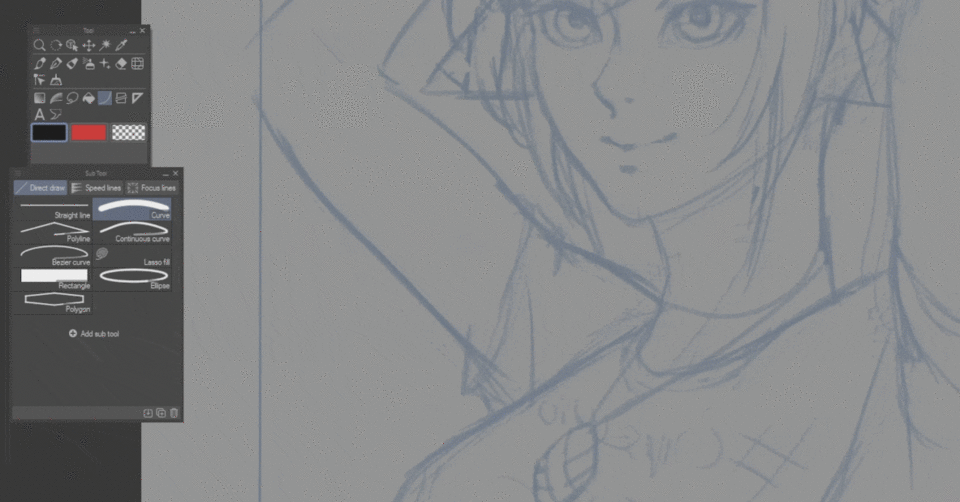
Making a Vector Layer and Vector Eraser! ✏️
Now in our Layers window go to this button right next to the new layer button, New vector layer.
We have now created a new vector layer, like a normal layer, you can use whatever brush you want to use for your line art, both smooth, textured and opacity brushes work!
As I lineart my sketch I also run into the issue where I overdraw my line quite a bit, so an easy way to fix that.
unique to Vector layers, is using an eraser that has ‘Vector Eraser’ Option enabled, along with the Erase up to Intersection Sub-option selected.
You can easily delete any excess line that you overdrew.
You can even go ahead and use the Erase touched areas sub-option to erase freely and the ‘Whole Line’ sub-Option to erase a whole line with the smallest touch.
Work with Shapes too! ⭕
Vector layers even work with Curves allowing you to change the shape of the line as you wish and it even works with shapes like Circles, Squares and polygons which can be immensely useful for a variety of things.
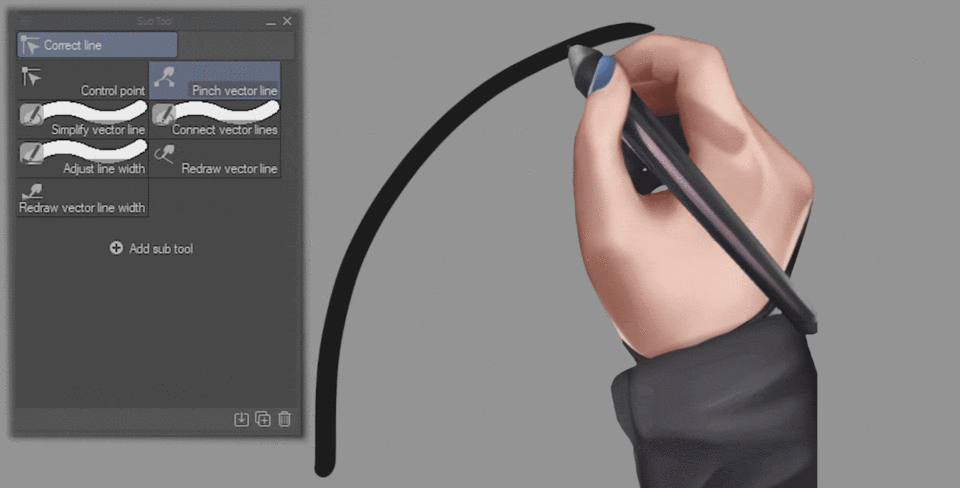
The Magic Of Control Points
One of the most useful parts about Vector lines is being able to move them, by going to the ‘Correct Line’ Tool,
with the Subtool and Tool Property windows open you can select the ‘Control Point’ Option in the Sub-tool window.
And then under the Tool Property navigate to the ‘Move Control Points’
which will allow you to change the position of different control points that will appear on the line you drew,

which is incredibly useful when trying to slightly adjust your line to fit the sketch.
By looking at the tool Property you can take to attention that you can perform the following useful actions
Moving Control Points
Add Contol Points
Delete Control Points
And even a few more like adjusting the line width that can be immensely helpful in stylizing your lines!
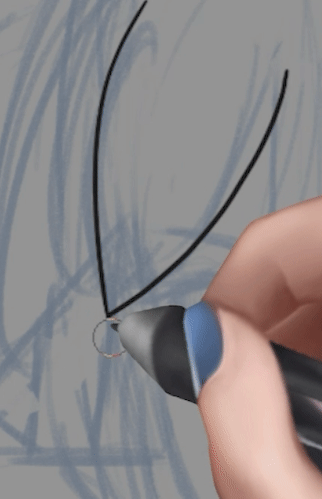
Aptly named Pinch Vector 🤏
Which leads me into this amazingly useful Sub tool, the aptly named, Pinch Vector Line, if you are like me and you dont always want to deal with Control points to adjust your line.
You can use the pinch vector line tool to adjust your line without manually adjusting each individual control point, you can of course change how far the pinch, affects lines with the ‘Effect range’ in the Tool property window.
And you can even have it add more control points automatically if needed to try and preserve the line’s consistency.
While Pinch level varies how much of a tendency to bend the line does the tool have.
Simplify Vector lines 📏
Speaking of dealing with Control Points, you might run into this issue at some point, where you have a bit too many control points for a line you’ve made and you just can’t make sense of it, so we actually have a great tool for this.
Under your sub-tool window you have the ‘Simplify Vector line’ Which as you can see really lets us take away some of the unneeded control points that makes the line a bit too complicated for manipulation.
You can even change how much the tool will simplify the line and if you want it to delete access short lines, while of course having the ability to change the brush size.
Redraw Vector Line! 📝
Another nice feature that the vector lines have that really help me out when drawing, especially hair and clothes is the ‘Redraw Vector line’ sub-tool,
as it literally lets you draw a stroke you already have at the same place!

The ‘Connect Line’ Tool 🔗
And if you have a line or two that you want to connect together you can go to the ‘Connect Line’ Tool, that will allow you to connect different lines together,
I find this especially useful whenever I lineart a character’s hair and then want to manipulate it as one piece.
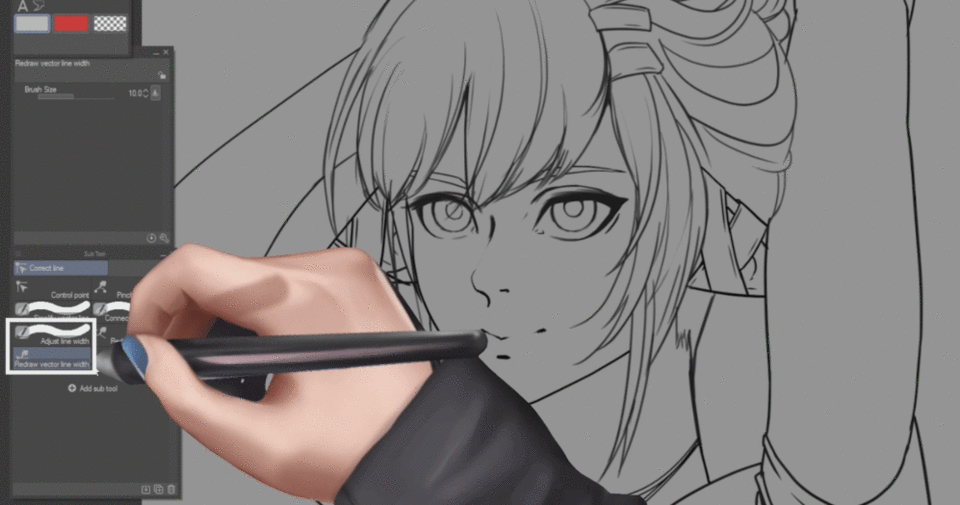
‘Adjust line width and Redraw Vector line Width’ Tools! 🎚️
Now that we are pretty much done going over our sketch we can go ahead and refine it using a special tool that vector lines have, since we have control points and adjustable lines we can actually go to the ‘Adjust line width or Redraw Vector line Width’ which ever you find more comfortable and start stylizing our line art!
Getting Flats and Blending modes 🌈
As I mentioned earlier Vector lines are always crisp and sharp, as that really helps out in two ways, first if you notice i actually drew the lineart waay too small, so now when i resize the lineart it won't lose any line quality, and that’s really nice!

Also! Just like normal layers we can change the blending mode of a vector layer so I can set it to multiply while I set down my flats.
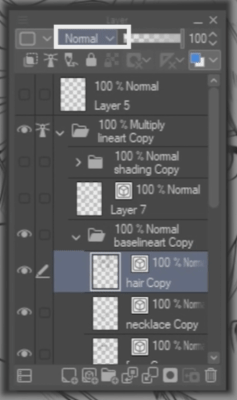
And! It’ll be easy to set it as a reference layer by clicking this lighthouse looking button, and on a layer below start making some flats! Which took me less than like two minutes!
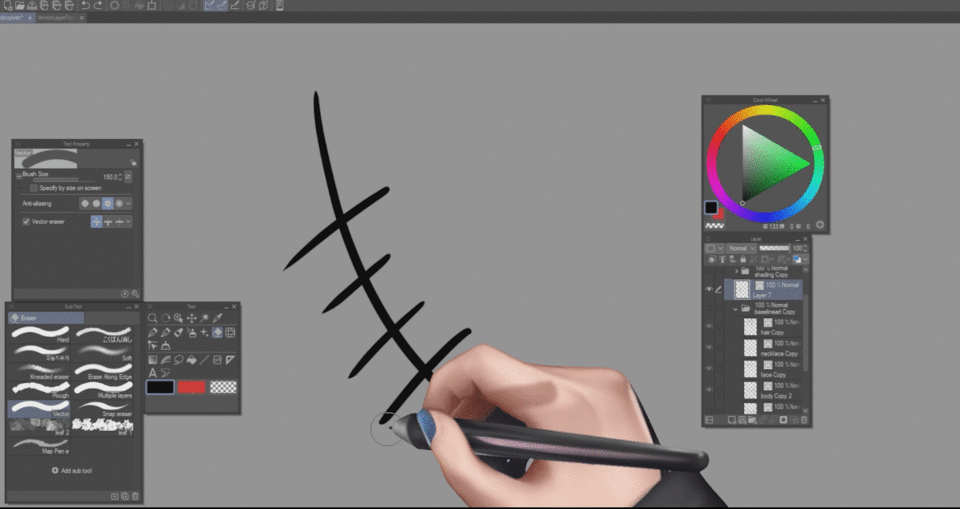
Line Art Shading Tip! Using Vector Layers! 💡
Now I’m gonna teach you a few small personal tricks I love using with Vector layers that I learned by experimenting with the various tools!
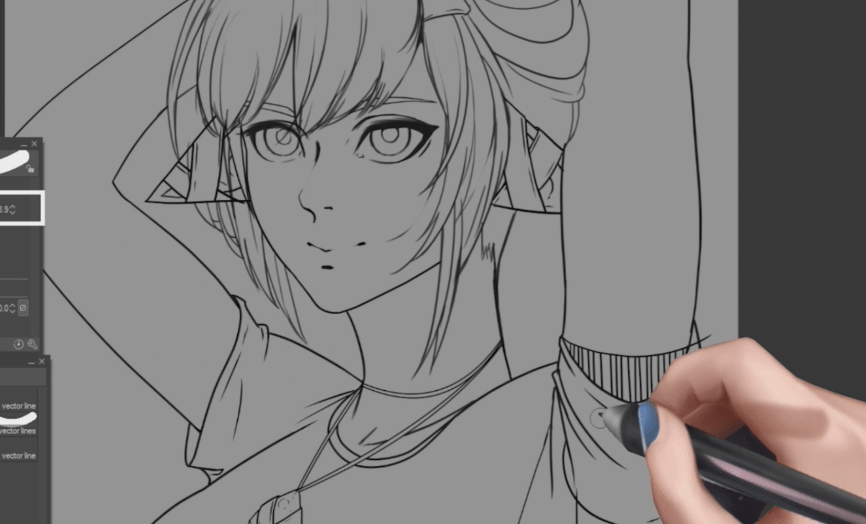
Do you like shaded line-arts like i do?

Well if you want to create this sort of shading but with little to no real effort, all you have to do is go ahead and make a new Vector layer on top of your finished lineart, and then you hash pretty liberally similar to this!
Then we are going to use the eraser tool with the ‘erase up to intersection’ option select
to delete the excess line. as seen below =)

then, we will change to the correct line tool with the Adjust line Width Sub-tool!
Setting it to narrow on the Tool properties
we can easily start making the lines taper off where we want them!
Rinse and repeat to get this sort of shading!
Outro 🫶
I recommend you play with some of the vector layers and explore all of the options yourself, you’ll be surprised how versatile and useful they are,
They can really shorten the amount of time it takes you create any type of illustration, clean lines go a long way for renderings and lineart is awesome for manga style art!
and I hope you found this tutorial helpful and if you have any questions let me know down in the comments below! =)
Users who liked this post


Comment