How to Use 3D Poser in Clip Studio Paint
Intro
Well hello there, this is Tamil. Today I wanted to share how to use 3D materials for posing your next character painting. Struggling to find a good photo reference is hard, but Clip Studio Paint makes it easy to make your own references in case you need help.
To be completely honest, this is the tool I would buy Clip Studio Paint for. It's so good and other painting software does not have anything similar like that unless you do a full 3D package.
I will go over the main elements and how to use hidden features. As per usual, check out my video if you want to see more and with narration.
Let's get into it!
Open Models
Make sure you have Tool Property open. It will be very useful later in the tutorial. If you do not see it then : Window - Tool Property
To access 3D models you will need to use Materials. To open the material tab go to windows - materials - Body Type. You do not have to click on the body type exactly, since they will all open at the same time.
This tab will open. If you want to find it again, just go to All materials - 3D - Body Type.
To add them to the scene, simply drag and drop them
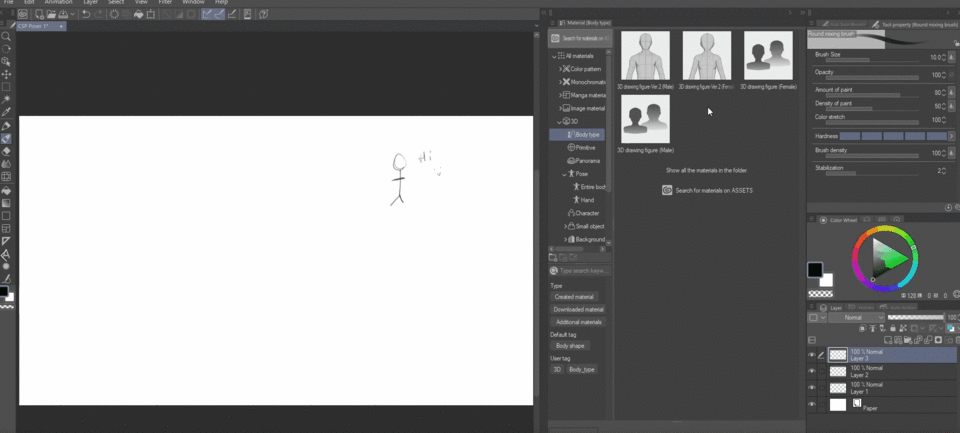
Here you will get 4 standard models from Clip Studio Paint. 2 female and 2 Male. You will ask, what is the difference? The main change is that version 1 will be more realistic, while versions 2 will be more simplified and similar to anime.
Clip studio paint has muscle change functions! I will show that later. Version 1 will have more muscle details. Version 2 will have more options to change body proportions, for example changing neck size and thickness.
Move it Move it
How to actually move the models? Let's get into it.
The tool you will need to use is Operation.
Also, make sure you have the 3D model layer selected. Once you drop the model inside your scene, it will make one automatically.
You are good to go! Just click on the model and you can start moving it. There are two main ways to move the model. Using spheres and using handles. Let's start with spheres.
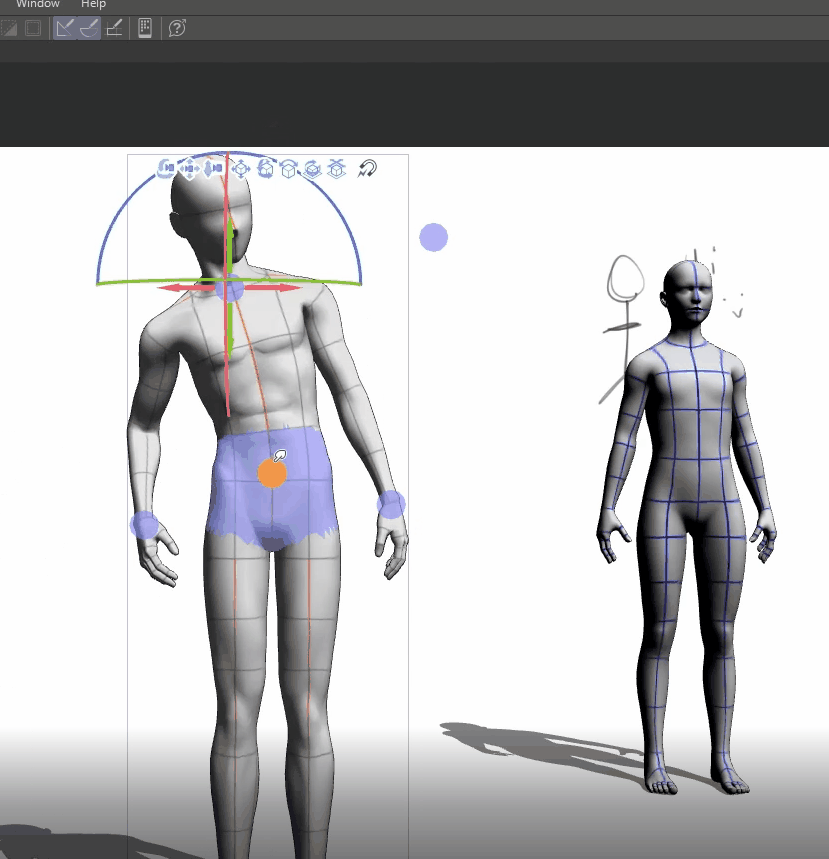
It's good to start with spheres. They move the body a lot all at once. Makes it easy to push the pose to the extreme and mess around if you still looking for something new.
The next way is to actually click on joints. This will allow you small changes on specific parts of the body.
You can Ctrl-Z these actions! Including moving the entire model, which we will talk about later.
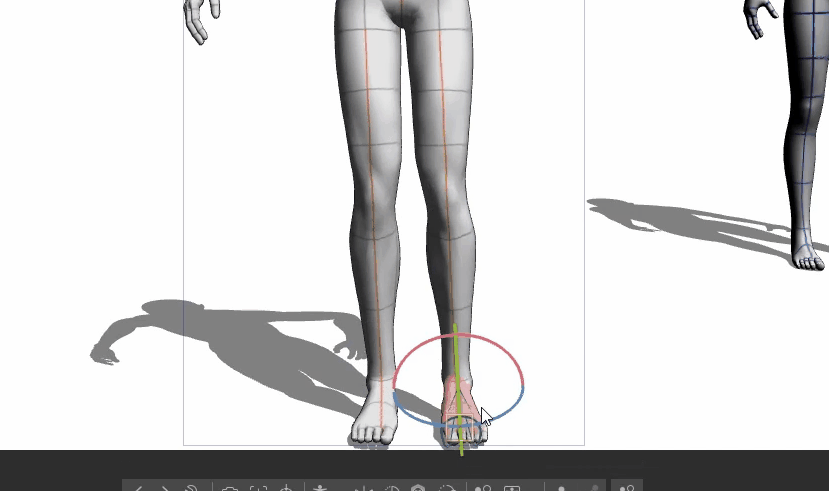
Click the part you want to move and then sphere lines will appear. Dragging them will change the angle. If you are feeling fancy you can also scroll with your mouse wheel and move the part around like that.
But what if you want to see behind the foot to check the position? You can move the camera around for this.
Camera! Action!
Moving the camera around is pretty easy. There are Buttons that I go over in my video. Each button will do a different movement.
They will be on top of the model you have selected. First will rotate the camera. The second will move it forward, back, left, and right. Last will zoom in and zoom out.
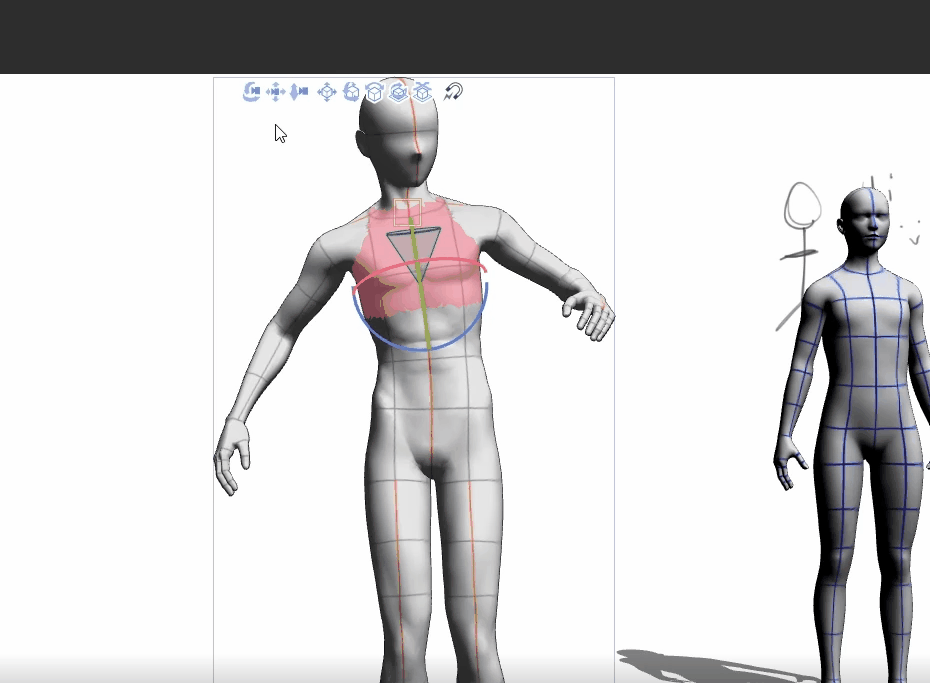
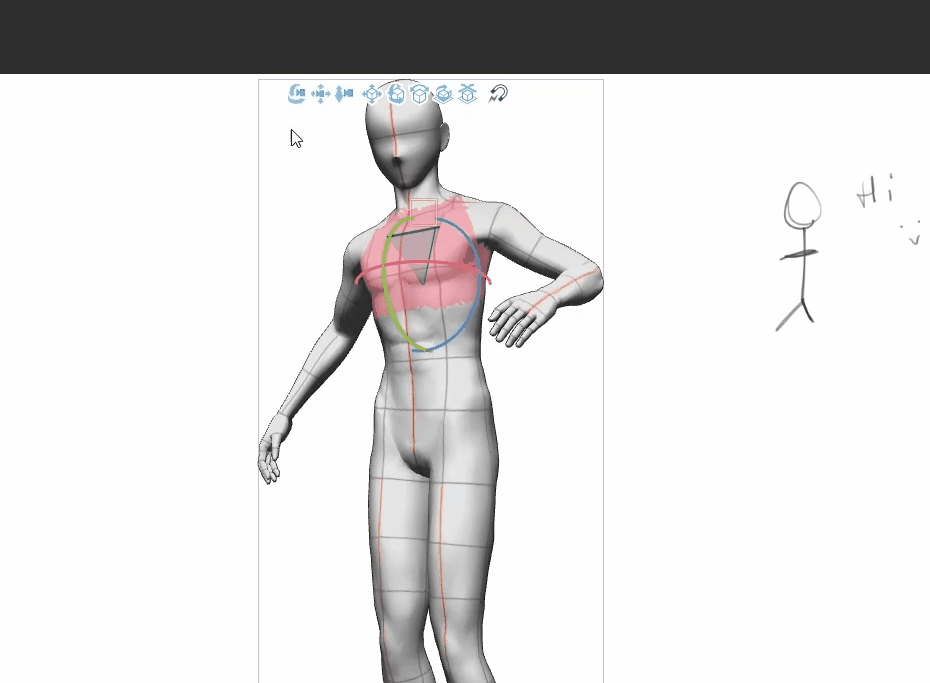

But buttons are usually harder to use due to time. An easier way is to use your mouse! Just click on your canvas as you work.
Left click - rotate
Middle click - move around
Right click - zoom in zoom out
Let's say I have 2 models around. If I want to move them around then I can use the next buttons on the tab.
Move the model
There are many buttons to move the model around that come in handy. Honestly, I just recommend experimenting and testing it yourself. Clip studio paint did a good job making everything intuitive enough that even when I used it for the first time I was not confused.
The icons are also great because they show you what will happen in case you click on it.
Each one can be seen in my video, but I will go over which one does what with text just as a quick overview too :0
1) Move the model around the scene
2)Rotate it in any way
3)Rotate on sides
4) Rotate left and right
5) Move the model, but attack to the floor!
I think that the main ones I use are 5 and 4. Test those out before getting to the other ones. Unless your character is jumping or flying, most of this will not be used often.
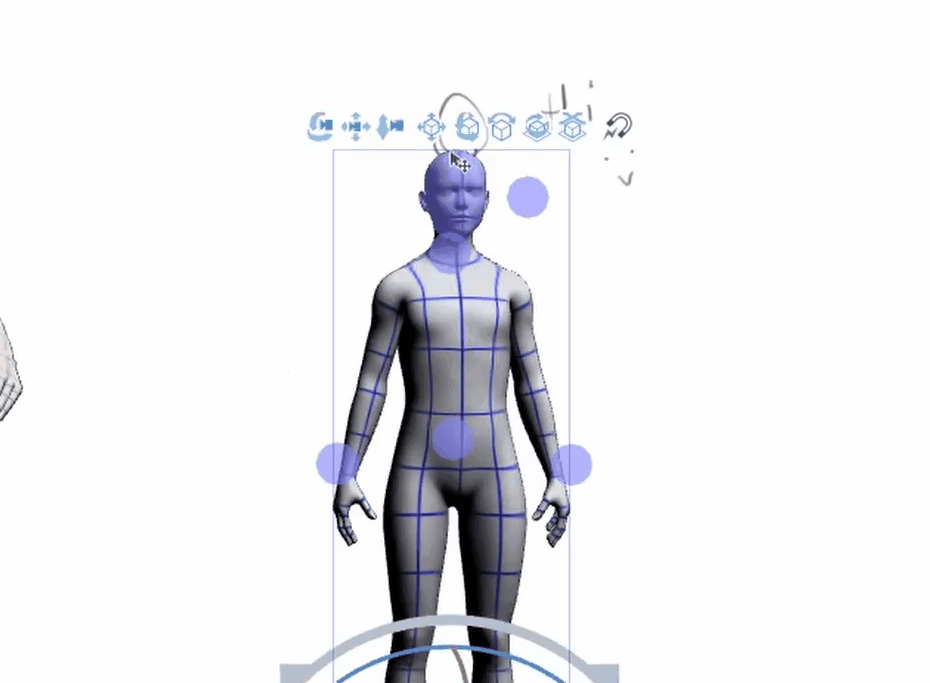
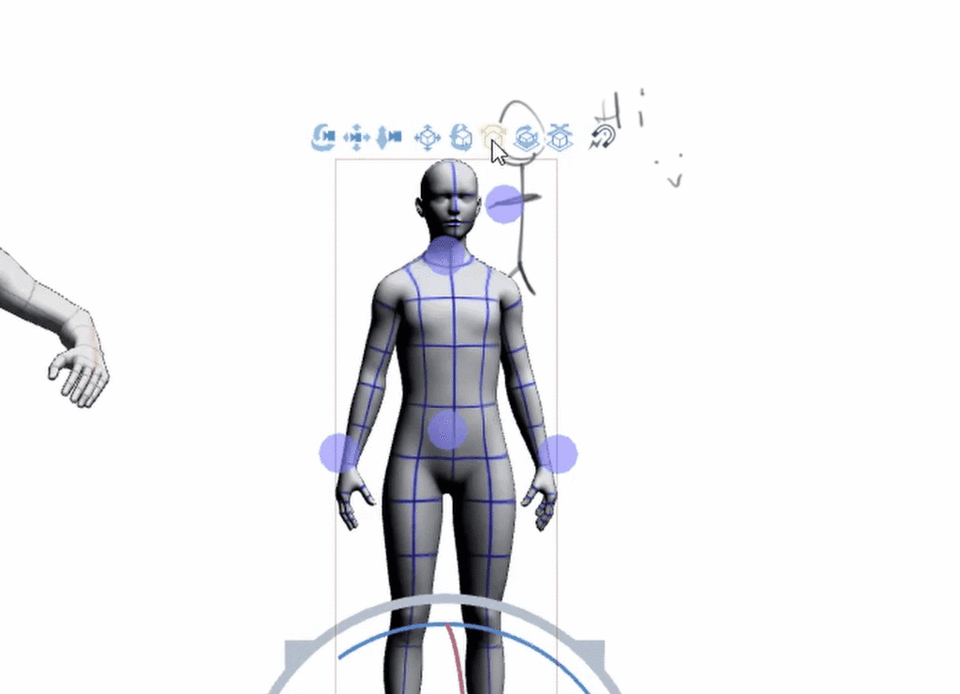
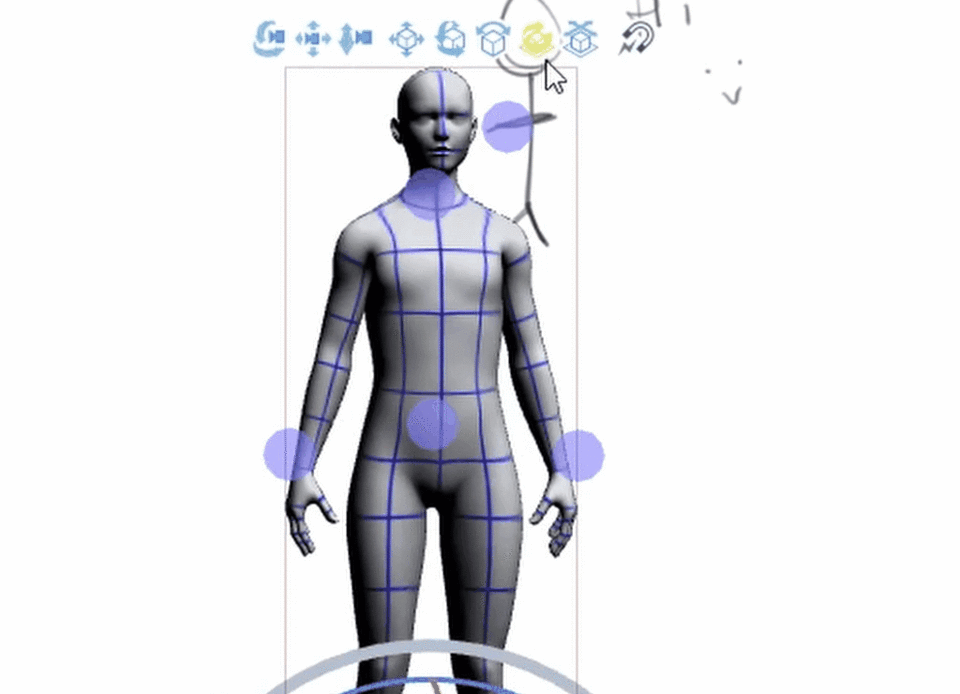

What about the bottom buttons? Are they important?
Extra features
There are lots of buttons at the bottom of the model, but overall they are pretty simple to use, and some are not something you will be using every day, so do not feel intimidated!
1 and 2 will switch between the models in your scene. I personally just prefer clicking on things that I prefer to change.
3 will open extra functions that will go over in the next chapter
4 is a great way to start your camera placement. Select the model to frame, and you will have presets that clip studio paint provides.
I really love to use this if I want to start with a simple layout before moving my camera.
5 will center object. If you lost it or it is way too far in the scene, you can just click on that and the camera will center on it.
6 will ground your character. What does that mean? If your pose is extreme and you moved too many things at once, your character will float!
And yes, this is a small reminder that 3D poses can be broken. Use the poses as a reference. You still need to learn anatomy and how the body twists.
Once you click on button 6, then your character will drop on the floor as much as possible, so it will be easier to draw later.
What do the rest of the buttons do?
8 will mirror your character pose
9 reset to default pose
10 reset scale (if you made the character bigger or smaller)
11 reset rotation
7 is going to let you save poses! One of the useful features that I have not seen anywhere else.
You can save your poses in your material library. Save hand poses if you click on the little arrow next to it. Best part is Clip Studio Paint gives you amazing poses in the library already.
To use them just drag and drop them on the character. If you drop it on empty space it will make a new model automatically!
There is also a library of poses that the community shares with each other. Simple go to materials and filter it to only poses.
There are so many to pick from. I cannot say enough good things about it.
Also, remember how using spheres to move the character moves way too many joints? There is also a solution for that in this panel. Button 14 will lock joints! Simply click on the joint you want to lock and then click the button.

It is super useful when you want to use the spheres, but not that extreme. The lock will be shown by a small blue square. To release all locks you can just click button 15.
13 will scan an image you give to CSP and pose the model accordingly. It's a very niche feature, but it is really fun to play around with it. I cover it more in the video :)
The coolest feature is 16 and 12! It lets you change the body of the character to fit your needs.
Change body shape
If you click 16, it will open a separate panel that will let you change the shape of the model.
There are lots of fun features here that I encourage you to play around with. The main one is the little box to the right. You can move around the get a general shape.
Up will make it muscular.
Left will remove fat.
Right will add more fat.
Bottom will make it simplified without muscles.
You can also mix and match. Let's say I want skinny, but with muscles, then I will just pull to the left top.
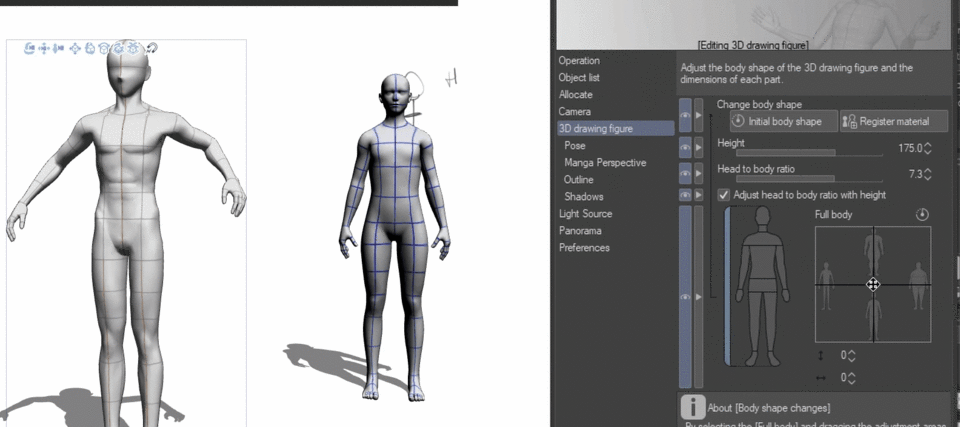
You can also click on individual parts of the body and change their shape of it. Just look at the panel and find the part you want the change.
Making shoulders wider, changing the height etc. For the most part, it is all adjustable. Really fun!
It is also possible to save body shapes, just click on button 12 as I said before.
And here is the difference between version 1 and version 2 for all muscles. You can see that specific parts are more detailed and have more variety to them. Version 1 ( right ) also will not have options to change certain parts of the body. For example, you will not able to change shoulders or hip size for ver 1. It is not a problem to me, but just something to watch out for.
Don't forget about saving hand poses. It comes...really handy. Sorry, I had to.
One thing to note is if you drag and drop, it will change both hand poses! If you want to apply it for only one hand, first click on the hand joint you want to change, and then drag and drop. It took me a very long time to learn that.
As per before, you can save the hand poses you came up with too. In the gear panel ( button 3 ) you can find a cool feature that will let you pose the hand even easier.
Just like with the body shape, you can just drag around the panel and it will keep changing the position of the hand. Top locks will let you lock specific fingers. Dragging it down will make a fist. You can see it is very intuitive and easy to use. I personally find it the best feature for hand posing.
Camera perspective
One of the features you need to know is camera perspective. You can find it in the same gear icon from previous parts.
A larger number for perspective will give it a more dramatic look. More like fish eye lens.
Making the number smaller will make it look more isometric and flat. It's especially useful if you trying to go for 2D mobile game look. Sometimes it is a lot of fun using it. This effect can be achieved if you have a long lens camera.
If you going for a cool comic effect, look into tool property. It has anime perspective!
If you can't find the tool property, just go to Window - tool property. Click on your model and you will find those options.
The end
Thank for reading! I appreciate any support. I think watching the video will be a good way to learn since I show everything right in the program. I hope you learned something and let me know if you have any questions. I try to answer them when I can.
my links





Comment