
Video
Intro
Hello there! This is Tamil.
In the fast-paced world of digital creation, having a workspace that aligns seamlessly with your artistic flow is key. Clip Studio Paint offers a toolkit of features and customization options that can revolutionize the way you work. Whether you're a seasoned pro or just starting, mastering the art of workspace efficiency is a game-changer.
So, join me as we navigate through Clip Studio Paint's workspace, unlocking the potential to create your personalized digital haven. Ready to streamline your creative process? Let's dive into the world of efficient workspace optimization! 🚀🎨
Windows/Tabs Access
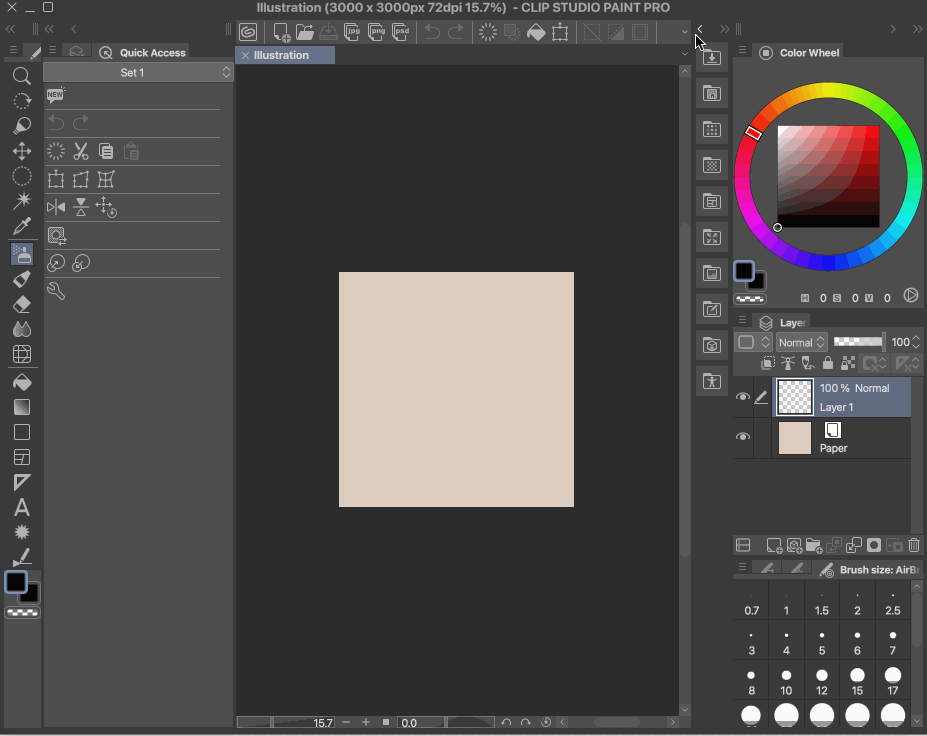
Main section to change and modify workspace is going to be window.
In case you happen to lose or accidentally close any tabs within Clip Studio Paint, fear not! The solution lies in the "Windows" tab, which serves as a handy tool for restoring those lost tabs to their rightful places.
Moreover, this tab comes with a set of presets, providing you with predefined arrangements for quick and efficient workspace adjustments.
Clip Studio Paint offers three primary workspace presets: Illustration, Comic, and By Category. These predefined setups cater to different artistic needs, providing users with tailored environments for creating illustrations, crafting comics, and organizing tools based on specific categories.
If you've made a mess of your workspace or wish to start afresh, opt for the "Reset to Default" option. It's crucial to note that this is distinct from the "Reload Workspace" feature. While "Reload Workspace" brings back the original template, "Reset to Default" ensures a clean slate by restoring the default workspace configuration.
Clicking on any of the templates will reveal that they encompass more than just the visual layout. These templates are inclusive of shortcuts and various other functions, offering a comprehensive solution for users. It's not just about the visual arrangement; it's an all-encompassing package designed to enhance your workflow with pre-configured shortcuts and additional functionalities.
It’s a great way to save yourself time and save your buttons for later.
Let's tweak our workspace
This is illustration template, which I like to use as a base. I can change it up to make difference based on preference. There are different ways you can adjust your workspace, so I will just share mine for now.
I usually set up mine to be easy to use and with less windows as possible.
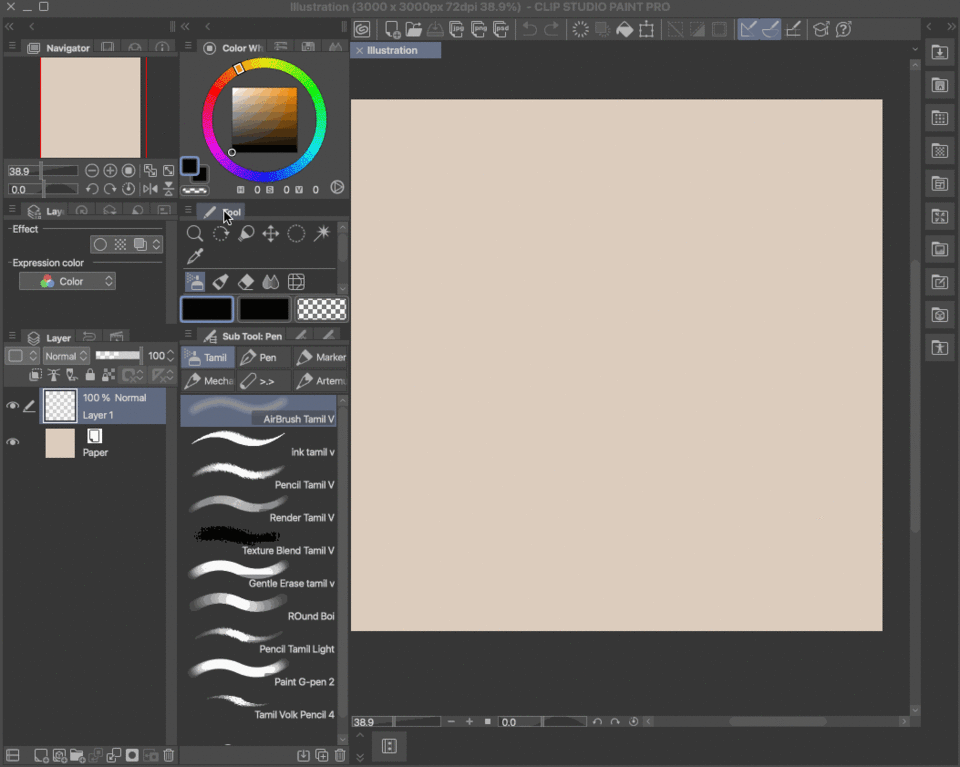
Firstly, I push my tool to the left side. A lot of times I use touch screen, so I can push buttons with my left finger. Notice, if you push the icons to their limit, they will start aligning vertically. It helps to save space.
When it comes to prioritizing elements in your workspace, layers and colors take the spotlight. My preferred arrangement involves placing them to the left and neatly stacking them on top of each other. This setup ensures quick access and efficient navigation, making layer management and color selection a breeze as you dive into your creative process.
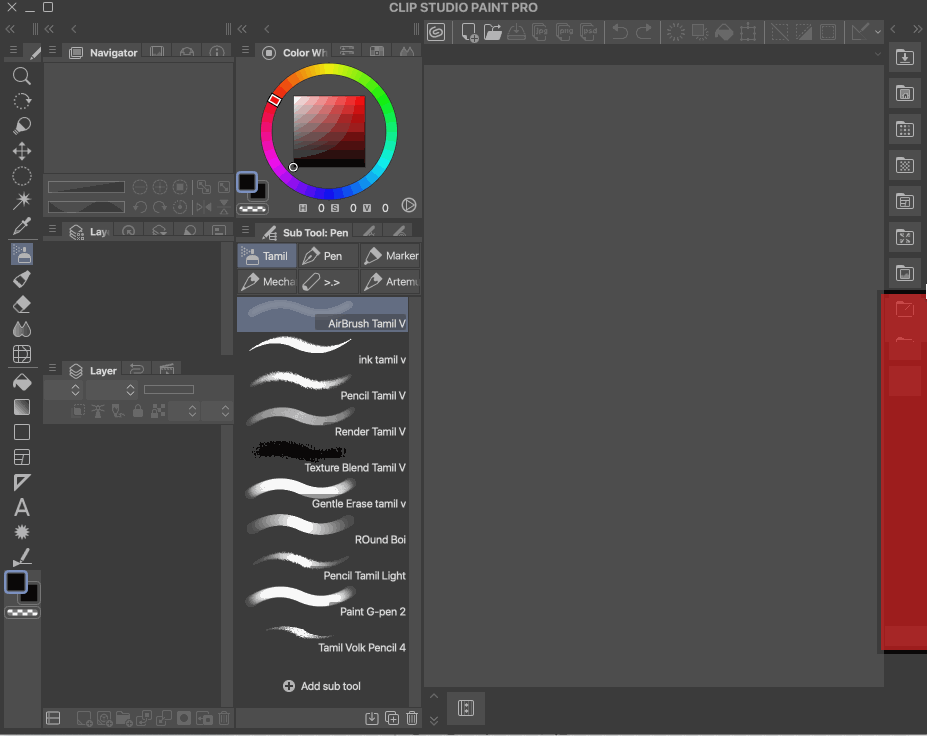
Feel free to customize your workspace further by dragging tabs out and locating the "X" button. This action removes the tab, freeing up valuable space. For instance, if color mixing isn't part of your routine, simply remove it. Don't worry; if you find yourself needing it later, the "Window" tab, as demonstrated earlier, is your go-to solution for bringing back any removed tabs. It's all about tailoring your workspace to fit your unique workflow!
Consider stacking tabs to streamline your workspace. Take, for instance, three tabs related to brushes. While you may primarily use one, the other two remain essential but with less frequent use. Prioritize your tabs by stacking the most crucial ones at the forefront, ensuring quick access to the tools you use most frequently while maintaining accessibility to others when needed. It's all about optimizing your workspace for maximum efficiency!
Keep an eye out for tabs with either one or two arrows. A single arrow indicates a partial hide, preserving a bit of visibility, while the double arrow minimizes the tab almost entirely. This feature proves handy for conserving space by concealing tabs that you only use occasionally. It's a nifty trick to maintain a clean and focused workspace, ensuring that the tools you use daily take center stage while the less frequent ones stay neatly tucked away.
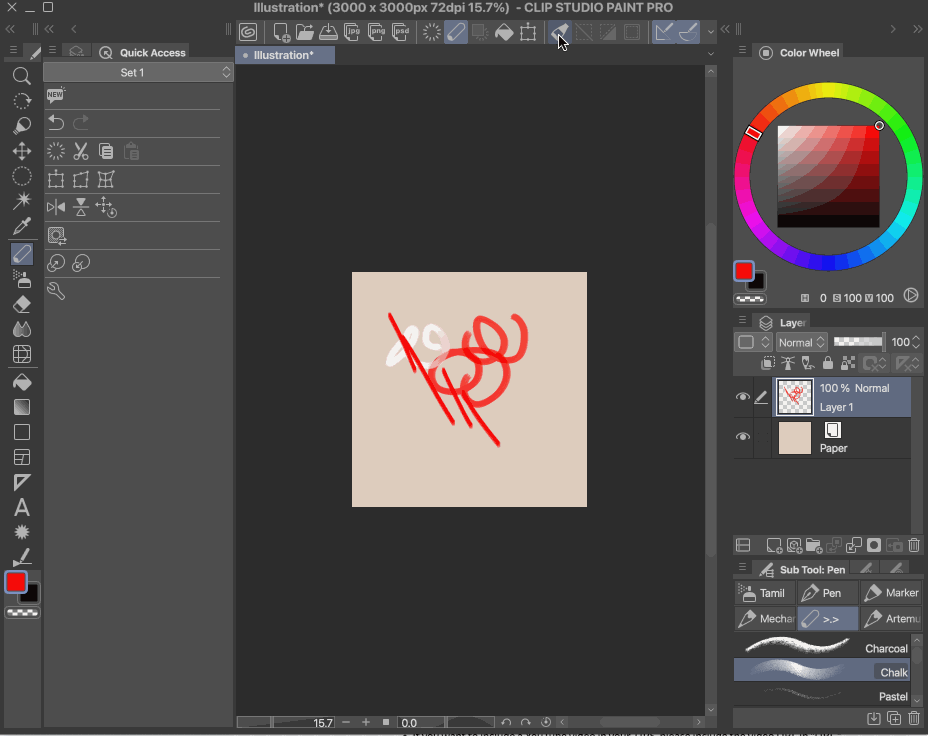
Command Bar
Command bar is the quick access buttons at the top of clip studio paint. Command bar and quick access might cover about 90% of buttons you will ever need. All you need is to just set it up!
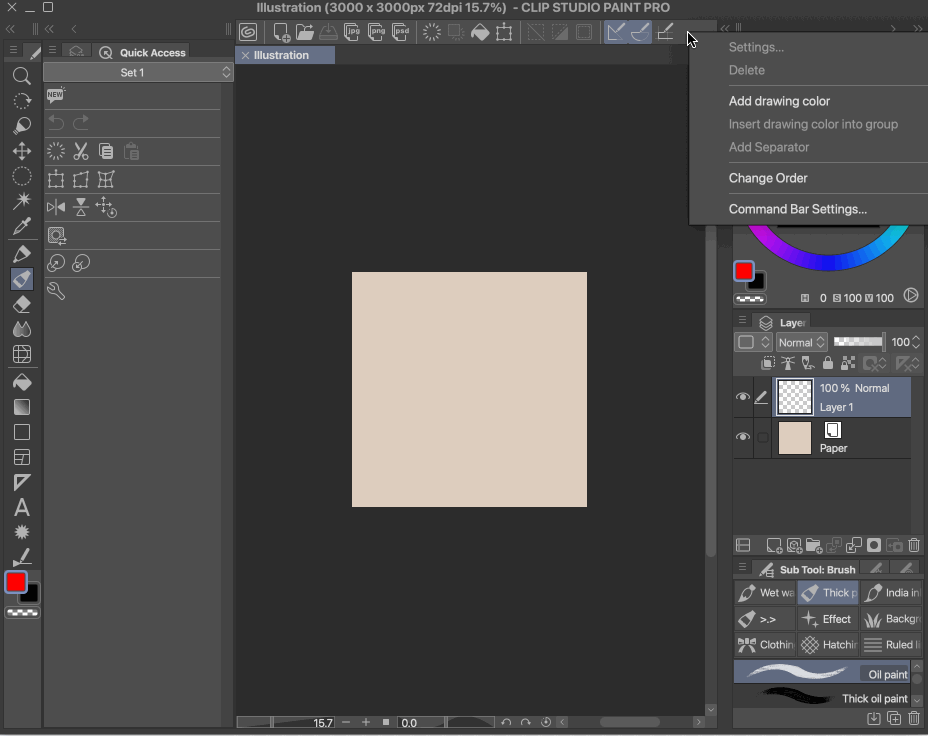
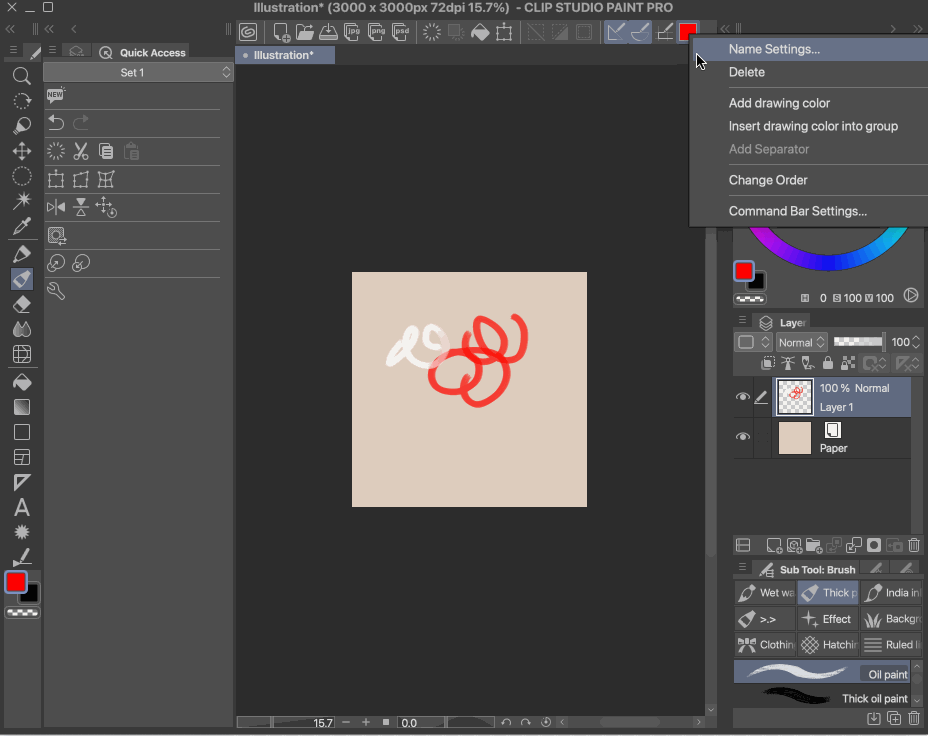
To expedite color selection in the command bar, simply right-click and choose your preferred hue. It's a quick and efficient way to access your favorite colors. In my case, I often opt for a dark red shade for my sketches. Experiment with this feature to personalize your palette and streamline your creative process, ensuring that the colors you frequently use are readily available at your fingertips.
Simplify your workspace by right-clicking and selecting "delete" to remove unnecessary icons. Additionally, you have the flexibility to reorder icons based on your preferences. Consider decluttering your toolbar by removing buttons you seldom use. For instance, if you're accustomed to using keyboard shortcuts like Ctrl Z for undo and redo, feel free to remove those buttons. Tailor your workspace to optimize efficiency by keeping only the tools and functions you frequently utilize within arm's reach.
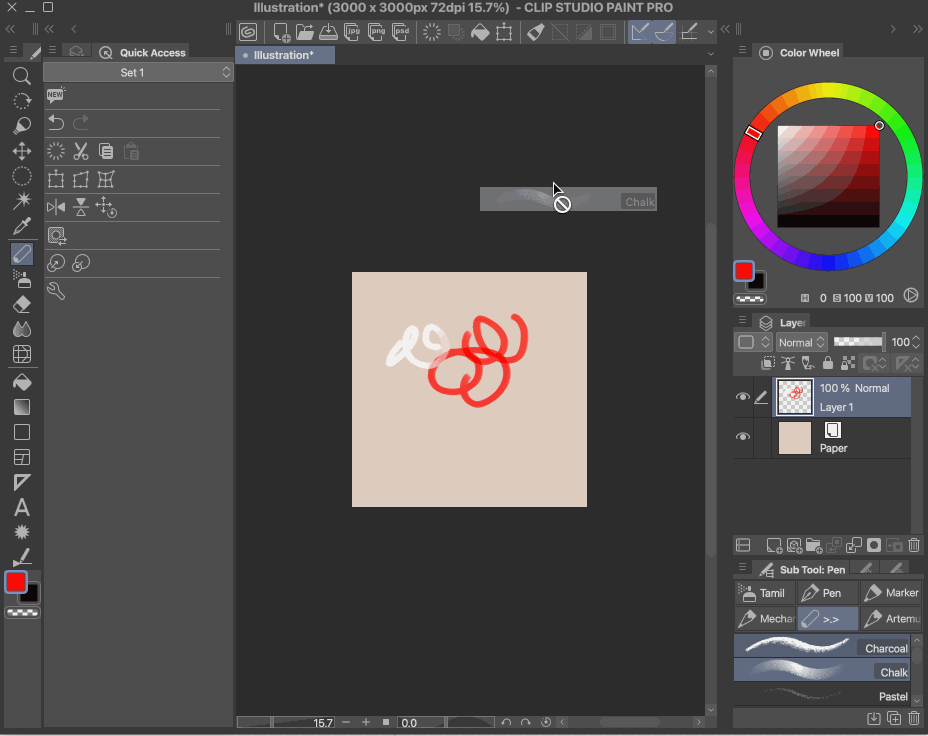
Enhance your workflow by saving your go-to brushes in this section. The customizable toolbar isn't just for default tools; it's a handy space where you can store your favorite brushes and frequently used tools. Personalize your workspace by ensuring that every tool you rely on regularly is easily accessible.
+ Youcanalsorearrangeiconsbasedonyourliking.Bydefault,itisCtrlDrag.ItmademeconfusedwhenIcouldnotdragthembythemselves,soIhopesomeonewillfindituseful!
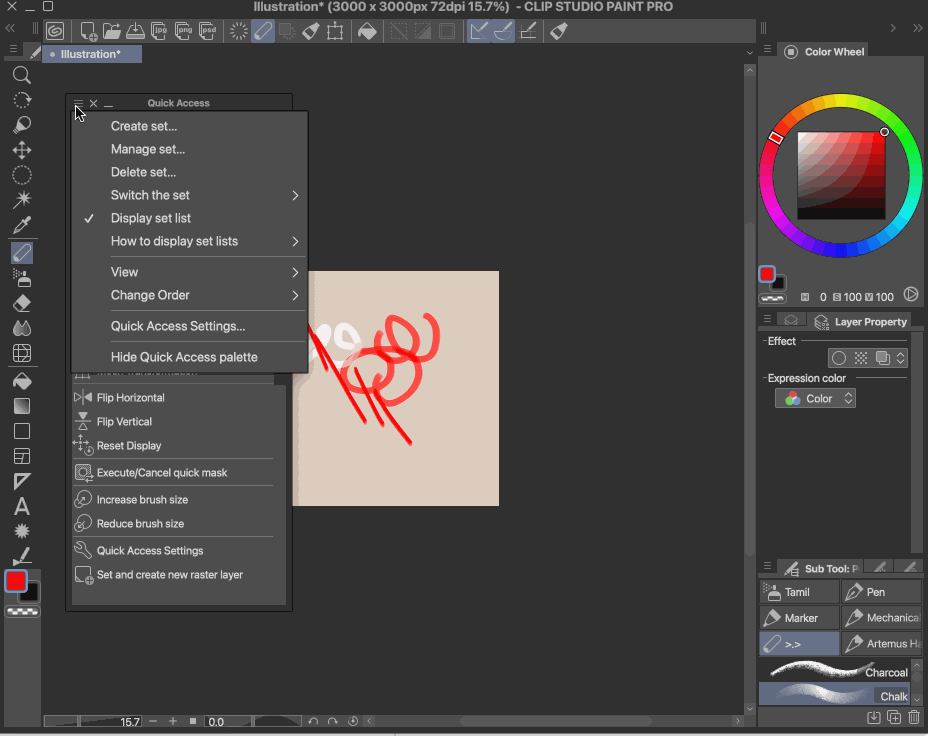
Quick Access
A similar tab to command bar is quick access. It is a combination of all tool you desire all in one place. It is very similar, but little bit different.
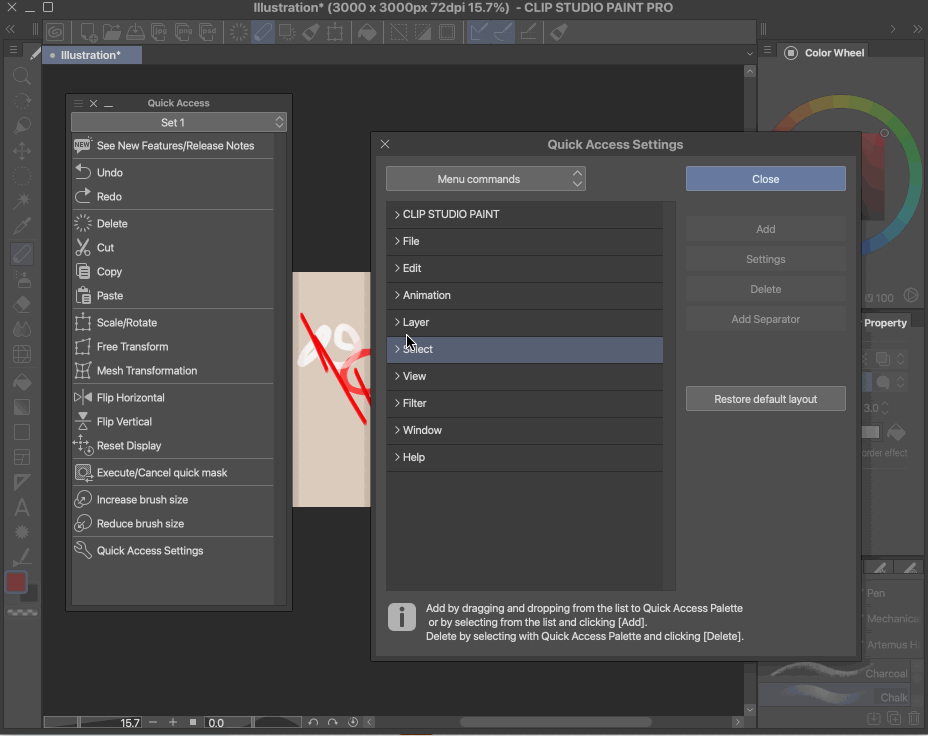
Take customization to the next level by adding quick access settings at the bottom of your workspace. This enables you to incorporate any function you desire from the menus. As an illustration, I added the "Add New Layer" function, ensuring that it's always at my fingertips. This way, you can tailor your workspace to include the functions you use most frequently, enhancing efficiency and making your creative process more fluid.
If you want to save even more space, you can always switch to tiles ( by clicking on small 3 lines at the top left ). Push the tab to the side and make it thinner. As you can see, every icon is still showing.

Same as before, you can add any tool you like. Any brush you like. Any colors you like in there. This way you don’t have to access your menus ever.
Layer Panel
In the realm of digital art, layers reign supreme. An essential aspect that I consistently tweak is the layer options. Understanding and customizing layer settings can profoundly impact your digital art process, allowing you to tailor your canvas to match your specific artistic vision and workflow.
Typically, layers provide a miniature representation of the painted content within a small region while framing the entire canvas. This visual cue allows you to navigate and comprehend the content of each layer, facilitating efficient editing and organization of your digital artwork.
To alter this display, navigate to the layer panel, click on the three lines for additional options, and explore the "Thumbnail Display Settings." Here, you'll encounter two choices: the default setting and "Show Only Layer Area." Personally, I find the latter option particularly beneficial as it focuses solely on the painted content, streamlining the layer visualization process for a cleaner and more precise workspace.
Once you've made the switch to the new option, you'll notice how it neatly encapsulates your drawing inside the layer panel. This adjustment makes it effortless to discern the painted content, providing a clear overview. When you need to locate a specific layer for adjustments or fixes, this alteration becomes a game-changer, streamlining your workflow and enhancing overall efficiency.
Saving Workspace
When working on another machine or planning to reinstall Clip Studio Paint, preserving your customized settings is a brilliant idea. Luckily, saving your settings for future use is a straightforward process.
In the Windows workspace, locate the "Register Workspace" button. Clicking on this button ensures not only the preservation of your workspace configuration but also saves your meticulously crafted shortcuts. This step becomes invaluable if you've invested considerable effort into tailoring shortcuts to suit your unique workflow.
If you're content with your current workspace and want to prevent any unintentional changes in the future, there's a way to solidify it. This ensures that your meticulously arranged workspace remains intact without the risk of inadvertent alterations down the line.
In the Windows version, scroll down to locate the "Palette Dock" section. Here, you'll discover two locking options: one for height and another for position. Enabling both ensures that your docks are securely locked, preventing any accidental edits. This provides a hassle-free way to safeguard your meticulously arranged workspace and maintain a consistent and uninterrupted creative environment.
Save and share!
Explore a wealth of inspiration by delving into the workspaces of fellow artists who have generously shared their visions and configurations in Clip Studio Paint. Take advantage of the opportunity to download and adopt these setups, easily infusing your creative space with fresh ideas and efficient layouts from the artistic community. It's a fantastic way to enhance your own workspace and discover new ways to optimize your digital art process.
The end
Thanks for taking the time to read through this tutorial. I hope it was helpful. Drop a comment if you have any questions; I'll do my best to respond with helpful insights if I know the answer.
In the video, I focus on a few tips on the ipad, so if you are a fan of the tablet version in CSP. I highly recommend it.
Keep painting and getting better!
my socials in case you want to follow for more :3
Users who liked this post


Comment