
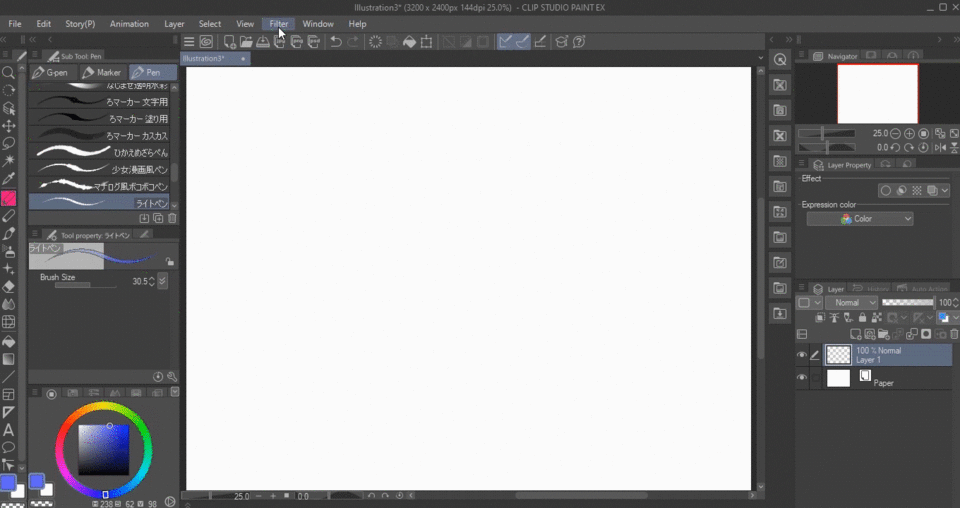
Are you struggling and having a hard time drawing faces in any angle? Here are some easy tips on how to draw faces with different angles using Clip Paint Studio
Using 3d Figure
Clip Paint Studio offers many feature and functions, one of this is the 3d model where you can choose or change model position and camera angle easily.
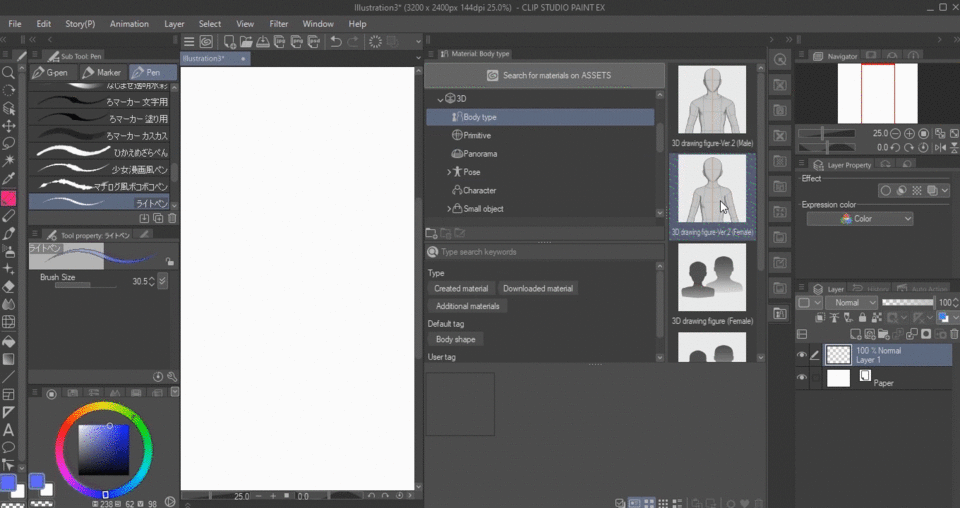
On your working area Go to Windows Tab, scroll down and look for Materials then select Material: Body Type
(If don't have same option like the pic, just select any option under material)
♦ The Material window will appear in the right side of the panel. You can see all available 3d model you can use (Male/Female)
Here are the tools you need to create a reference of the angle you need. By using these tools, you can easily adjust either the camera or the 3d figure. (Note: In this context, the camera represents you/us.)
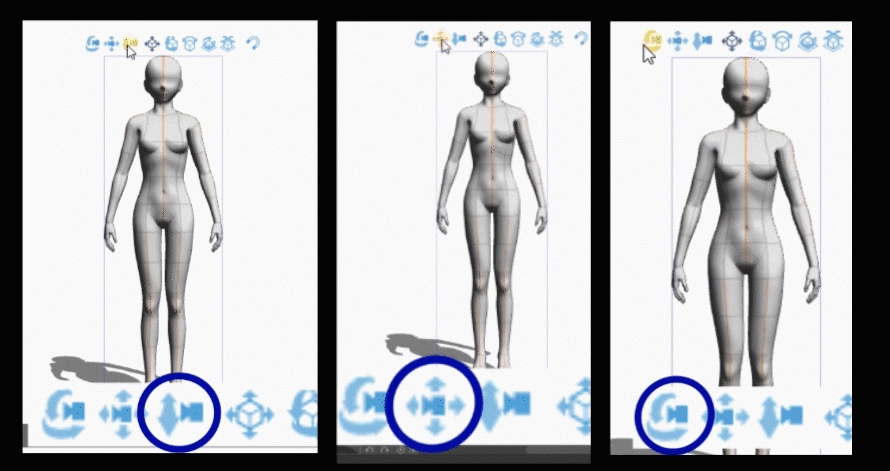
I mostly use this tool that only manipulates the camera. I seldom use the move object tool unless I want the character to appear as if they are floating.
You can adjust the head, arms, and legs of the model by clicking and dragging the joints
See all arrow pointing the circle
You can also click on specific parts of the 3d figure and adjust them to any position you like by dragging the control lines (orange, blue, green).
For example, if you click the head and drag the pink line to the right, you will be able to turn the head of the model to the right. (all control line gonna change to orange when its the one your currently clicking)

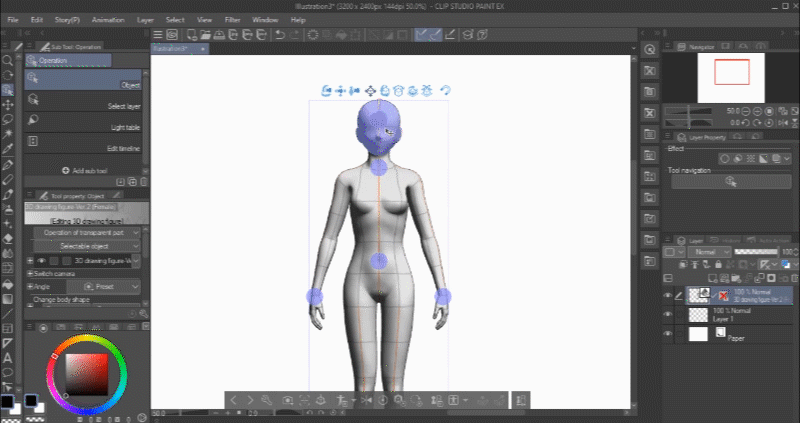
By clicking "Specify camera angle from preset," you can now see different angles of faces such as front view, side view, back view, top view, middle view, and view from below/top.
Play around the tools to get the angle you wanna draw.
You can play around the tools above to produce the angle you wanna draw.
Once your character pose and angle is already fit to your idea, you can now add some coloring too.
Using Image Reference
Aside from using 3d figure you can also use an image from internet. I mostly browse some reference on Pinterest, just search female/male poses. This is another way you can draw and practice any face angle you want, aside from drawing your character you will also learn how face and angle works. This is will improve your drawing skills as well.
Note that even in drawing from reference you still need to draw the basic shape of the face like circle and lines.
Be your own Model
Want more unique faces angle?
By using your mobile phone you can take a selfie, adjust your head to your liking, capture it then use it as your reference. This tip is so fun and convenient, why? well if you have limited internet connection and 3d figure, in just one pose and click on your phone, you now have your own reference.
Shapes and Lines
This next tips and tutorial is based on my experience on how I draw my character faces with different angle.
On drawing a front profile of your character.
Things you must always do is to create a circle, it will act as a the face container. Drawing the basic shape will help you to know where the eyes, eyebrow, nose and ear are going to be placed.
You can also use the shape tool in clip paint studio. Check the 2nd version on the top of manually drawn shapes.
I always draw either the ear or eyebrow when drawing a face. When I draw the ear first I'll always know where to draw the eyebrow and nose because the ear always in pattern vice versa to eyebrow.
Drawing Side View
Draw the horizontal line slightly side of the circle that means the face is going to be there.
Check out the image below, see the the horizontal line acts as the basis of angle of the face.
If your going to draw faces from top, there's some points you need to keep in mind
The forehead to the hair should be bigger because its closer to the camera. The face should be narrow, the nose and lips should be a little closer to each other, also make his chin a pointy.
The Transformation tool trick
Still having hard time to do perspective faces?
Try this tips .
Draw your character face normally then use the "Selection Area" then select the "Rectangle", drag and enclose the character in a rectangle.
(See the pic below)
OR
You can just straight away clicking transformation tool (3) Just makes sure your in the right layer. The result will be the same.
After that press Enter on your keyboard,
Erase the neck to shoulder then redraw
In one basic angle you can create many version by using transformation tool.
Closing-Thank You
I hope this helps you as much as it has helped me.
Please note that I'm also on the process of learning.
Thank you so much for staying with me
Users who liked this post


Comment