
Drawing flowers to decorate an illustration sometimes feels like a hassle, especially if there are various types of flowers to draw in one arrangement/one illustration. Before I used Clip Studio Paint as my main drawing software, I honestly didn't dare to draw flowers because they were so small and so many. Just imagining drawing them makes me tired hahaha :’)
Therefore, in this tutorial, we will learn step by step how to draw flowers and how to export them as CSP Assets so that they can be practically inserted into our illustrations.
COLLECTING REFERENCES
To speed up the process, we will ethically trace flower images and tweak the result as needed. I recommend using free source references or stock photo websites like Pexels or Pixabay to access free-to-use images.
Now, for this tutorial, let’s try to draw small wildflowers with different types of petals like Corn Marigolds, Corn Cockle, and Poppy. Gather the images with different angles so we could get more variety in the end result. I usually gather them in PureRef so I can track, categorize, and label them as I please.
START DRAWING
Since our assets would end up on the global market (CSP Assets), I suggest using an opaque neutral brush like the default CSP brush: Mapping Pen. Consistent and thin brush thickness for lineart is preferable since you can play with the thickness later on.
It’s advisable to not trace the whole image but only pick three to five petals. We will separate them one petal on each layer for the next process. Use the neutral color like black so it could be use and modified in any situation.
After drawing all the lineart, it's time to add a neutral color like white as the base color. To speed up the process, let’s use the auto-fill tool by K96 (Content ID:1759448).
First, select the lineart layer and set it as reference layer. Make a new layer under it, use the auto-fill tool with the color white selected, then merge the lineart and the base color.
Repeat the process for all the flowers.
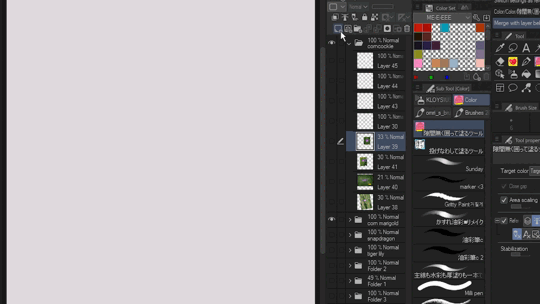
MAKE A BRUSH USING THE MATERIALS
To make a brush using our own drawing, first we must register all the drawings as materials. To do so, first click the layer we want to make as a material, click Edit > Register Material > Image.
Give the materials a name. Don’t forget to check the "use for brush tip shape" option. Place the material to designated folders and give them personal tag like “my brush” or something along that.
Repeat the process for all the flowers one by one.
To make a brush, all you have to do is duplicate already existing brush, click the wrench tool > go to brush tip > select the materials we made. Customize all the settings as you needed and repeat the process for all the flower assets.
UPLOAD THE MATERIALS TO CSP ASSETS
Before uploading them to CSP Assets. we must register our brushes first. To do so, right-click on your desired brush, choose “register sub-tool as material, and save them on the designated folder.
Go to Clip Studio > Select “Manage Materials” > click the “+” symbol to add new material. Choose the brush and (optional) some image materials of said flower, and drag them to the created material section. Don’t forget to change the name to your liking.
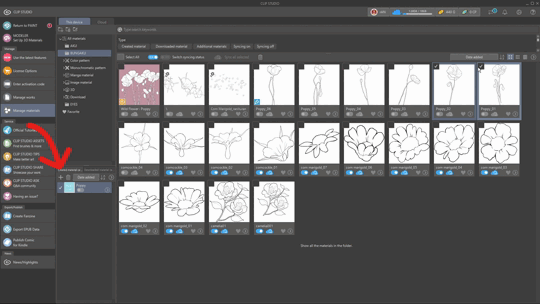
Click the “Manage” button on the right corner. It would take us to publish the page.
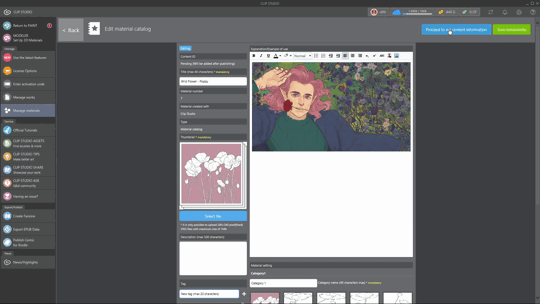
Arrange everything including title, thumbnail, and description. Personally, it’s not my thing to give much text description, so I would put a simple illustration instead.
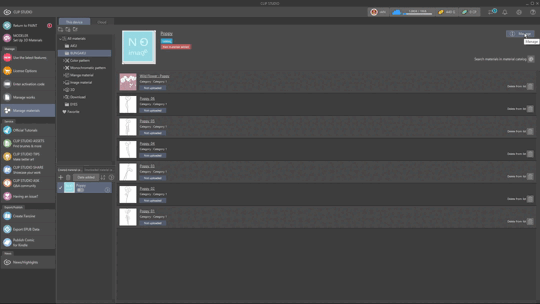
Assuming everything is in order, then click the “Proceed to set content information”. It would take us to Clip Studio’s page and they would save it as draft.
If you’re ready to publish the assets, just go to Uploads > Select action > Preview and Post. If not, we could always go back and edit as much as we needed.
INCORPORATING THE ASSETS TO THE DRAWING
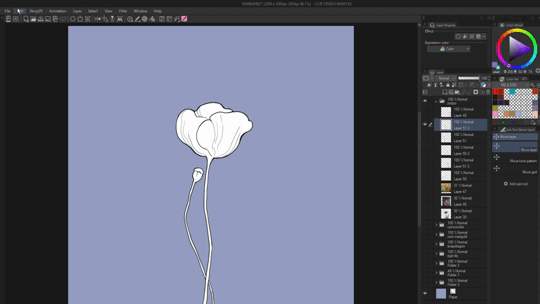
The first thing to do is arrange the flowers. This is the reason why we need assets with solid color instead of just lineart so you can stack them on top of each other. Then, we could add the stems manually so we could control the flowers’ direction and control the overall composition. Don’ forget that every flower has its own unique stem and leaf shapes. This is where it’s important to collect the references in one place.
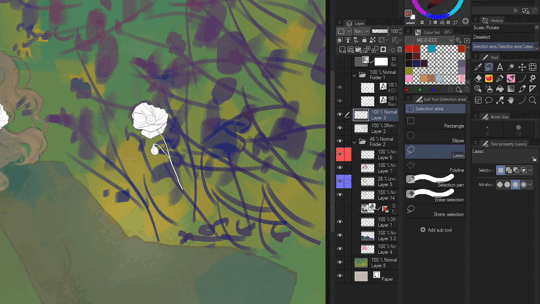
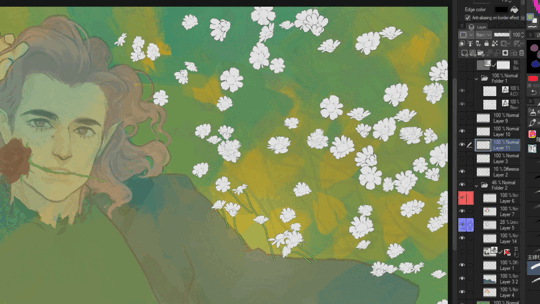
Next step is to separate the lineart with the base color. This step is essential so we can color the line and the base separately.
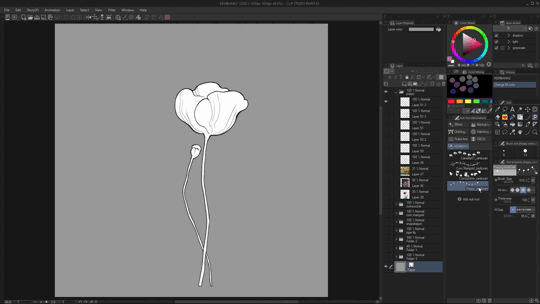
First, we should duplicate the flower layer. To extract the lineart, go to Edit > Convert brightness to opacity.
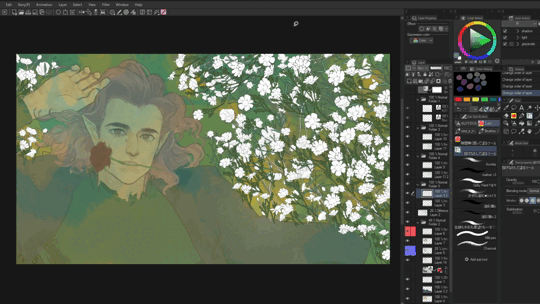
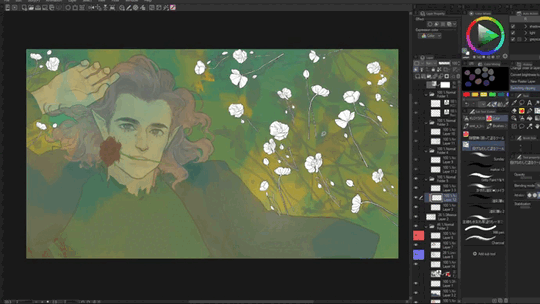
Once it’s separated, place each flower layer in separate folders to keep it neat and organized. We could directly color the base color and the lineart or we could add a new layer on top of them and paint the color there. Go wild with the colors!
Aaaand it’s done! I hope the tutorial is easy to follow.
If you have any questions, you can always leave a comment here or mention me on my social media!
Users who liked this post


Comment