
Hey guys in this tutorial I'm gonna talk about some practical beginners tips for using rulers in CSP as a comic artist. I'll be talking about how to utalize the different rulers to make comic creation easier. I'm not gonna cover all the rulers in this tutorial instead I'll be talking about certain rulers that I think are the most useful and easier to use as a beginner . Rulers can get super confusing so i’ll try to keep it simple . So let's get started.
Before we go towards the tips let's talk about "what is ruler in CSP?" . Rulers are basically the digital versions of the scale that we use in traditional art to draw straight lines but in clip studio we get a variety of these scales that we can use for various drawing purpose other than just a straight line.
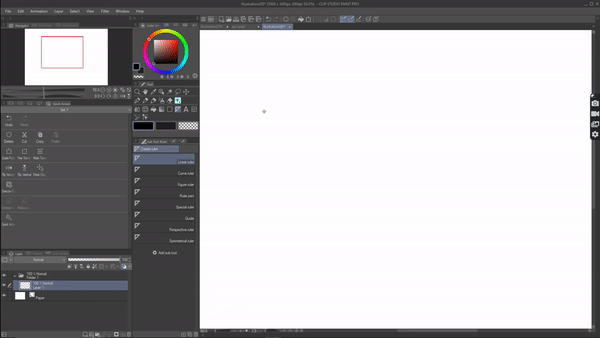
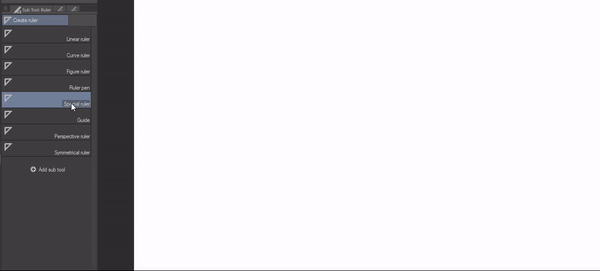
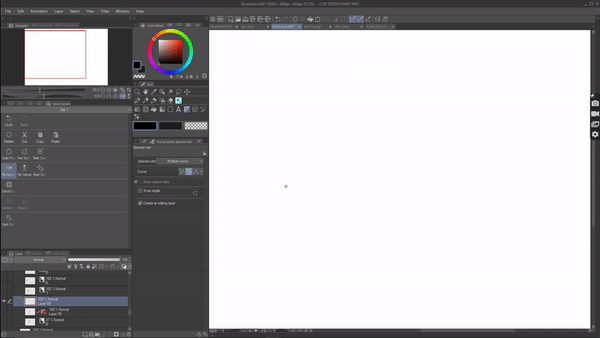
Location-
The ‘‘rulers’’ are located in the tool bar section. as you can see, we have many options.
We can also go to layer (menu)> ruler/frame to create a particular ruler called perspective ruler . We will get into that later in the tutorial.
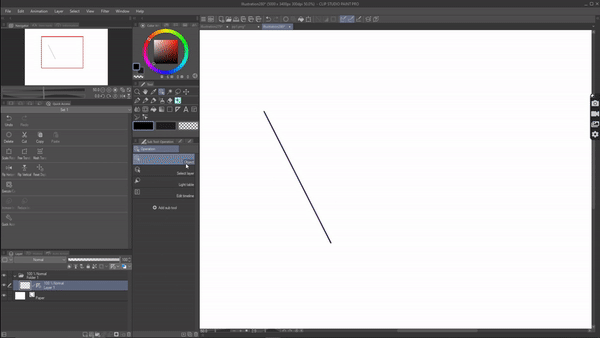
The basic and most known ruler being the linear ruler, using which we can draw straight lines. To use a ruler, make sure you have selected the ruler that you want to use. Now go to your canvas and drag it in the angle you want the line. That's it we just created a linear ruler.
Now take any pen and drag it through the ruler to draw the line. the brush will automatically snap to the ruler. and that's how we use a ruler in CSP.

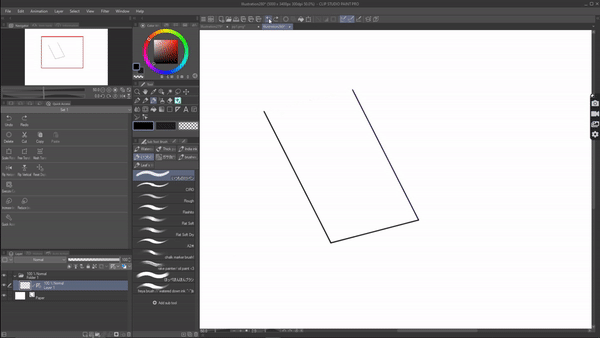
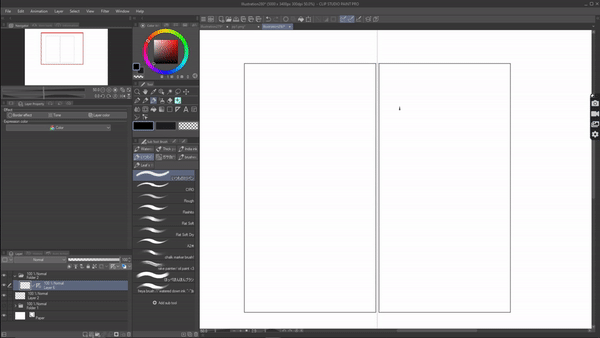
Now let's say I'm trying to draw a box; I'll need more lines to draw that. I can select operation tool > object. Now if I tap on the ruler, you'll see a bunch of options popping up using which we can rotate, move, reuse the same ruler by manipulating it.
Or we can just create more rulers and draw over it.
Once we're done using the ruler, we can disable it so that we can continue drawing other details without being distributed by the ruler.
To disable the ruler - make sure you're on the layer where the ruler you want to disable is. In the top right of your layer palette there's a "set ruler range" icon. Click on it . It will drop down few options from that "show only when editing target" if you disable it , the ruler will be hidden and you can enable it to use the ruler again.
We also have other options like " show in same folder" -Enable it If you want the ruler to be enable for all the layers within the same folder .
You can enable " show in all layers" if you want to use the ruler in all the layers regardless of any folder.

These are the basics on how to use and manipulate a ruler. I think this much information is enough for a beginner in using ruler. Now we can finally move on to some practical ways you can rulers in your comics.
Symmetry ruler :
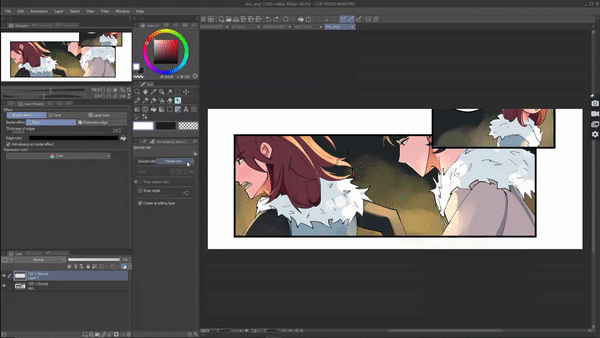
Most of the time this ruler is looked past upon, but this is one of the most useful rulers if you know how to utilize it properly. Especially for beginners this a ruler that you'll find easy to use. Symmetry ruler basically mirrors whatever you draw, on the other side. A very simple ruler but here are some ways that you can take advantage of symmetry ruler in your comic creation.

1. To draw NPC:
starting off with one of my fav ways to use the symmetry ruler , which is to draw background characters. When creating comic there will be alot of scene where the characters are in a public setting. So we will have to draw the main characters but also the background characters. Which is quite tiring and takes alot of time but using symmetry ruler we can cut down on that time. How is that you ask me ?
To give you an example: I have a panel here, where I want to draw some background characters . So I'll go ahead and select symmetry ruler and place it in the middle of the panel. Now I'll start drawing the characters. Once I’m done. I'll disable the ruler and make some small changes in one of the character . This way they will look like two different characters.
We just created two big characters while actually drawing only one . Super easy way to fill the background. Just make sure to make few changes like the clothes or hairstyle etc .
Here's an another example. All these characters are drawn through symmetry ruler all i did was changing few details on the clothes and they all look different
2. Characters :
if you're drawing a panel where the characters pose is symmentrical like for example :a hurray pose or a shrug pose . We can easily draw that using the symmentry ruler.just draw one side the other side will be mirrored. It already takes alot of time to create a comic save yourself the time and use symmentry ruler for symmentrical pose.
Even if the character's pose is just some what symmetry I would still suggest you to use the ruler and disable for the asymmetric parts.
Not only that we can use symmentry ruler for panels where the characters are facing sideways especially if they have same face shape. For example : of two characters are being compared or if two characters are having a face off we can easily draw their bases using the symmentry ruler.
Even in action scenes if the character's are attacking each other in same pose or two players going for the same ball in the same pose. These are just few examples.
3. Design:
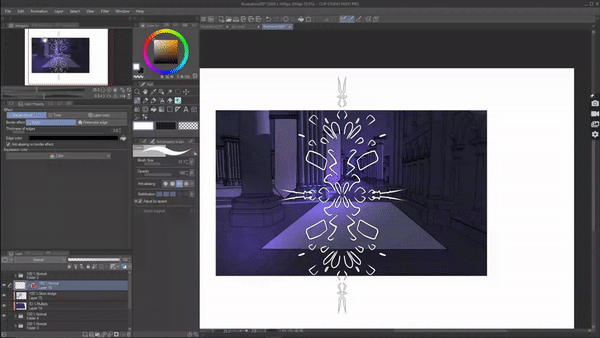
The most well-known use of a symmetry ruler is to create design. Basically, we can go to the symmetry ruler's tool property and increase the number of lines. So if I choose 10 it will mirror what ever I draw ten times , an easy way to create design. We can use these designs in our comics .
For example : I'm choosing number of lines to be 4 . We place the ruler on canvas and draw the design .
Once I'm done I'll disable the ruler and go to > edit > transform > free transform and use this design as part of my comic as a designer carpet , clothing or just as a decorative piece.
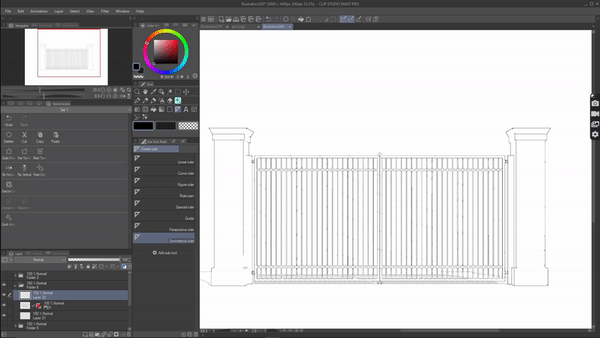
4. Background Props:
again if you have to draw a background which includes symmentrical element like same statutes in front of a ronel or a plant infront of gate . Or even light torch use symmentry ruler. It's just easier .
———————
Bonus : one more amazing thing is that we can also color these panels using symmentry ruler . So if you have drawn a character using symmentry ruler like I have done here . Go to layer palette> set ruler range and enable " show in all layers" .
Now create a new layer and using the "fill" tool I will start coloring and it will be mirrored on the other side
.
———————
ACTION LINE :
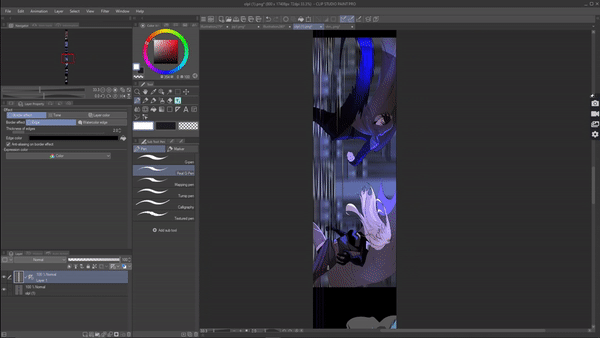
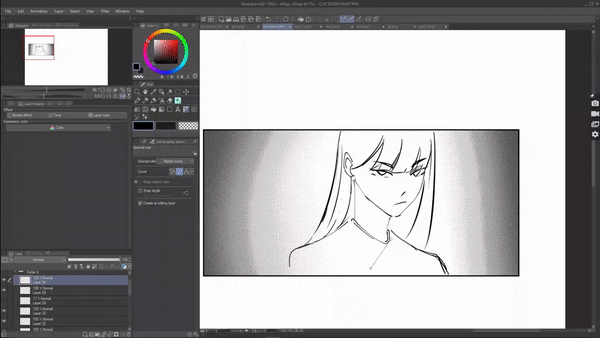
Ever noticed in comics there are these lines drawn to accommodate the action of the character. These lines are called action lines .these lines make the movement of the character lively but drawing these by hand is hard as we may mess up the angle. This is where special ruler comes in handy. Using special ruler we can easily draw our action line.
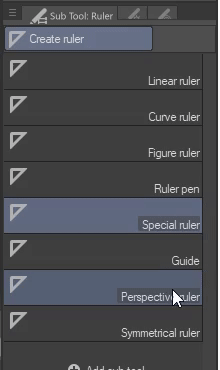
In the tool property of the special ruler we will find a bunch of sub ruler from which I'll be talking about these three rulers. For beginners, I think these three rulers can go a long way in aiding your action scene creation.
1. Parallel line :
parallel ruler as it sounds, it allows you to create parallel lines.
This simple ruler can make your action scenes more intense. Parallel ruler can be used to amplify the panel by drawing parallel line in the direction of the action.
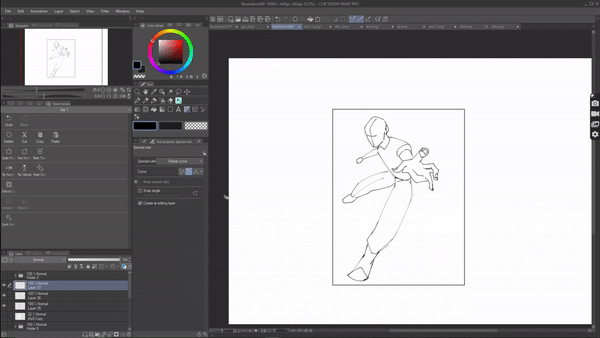
To give you an example: Here I have two characters in motion I want to draw some lines to accommodate that action.
For that I can go to special ruler and select parallel line
Drag the ruler and angle it in the direction I want to draw the action lines. Now I can just take a pen and run it over anywhere in the canvas it will only create lines in the direction of the ruler.
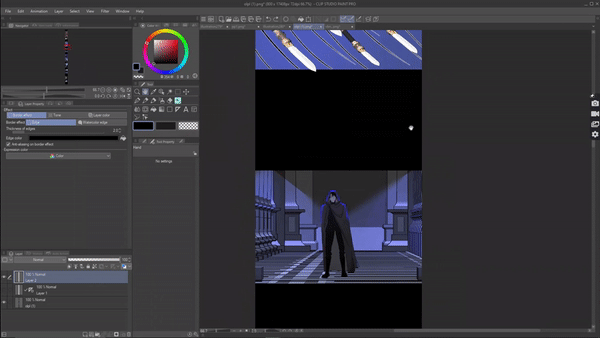
here’s and another action scene from my comic where I have used parallel ruler. character is about to kick character b, to indicate and amplify the action i drew some parallel line using parallel ruler.
If I draw by hand, it will be messy.
This one ruler can go a long way. It can be used for so many action scenes in your comics.so do try it out yourself.
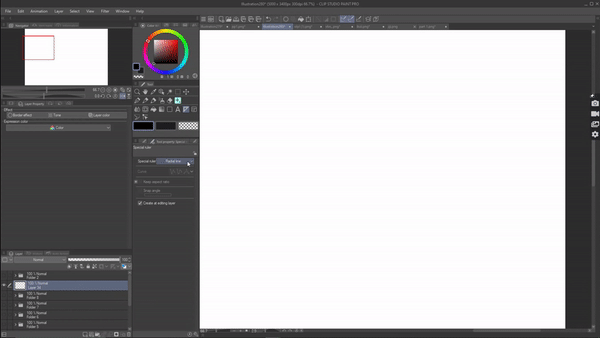
2. Radical line :
similarly we also have the radical line which allows you to draw action line from one focus point . You can place it anywhere in your panel and we can draw lines from that point. Again really useful for action scenes.

For example: i have a scene where the character is being attacked with spire . To indicate the character being attacked i will place the radical focus point on the character and draw lines around it .
Or if a character is using mind magic we can again use the radical line to indicate that .
3. Radical curve :
It functions similarly to the radical line ruler, but with the radical curve ruler, you can create a guiding curvaceous path that the ruler will adhere to.
We can use this ruler to create a creepy aura around the character, like if a scary character is staring and there’s creepy curvy aura around the character. since these curvy auras needed to look same around the panel it’s hard to draw them by hand
instead, we can use radical curve to get that similar curve.
or can be used to create action line for action scenes the motion of the character is curved monitor .So many possibilities within these three ruler so do try it out yourself.
BACKGROUND:
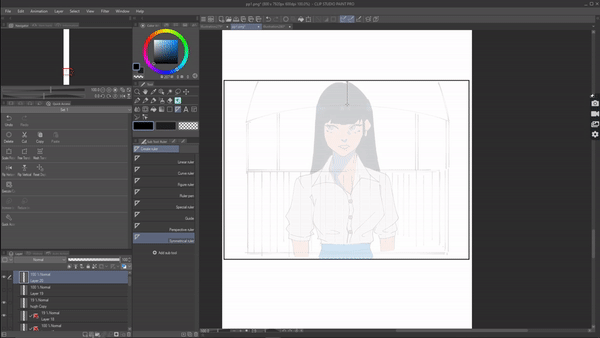
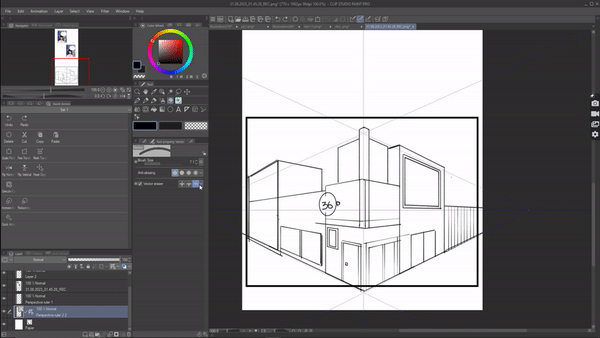
CSP has one of the best rulers to help us create comic backgrounds. Especially as beginner you might be struggling draw your own background. This is where perspective ruler comes in handy. I hope you guys have some knowledge in perspective since I'll not be concentrating on that instead I'll explain how to use and manipulate the ruler.
Perspective ruler is available in the ruler sub tool where you can create your own vanishing point , horizon etc
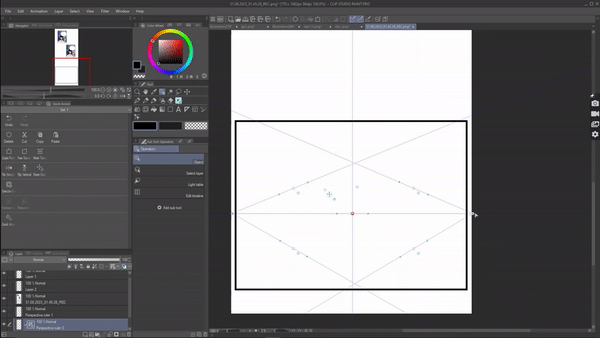
but as for beginners I think it's better to use pre created ruler. For that go to (menu) layer > ruler/ frame > create perspective ruler.
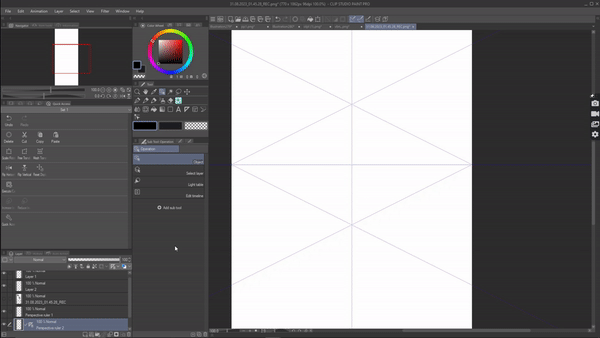
A dialogue box will appear where you can choose which perspective ruler you want 1 point , 2 point or 3 point .
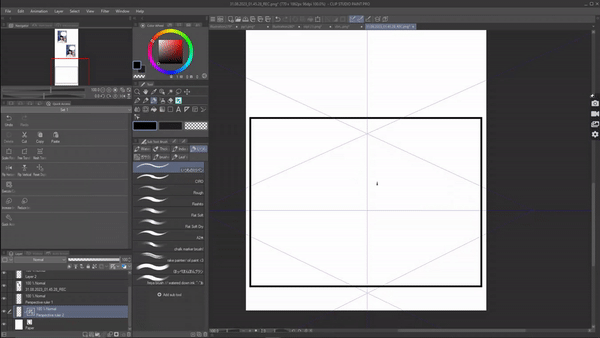
I'm choosing two point perspective. The ruler will show up on the canvas. The blue line is our horizon line . The purple lines are the two vanishing points. If you want to change something in the ruler make sure you have object tool selected under the operation.
Now if you tap on the ruler, bunch of options will show up. Using the arrow, we can move the whole ruler.
Using the dot on the horizon line , we can adjust the horizon line
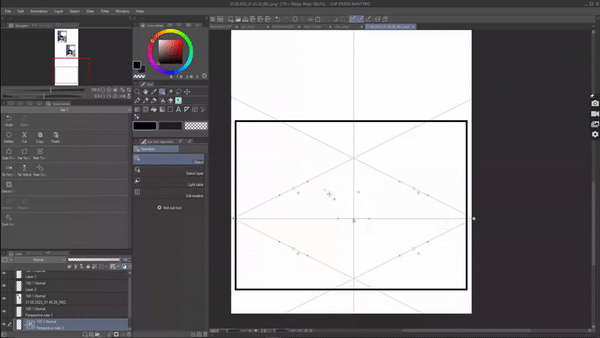
Similarly using the dots on the vanishing point we can change the angle of the vanishing lines.
If you want to disable any particular line for ruler click this diamond icon on that line . the line will turn green which means its disabled . You can click on the diamond again to enable it.
And that's how you can make changes and set the perspective ruler to whatever angle you're looking for .
————
Bonus note : always use vector layer when using rulers especially perspective ruler . I'll tell you the reason in the following . To convert your vector layer from raster . Go to layer > convert layer and select vector layer.
—————
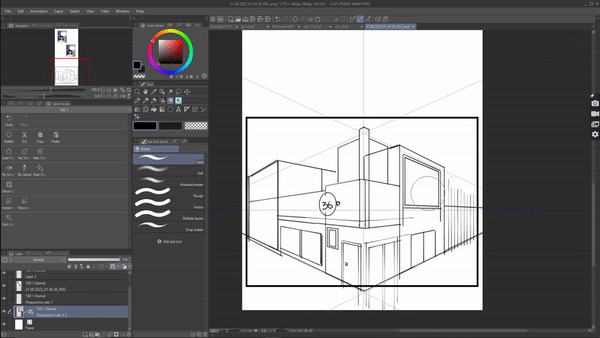
Now using the ruler we can draw our background in proper perspective.
We can also use figure tool and it will automatically snap to the rulers perspective.

We can only draw straight line with the ruler being active so if you want to ass any curvy detail you can always disable " snap to ruler / snap to special ruler" that you will find on the top of your CSP window.
This way you can add those details while you can still see the guidelines, that will help you stay in perspective
.
You can always enable the "snap to ruler \ snap to special ruler" to stick to your ruler again .
With that I have created a 2 point perspective background for my comic with ease but if you notice , the background needs a alot of clean up . Instead of erasing them the normal way.
We can erase them easier using the vector eraser . (Vector eraser can be properly used in a vector layer that's i mentioned to work with vector layer)
Using vector eraser we can clean up faster. In the tool propeyof the vector eraser we got these three options from which I'm choosing "erase intersection" which will erase the intersecting lines. Now I can erasily clean those unnecessary lines.
We also have the " erase whole line " in case you want to erase the whole line in one touch from your background.
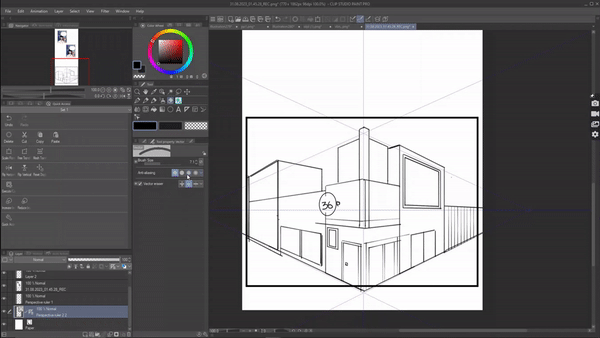
And OfCourse there's also the normal eraser, for that choose “erase only touched areas.”
Basically perspective ruler combined with vector layer is everything you need to draw your comic backgrounds.
———-
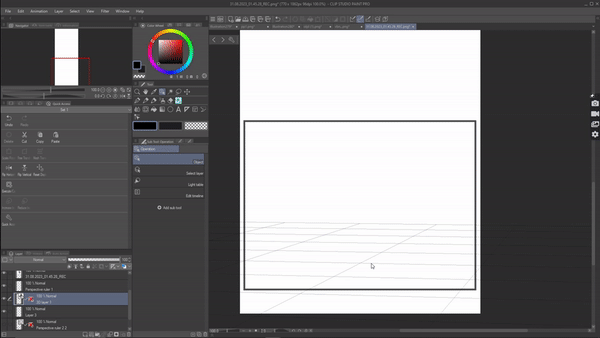
2. There's also another way to use perspective ruler which I personally like to use draw the interiors for my comics since it has a grid floor which makes it easier for me to know where to draw the subjects. If you’re drawing any interior for your comic, I would suggest you use this method.
And you can also easily introduce 3d objects in this method.
For that go to (menu) layer > new layer > 3d object. You will get a 3d grid floor which you can adjust to your desired angle.
Once youre done with that , in the layer palette you will see the ruler icon on your 3d object layer , double click on it . The ruler I'll appear which is set on the same perspective as the 3d grid.
Create a new vector layer above and start drawing.
We can also easily introduce 3d object into the layer. just make sure you're on the 3d object layer hen dropping the 3d on the canvas, it will automatically place itself on the 3d grid, so you don't have to struggle with its angle.

SPECIAL RULER :
Another ruler that I think beginner should definitely try out. I have briefly talked about this ruler in the action line section. But there's more to this ruler than just action lines. Under special ruler we got various type of sub rulers.
As a beginner don't concentrate on all of them, it's better if you just focus on these three for now.
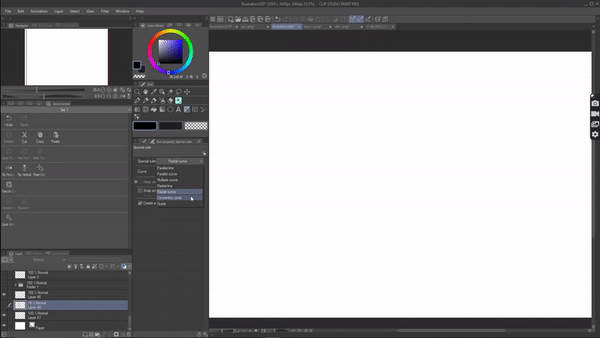
Concentric circle
Parallel line
Multiple curve
I'll tell you how you can use them in your comic creation
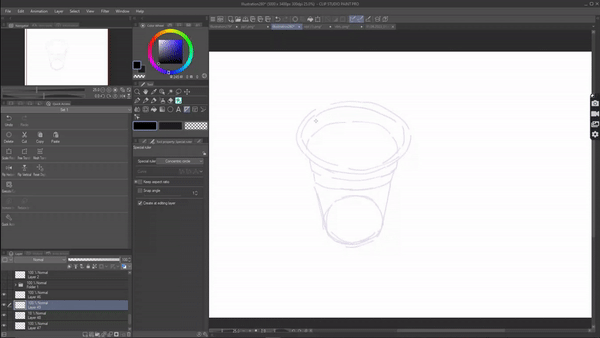
1. Concentric circle :
centric circle is a ruler that allows you to draw multiple circles. In comics we have to draw alot of circle objects like clock, bucket, wire etc. And all those can be easily drawn using the concentric circle ruler.
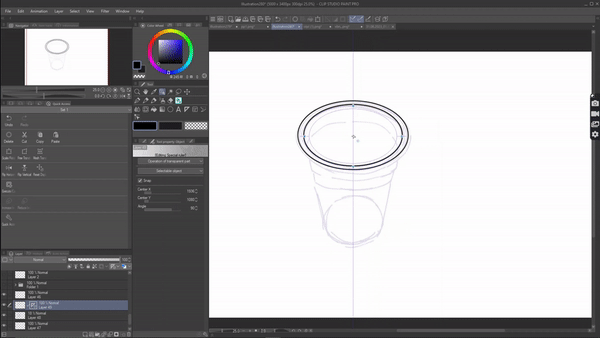
For example : I want to draw a cup. For that I'll select the concentric ruler . Drag it on the canvas in the angle i want the circle to be . Now using a brush I'll draw my cup .
operation> object tool then tap on the ruler, we can move now the concentric circle ruler to relocate it and use it .
Once I'm done I'll disable the ruler and add details and we're done .
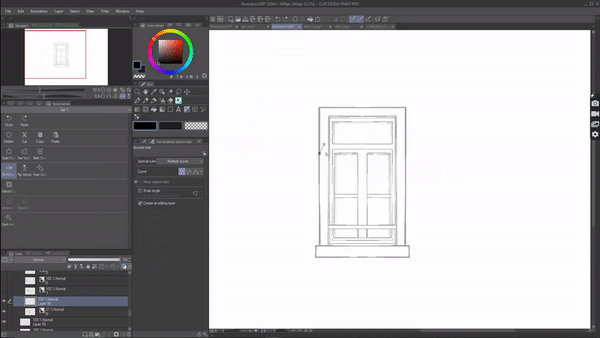
2. Parallel line:
I have talked about this ruler in the action line but again we can do more with this ruler. We can use it to draw things that has a lot of parallel lines like a railing, pillars, door etc. . But those can be drawn using perspective rulers too right . For example, If I'm working with a 3d background and I want to draw a ladder, using a perspective ruler just for that would be too much.
So instead
I can use parallel lines to draw that ladder . Just place the ruler in the angle you want the ladder to be and start drawing .
3. Multiple curve :
as the name suggest multiple curve ruler allows you to draw multiple lines of whatever shape we set the ruler in. This ruler can be used to draw repetitive curves. Really useful again for repetitive pattern like a window shield
or even to draw a deck of cards .
Again it may seem like an unnecessary ruler but when you're actually drawing a comic you will face with having to draw random things like a bottle , bucket etc at that time these are the ruler that will come in handy .
So that is all the ways to use a ruler that i wanted to share hope you guys find it helpful .
Users who liked this post


Comment