My favourite ways to use selection tool
Hey guys in this tutorial I'm gonna talk about few of my favourite waya to use selection tool available in CSP . You probably have used the selected tool before to select and move your drawing or to select the area you want to copy and paste but this tool can be used for more than that especially when combined with other CSP features . So let's talk about them
What is selection tool ?
Selection tool allows you to create selection. A Very simple tool.
When you create a selection a grey bar called selection launcher will appear . It contains shortcuts to alter the selection.
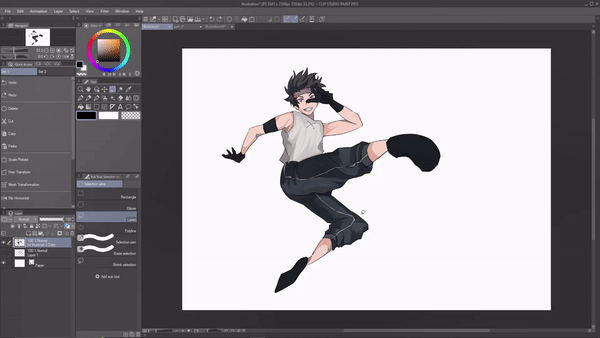
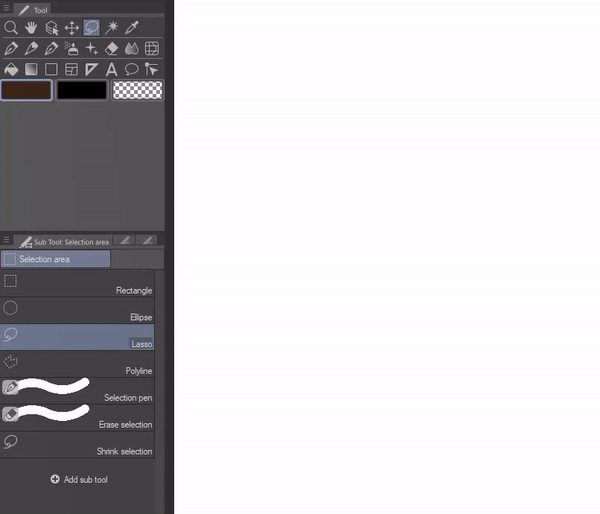
Selection tool is located in the tool bar. When you select selection tool in the sub tool you will get various selection tool which can be used for various purpose.
Now let's get in to some of my favourite ways to use this simple tool.
1. To blur:
Ever had a situation in your art work where you had to blur a particular part , like it would be a particular object , person or a part of background.
As a comic artist I had alot of panels in my comic where I had to use blur to add attention to other parts. But when you apply the blue filter it blurs everything on that layer
For ex if I want to blur the background of this panel . I'll make sure I'm on that background's layer . Then I will go to filter(menu) > blur > Gaussian blur.
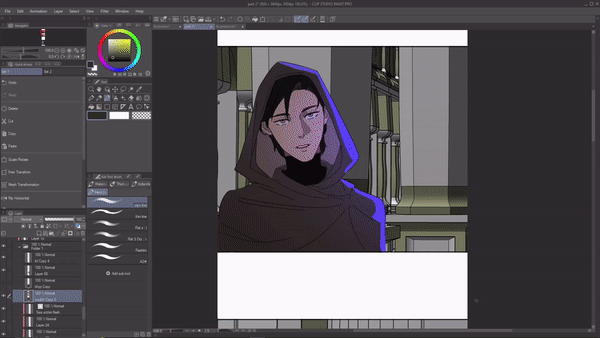
But as you can see it did blur my background but also everything else on that layer.
This is where selection tool comes in handy. Using selection tool I can easily select the area i wanna blur.
Using the rectangle selection tool I'll drag and select the area that I want to blur.
Now I will go to filter > blur > Gaussian blur and it will only blur the selected area.
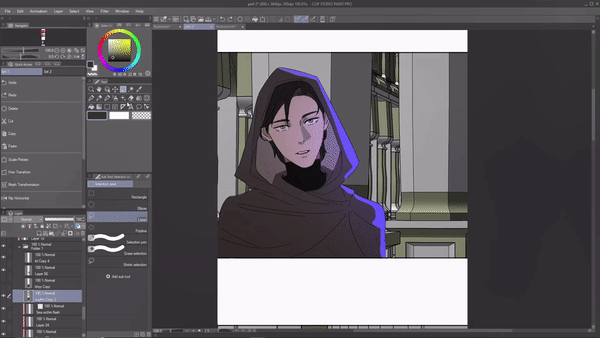
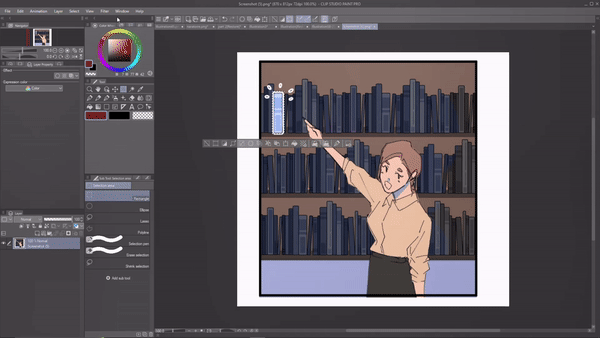
It's really useful when I want to blur just a particular parts in my panel. For example in this panel I want to blur this particular part of the background now I can easily do that using selection tool.
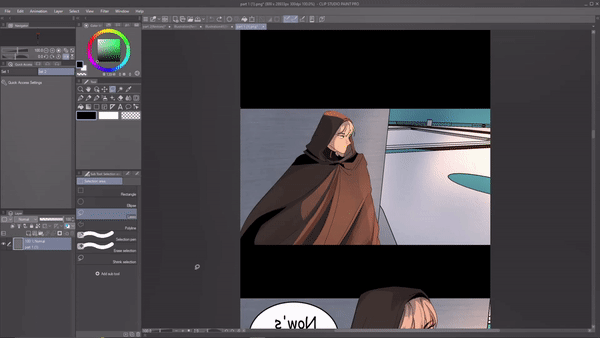
Or even if I want to blur a singular object like this book, I can easily do it by using selection tool and blur filter.
2. Light and shadows .
One of the ways I use selection tool in my process is to combine auto action and selection tool to draw my light and shadow for my characters. I use different blending mode for my light and shadows using selection tool i select areas where I want to apply the light/ shadow and using auto action I make the process of creating new layer , setting the mode to add glow shorter .
It's a good combo that go hand and hand with each other.
To give you an example : i prefer to use selection lasso tool to select areas where i want my lights and shadows. Then I create a new layer and set it's blending mode to add glow , lower it's opcatiy
Then I'll select a color and go over the selected areas using a brush. This is my process of coloring and probably yours too.
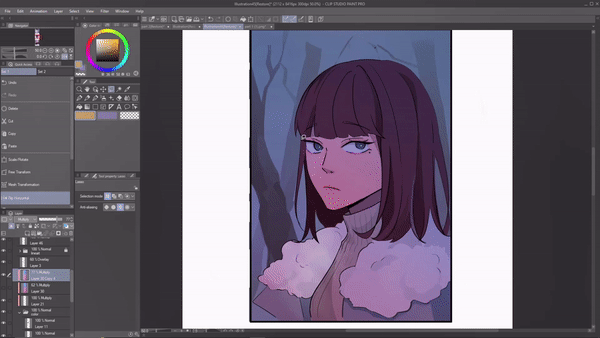
But what if I tell you combining auto action and selection tool we apply light / shadow to your art quicker and easier.
For that we first need to learn little bit about an auto action. If you don't know what an auto action is .
Auto action allows you to record and run certain operations. Mostly used when you have actions that are repitavite like I mentioned above how I create new layer and set it to add glow etc . I reptive that process for every panel and every chapter.
Once we record those actions we can run those 5 process in a click
To give you an example I'm gonna create an auto action for my light process.
To create your own auto action :
If auto action is not shown on your screen go to window > select auto act
ion
In the auto action palette CSP already provided us with default auto actions
We're gonna create a new auto action for that click on the " add new auto action " available in the bottom right of the autoaction dialogue box.
A new auto action will be added to the box which we can rename.
To start recording click on the red circle on the bottom and start doing the process.
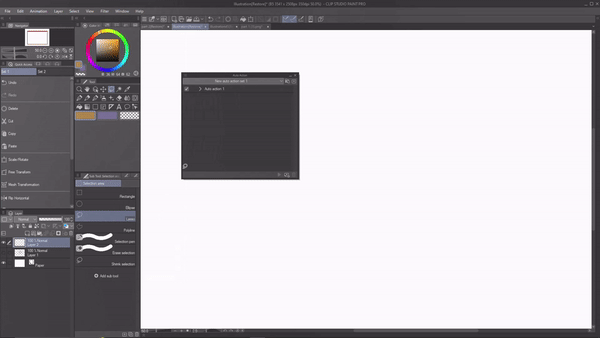
I'm gonna do the same process I mention in the start.
> Create a new layer , set it's mode to 'add glow' and lower it's opacity
> Choose a color of choice
> Go to edit(menu) > fill .
Stop the recording
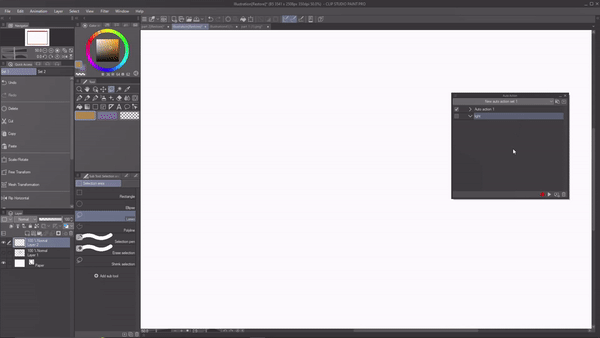
All these steps are now recorded and saved , click downward arrow to check the step you have recorded. It even recorded the opacity of the layer.
Now you have successfully created an autoaction you can now close the autoaction window.
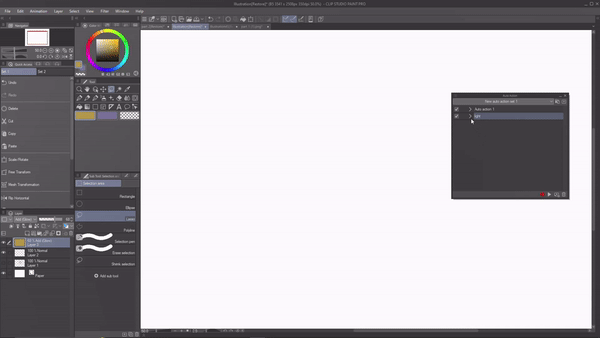
Now I can just take my selection tool and select the areas I want the light .
Note : by going to the selection tool's property. Under the selection mode , we have "add to selection" Click that . It will allows us to make multiple selection at a time.
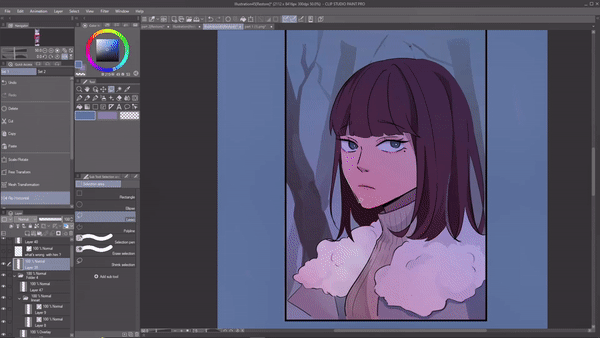
Now I can go over all the panels and select the area for the light. Once I'm done
In the selection launcher , you will see an option called "selection launcher setting " click on it . A dialogue box will open up .
In the drop down box choose auto action and you will see the auto action that you just created . Drag that particular auto action and drop it on the selection launcher. Now close the selection launcher setting.
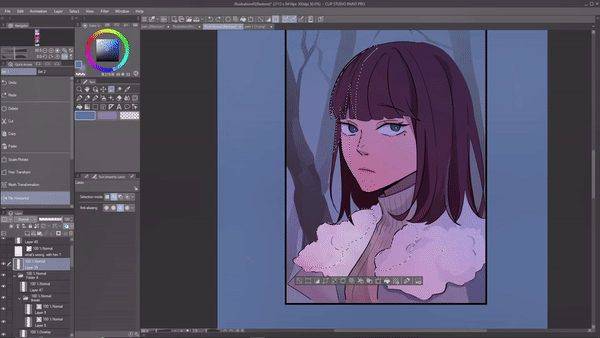
Now click on the auto action from your selection launcher as you can see , the auto action just did all the steps we recorded in one click .
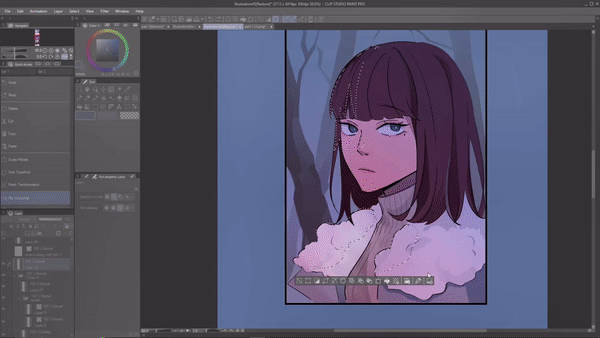
This is super helpful as a comic artist because you want to cut down on process.
i even created a auto action for my shadows , now I can just select areas where i the shadow using selection tool and click on the auto action that I created for my shadows to do the process
.
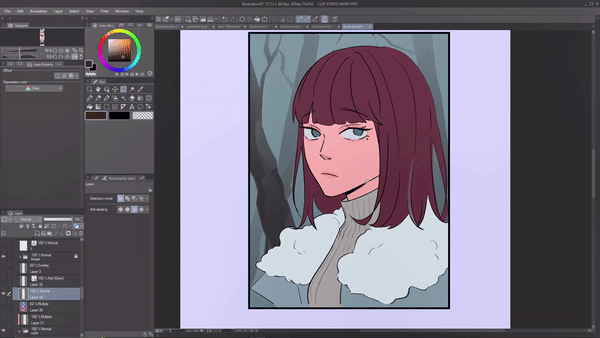
3. Final touches
This is more of the well known use of the selection tool . I still wanted to mention it because it's one of my favourite and most used ways of using selection tool.
I use selection tools for my final touches , from correcting proportion to moving panels. It helps me alot
(1)One of the big mistakes I make when drawing is proportions . It's common to mess up on the anatomy or proportion when you're constantly drawing . So it's mostly when I'm done with my drawing and do the final checking , i realise that I drew the head too small or leg too big , now I don't want to go head and redraw .
Instead I can use selection tool . Using the selection lasso tool i select the area which i want to resize, in the selection launcher there will be an icon called" scale/ rotate "
If you don't have that just go to edit (menu) > transform> scale/ rotation.
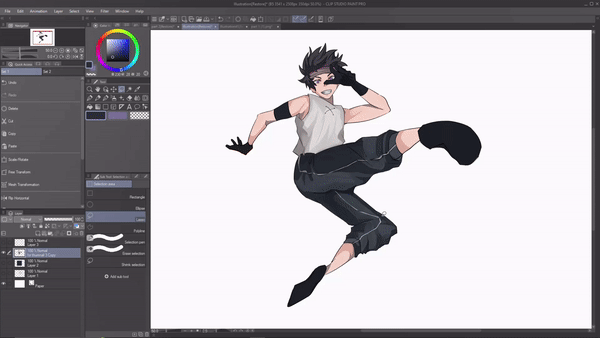
Now I can adjust the size , rotate to make the proportion right. Super easy and now we don't have to redraw.
The cool thing is you can select areas of multiple layer or folders at a time using selection tool. So you don't have to worry of you have lineart in one layer colour in another. You resize then using selection tool.
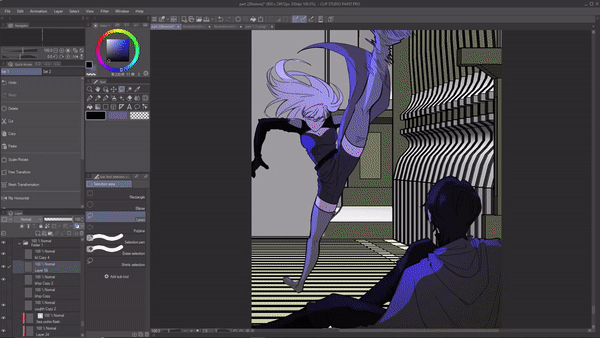
(2) as a comic artist I sometimes mess up the placing of the panels. When creating comics there needs to be certain space between panel to panel to create readability. But sometimes we may put a panel too far or too close to each other. Since we draw in tablets we don't know how the panels will look in phone
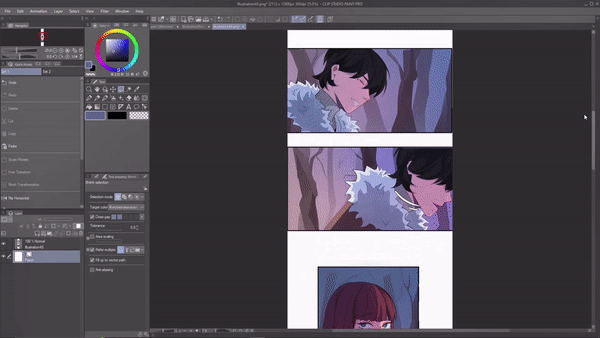
So when I preview my comic using CSP app in my phone , i realise that oh this panel is too far and it breaks the flow of the comic.
This is where selection tool comes in handy. I can just select areas of the panels using selection tool and rearrange it using the move tool.
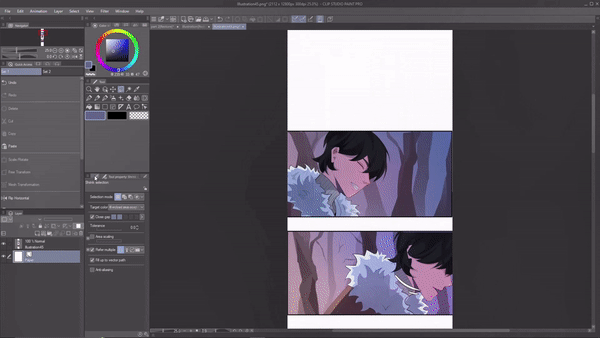
Since I have connected my laptop CSP to my phone CSP I can see the changes I make live. Which make it's easier for me me to rearrange the panels.
4. Stay in line
Ever struggled with coloring your lineart ? because you keep going out of the lineart , well you no longer have to worry because selection tool is once again here to help.
Now if we look at the sub tool of the selection tool we have a sub tool called " shrink selection".
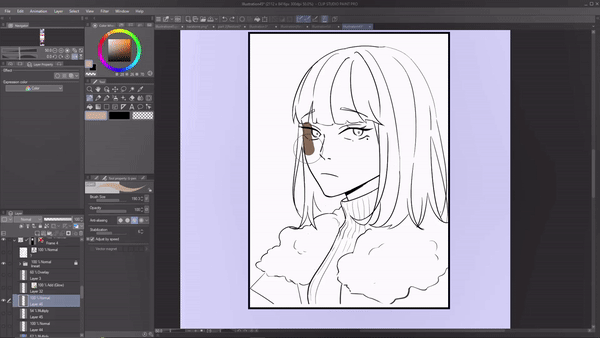
Shrink selection tool basically shrinks itself to attach to the target . Like if i circle this box using shrink selection, as you can see the selection shrinks to the box.
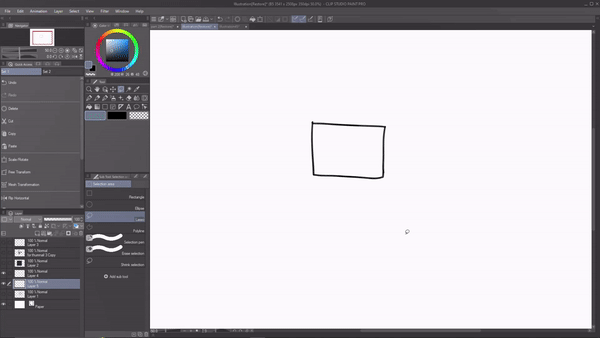
So now you no longer need to worry about coloring out of the line . Using shrink selection tool we can just circle around target and it will shrink to that. Now we can just take a brush and color it.
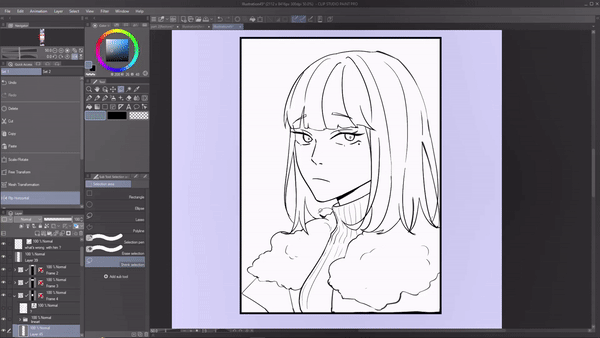
Super useful when you have small details in your drawing , those are the worst things to ink but with shrink selection it's no longer hard.
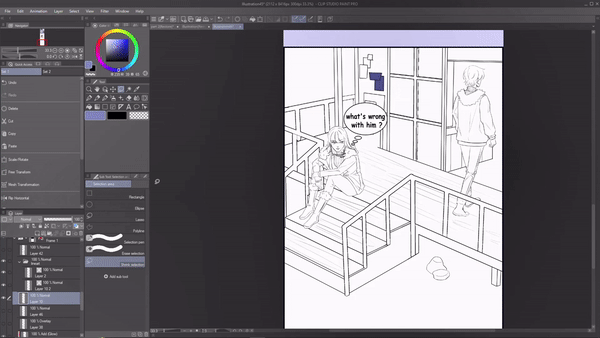
And I would suggest you to draw your lineart in vector layer because it has alot of benefits but also because shrink selection can detect a vector layer lineart much better .
If you have drawn your lineart in vector layer , go to the tool property of the shrink selection tool. Enable " full up vector path" .
If you enable it , shrink selection tool will be able to work much better again making coloring process easier for you .
5. Lineless art :
Out of all the different artstyles in the world one of the famous artstyle is lineless art , often seen in children's storyboard. This artstyle features no lineart it constructed with more of shapes .
If you're of the people who want to try out lineless art ,selection tool will be your most useful tool.
Lineless art starts from a sketch , once we're done with the sketch lower the opacity of the layer. Create a new layer , this is where we draw the actual thing.
But ofcourse if we just draw using a brush , it will be messy because our hands are shaky.
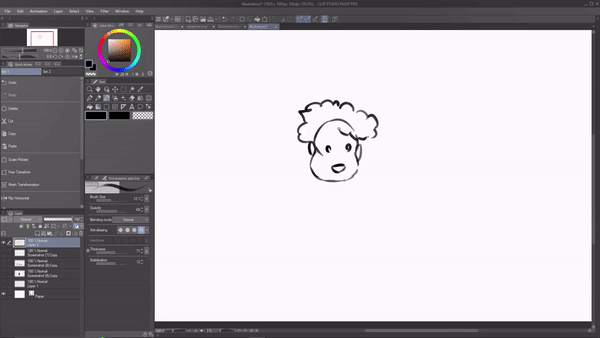
Instead try using the selection tools . We have alot of shapes to choose from .
To give you guys an example I'll do a simple lineless character.
For that , I'll use the escillpe selection tool to draw the face , under the the tool property I will change the selection mode to add selection, this will let me select multiple areas.
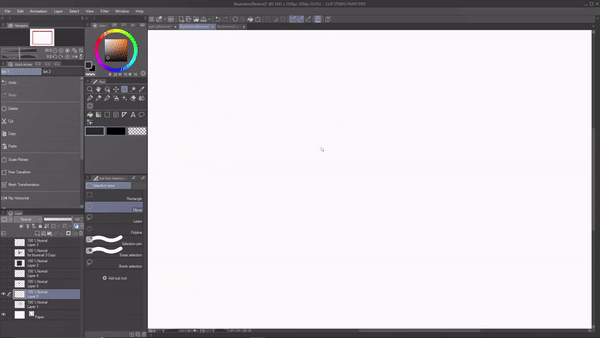
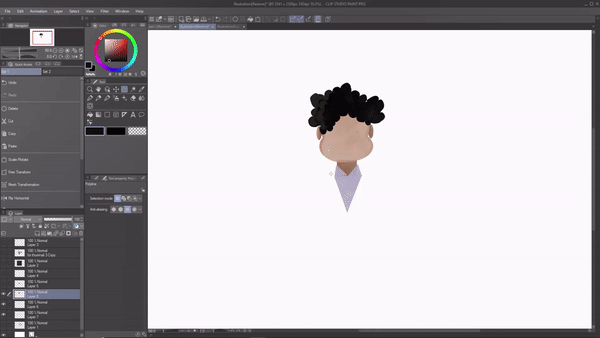
As for the hair I'll use the lasso selection tool.
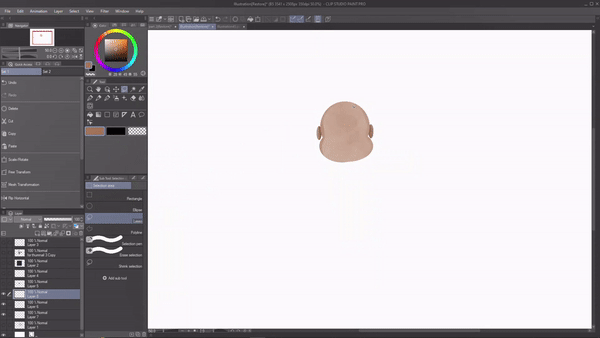
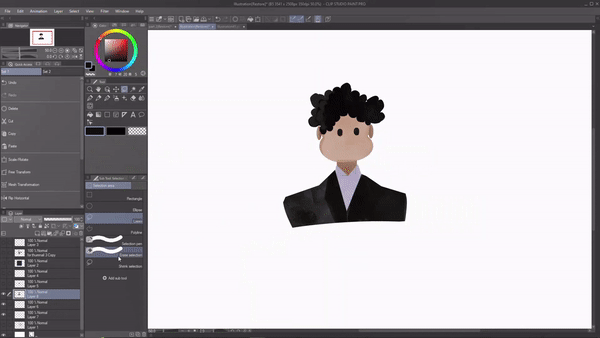
For the body I'll be using the polyline selection tool.
If you want to deselect certain part of the selected areas like I want to here , again go to the tool property and change the selection mode to " remove from selection"
Now you can just select the areas you want to remove from the selection.
And that's basically how we can use selection tools to draw a lineless art
There are more shapes of selection tool available. Like if you continuous curve . Click on polyline selection tool , under it's tool property you will see the settings options . Click on it.
A dialogue box will appear under that select " continues curves" you will see more options of selection tool
And that is all the way i personally love to selection tool. I hope you find this tutorial helpful . Thank you for watching.


Comment