
Before starting
Hello, I would like to introduce you to some useful ways to draw digital lines the way you want.
First, I will introduce effective line drawing practice, and second, I will introduce how to supplement the line you want using Clip Studio's functions.
Both those interested in drawing digital lines and those just starting out are welcome!
Effective line drawing practice
Differences between hand drawing and digital drawing
There may be differences in texture due to paper or depending on the type of tablet, but the biggest reason digital drawings feel different from hand drawings is the difference in finger range of motion. Unless you are drawing on quarto paper or higher paper,
Hand drawings are drawn in a relatively small area, but digital drawings are not like that.
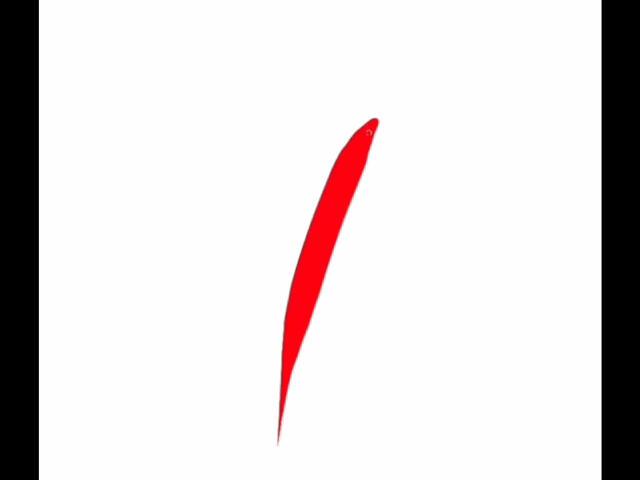
This is because digital drawing cannot be avoided by enlarging the picture, so the basic answer is that one must be familiar with drawing large lines (as expected?).
(I think it can be said that there is pen pressure when it is affected by pen pressure, and that there is no pen pressure when it is not affected.)
And the difference in line thickness is greater depending on how hard you press the pen in digital drawing than in hand drawing. This is why people who are used to drawing by hand have difficulty with pen pressure. This requires much more detailed control than the pressure applied in hand drawing (unless you are familiar with a comic pen). Just as hand drawings are difficult to control with a pen that contains a lot of water, digital drawings become more difficult to control the higher the pen pressure. The same goes for drawing traps. This is the same reason why a pen with constant pressure is convenient for digital use. So, it depends on the person, but when practicing, I recommend starting with a brush with less variation in pen pressure.
Practice first with brushes that are less affected by pen pressure, such as Clip Studio's pencil, spoon pen, millipen, and si pen.
Also, my personal Recommended Brushes are also useful for convenient practice.
Effective line drawing practice

There is one more effective way to practice drawing lines besides drawing large lines.
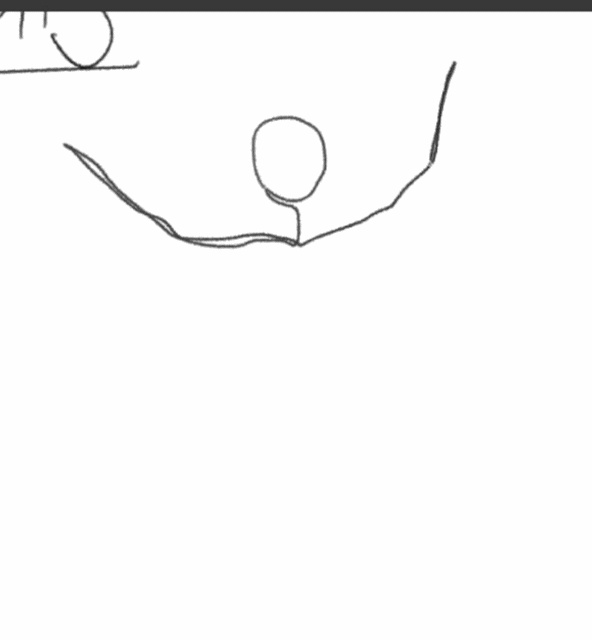
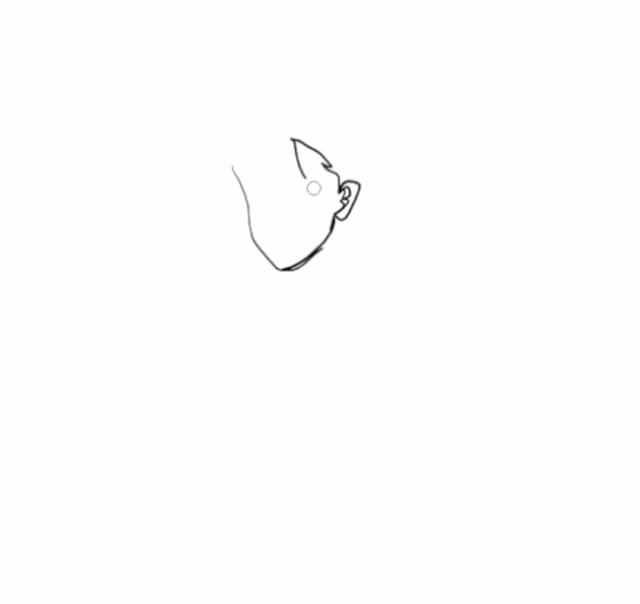
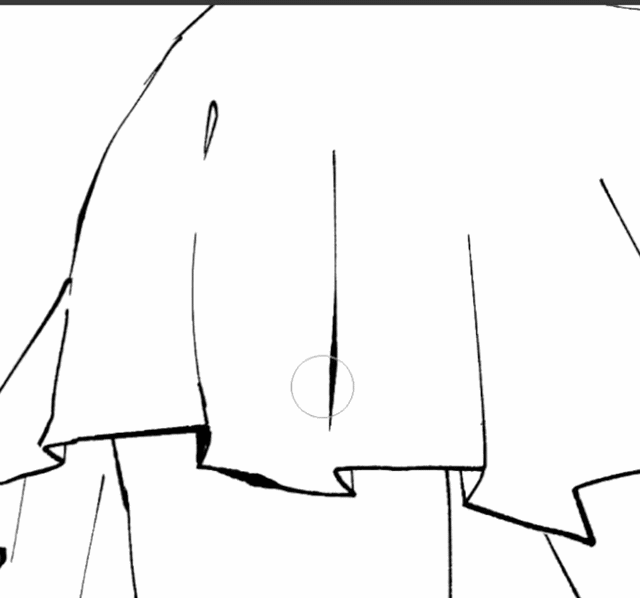
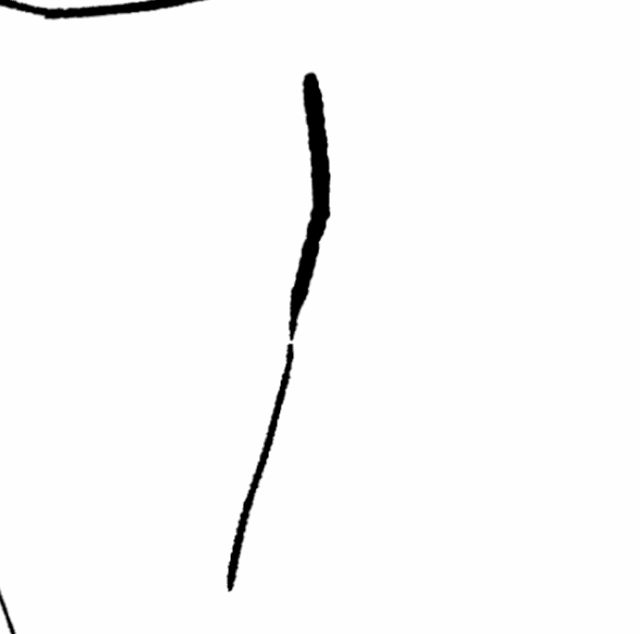
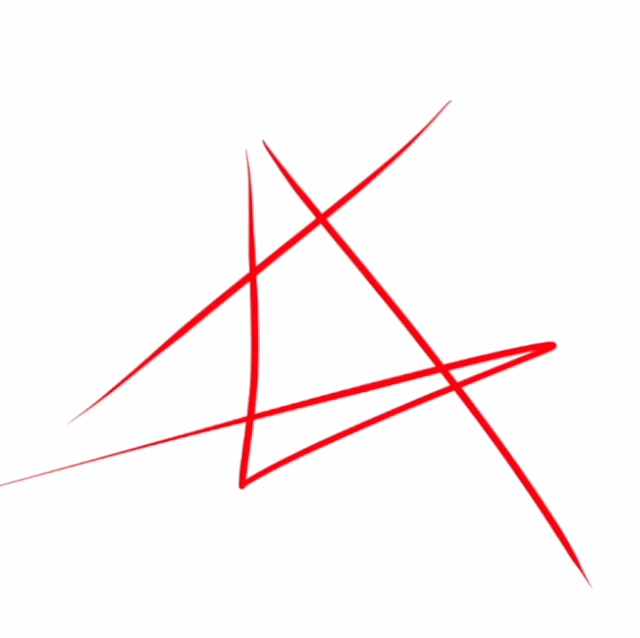
Drawing without breaking lines. This is a more effective method when doing croquis than the drawings we create. I think this is the best way to correct the habit of drawing short, broken lines and the resulting stiff-looking drawing.
1. Practice with a pen with little pressure at first, and then try using a pen with pressure. If you practice, you will soon get used to the pen pressure.
2.Never cut the line. Even if you draw it wrong, go back and try to somehow complete one line**. (For the example drawing, I wanted to do croquis, but because of the rule that it must only be done with my copyright, I just drew it as I thought, so please understand. I recommend drawing it all at once rather than continuously scribbling lines in the same location like I did. With croquis, you see and draw, so please understand. It will be easier to draw!)
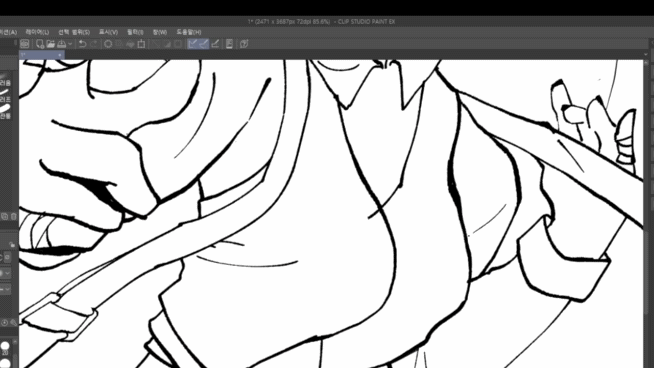
Complementation using Clip Studio
From now on, we will look at how to set up Clip Studio and how to complement the lines so that each individual can draw the lines they want using Clip Studio. If you find a line that you are familiar with and comfortable with, you will be able to draw the line you want more quickly.
Clip Studio Settings
First, let’s check the overall settings.
First, to apply pen pressure to Clip Studio, please make sure that it is wintab for a tablet tablet or tablePC for a liquid crystal tablet.
And now we adjust the pen pressure detection level.
After pressing the pen pressure detection level adjustment button, draw a line in the window that appears. When drawing a line, draw it the way you are familiar with it. If you draw too easily, the lines will become thick even with little force. After drawing, click Check Adjustment Result -> If you tend to apply a lot of force, select harder (H), and if you tend not to apply force, select softer (S).
Brush Personalization
Now, let's adjust the individual brush settings to find an environment that suits you. First, click the square button next to the brush size for each brush.
1.Brush size
The main things to look at here are pen pressure and speed. There is a minimum value next to pen pressure, and as the minimum value of pen pressure increases, the effect of pen pressure decreases. When the minimum value becomes 100, the effect of pen pressure also becomes 0.
↑It goes like this.
You can also set the pen pressure in more detail using the graph below.
The lower the ‘output size relative to pen pressure size’ (depending on the low range), the higher the influence of pen pressure. So, the longer the point where the output size is low (higher pen pressure and lower output), the stronger the force must be used to print a thicker line width. You can adjust the force that suits you with detailed settings!
Next to pen pressure, we will look at speed. If you want to give pen pressure according to speed, you can check speed. Then, the faster you draw, the thinner the line will be. When the minimum value is 0, the line almost disappears, as shown below. A certain amount of speed control will affect the clean line drawing.
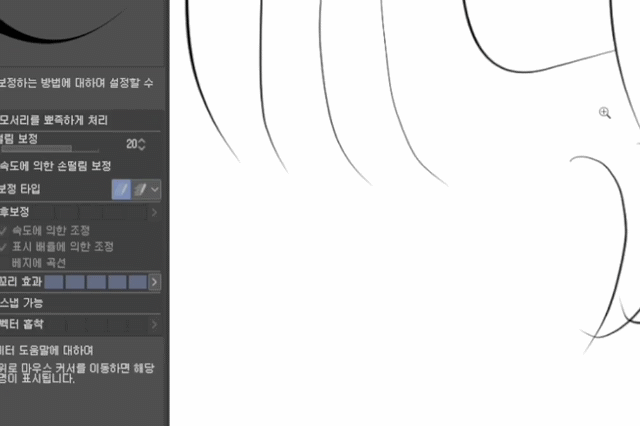
2. Brush correction
To calibrate a brush, click on the spanner for each brush -> Calibrate.
↑For reference, if you click [Revert all settings to default settings] at the bottom, the adjusted numerical values will return to the previous settings. If you want to return to the previous settings while adjusting, press it. If you want to customize it separately, we recommend duplicating one brush separately and adjusting it.
There are three things to pay attention to:
Hand shake correction(1): This is a function that literally corrects hand shake. I usually keep it between 18\ and 20, but you can adjust it depending on personal preference. As the number goes up, the lines become clearer.
Post Correction(2): This is a function that corrects the line immediately after drawing it. The higher the line, the more severe the correction.
If the correction is this high, it may be far from drawing the desired line, so depending on personal preference, you may want to turn the setting off or set it to one or two spaces.
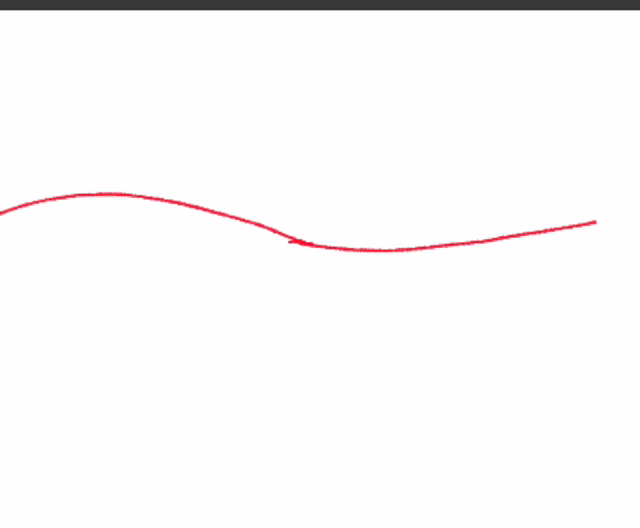
Line tail effect(3): This refers to extending the point where the line breaks. If you look at the picture below, you can see that it ends further behind the break point, right? If you feel that leaving fine lines is right for you, check and adjust the number.
All of the methods introduced so far can be adjusted to suit your personal preference. The settings I recommend may not suit you!
Now that you have the settings correct, I would like to introduce how to reduce the burden of drawing lines using the Clip Studio function. You could say that it is a characteristic unique to digital. ( ☆ ☆ ☆ )
We will introduce vector layer and ruler function that are useful for drawing lines.
(Rather than an explanation of vector layers and their functions, please note that this is a brief introduction to useful functions for drawing lines and a usability perspective on when to use them!)
Clip Studio features [vector]
A raster layer, commonly called a general layer in Clip Studio, records information as a point corresponding to one square of graph paper (pixel), while a vector layer records function information based on the coordinate value of the point. So, since calculations are possible, the big advantage is that the lines do not break even when you zoom in and out, as well as freely transform. (We've all enlarged a picture on a raster layer and suffered the pain of a broken picture, right?)
The advantage of vectors is that they allow you to make up for mistakes. They save you effort by not having to draw multiple times, and because they can be easily modified, they reduce the burden of trying to draw perfectly. (This is a very good feature for beginners, but it is also good for experts. It's a function)**
Creating a vector layer is simple. It can be created by simply clicking the vector-shaped box in the layer window.
↓If you want to convert an existing raster layer to a vector layer, right-click on the layer ->[Convert Layer] ->[Type] and click Vector Layer. However, please keep in mind that when converting in this way, it is more difficult to achieve a perfect conversion than when creating a vector layer from scratch.
In the opposite case of converting a vector layer to a raster layer, you can use the same method. Just click on Raster Layer in the Type menu.
Lines are not the only things that can be freely corrected in the created vector layer.
Shapes, rulers, materials, etc. can also be transformed, so there are many convenient advantages of working on a vector layer.

↑Deformation of shape
↑Variation of material
1.Object
Now, let’s start by looking at the object tool function of the vector layer. The object tool is used to correct the overall feel of the line (size, color, and shape).
When you click the object tool,
First, let’s look at the optional addition feature. Number 1 is a setting that allows multiple selections, so it is useful for drawing lines at once. I think it is mainly used when you want to slightly change the desired position, set the line art differently for this part, or set the color differently.

And number 2, when you want to cancel the selection area, turn it on and select a line, and only the selected line will be deselected.
to the next
Color(1): Change the color of the line. You can change the entire area or just the selected part. The main color and subcolor are mainly used to change the color of decorative brushes (brushes with two colors divided by lines and base colors).
Size(2): Changes the brush size. I think it will be mainly useful when changing the outline of a character to be thicker (it may be easier to create and draw only the outline on a separate layer) or changing the thickness of the line to distinguish between the character, background, and objects. Detailed brush size adjustment (line width adjustment) will be covered later in vector editing.
Shape(3): Change the shape of the brush. It is mainly used when changing lines to create the desired atmosphere or when applying special brushes (patterns, patterns, etc.).

↑Freely change brush
The brush shape may not have the brush you want. To add it, go to the desired brush and click [Spanner]->[Brush shape]->[Register preset].
Brushes are added!
Now it is time to correct the vector line more delicately. Line edit tool.
2. Edit line
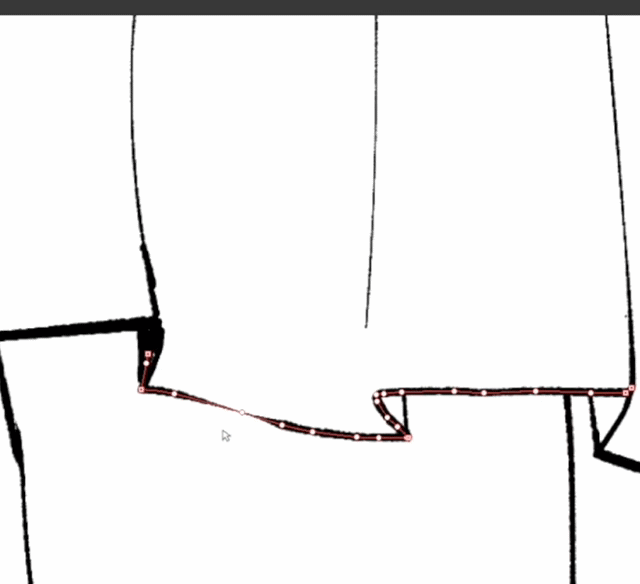
Control Point is a function for modifying control points.
Control point movement(1): This function was also possible in the object modification shown earlier. You can literally move control points. I think it's the function I use most often, whether I know it or not.
Add control point and Delete control point(2): This is a function to add and delete existing control points at a desired location.
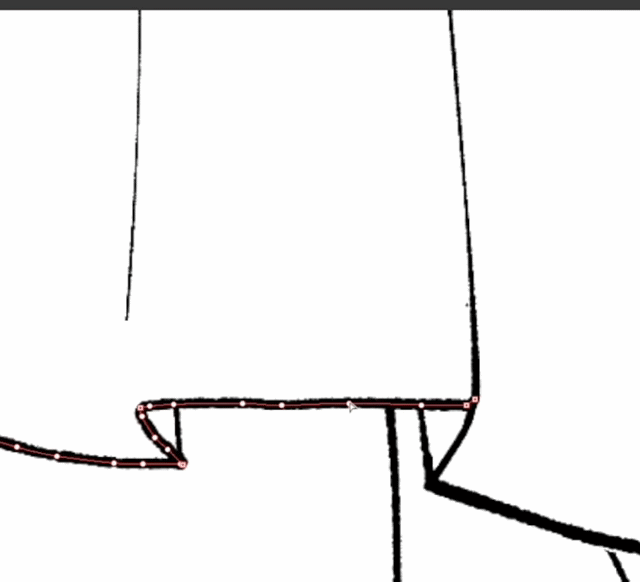
↑Add control point
↑Delete control point
If you want to reduce the control points overall rather than the desired location, click Simplify Vector Line to apply it.
↑Reduced control point
Line width correction(3): This is a function to adjust the thickness. You can adjust the thickness based on a designated control point, and if you were unable to adjust the pen pressure before, you can correct it at the desired point.
If you want to modify the line width based on a single vector line rather than a control point,
It can be applied in Line width correction.
Wide to a specified width, Narrow to a specified width(1)- This function literally widens and narrows the line width.
It is visually useful when using not only lines but also material brushes (decoration, flowers, etc.).
Zoom in and out by specified magnification(2)- It feels like multiplication, but if you set the specified magnification to 2, it will be twice as large. You can use it when applying magnification.

↑For reference, brushes with a spray effect are easy to create because they are corrected with the spray function applied when enlarged or reduced to a specified magnification.
Make it a certain thickness(3): Makes any line a certain thickness. Use this when the line is uneven or pen pressure is applied to an unwanted area.
Vector line grabbing refers to grabbing and correcting a vector line. If the control point is modified based on the control point, the range of the drawn line is determined by the range of effect (3) and the degree of grabbing effect (2).
Degree of Grab Effect(2): How many control points will be moved
Range of Effect(3): How many lines will be included in the first drag.
If you need to move many control points, it may be faster to draw a vector line than to move the control points one by one.
Fix Ends(1): The first is modified with both ends of the line fixed, the second is modified with one side fixed, and the third is modified without fixing both ends. The second and third unfixed lines are useful when the lines are divided. If you check Connect lines below, the lines will be merged while editing! (This function is the same as 'Connect vector lines'.) Also, if you click Add control point, When drawing a vector line, control points are added, so if you want to make detailed corrections, you can check it and then modify it.

↑Catch vector line
Vector line connection is mainly used to connect two overlapping lines into one or to connect two slightly spaced lines into one. This will be useful for those who do not use long cords. This is also possible with two or more lines.
If you want to split again, press Control Point - Cut Line and click the desired point to split.
Next, the last functions of vector lines are Redraw vector line and Redraw vector line width.
Both functions involve changing a line by drawing a line over an existing line.
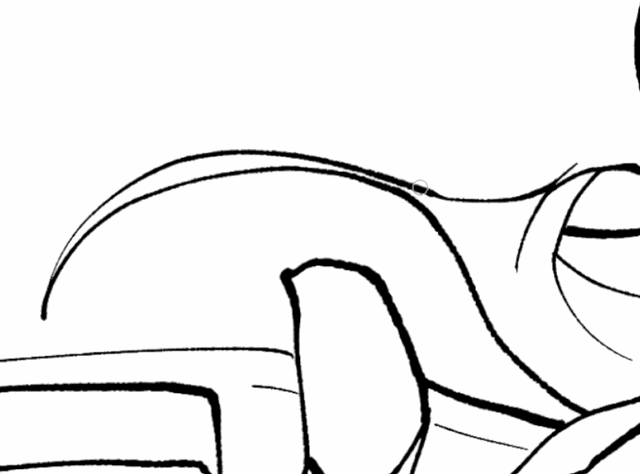
Vector line redraw is usually referred to as drawing a vector line or redrawing a vector line depending on the situation. You may be able to change the vector line as you wish, or it may be easier to redraw it. It is similar in nature to drawing a vector line and moving a control point in that it changes the position.
Redraw vector line width is a function that only allows you to adjust the line width using pen pressure on an existing line, rather than moving the line. The nature of the line width correction function is similar to that of the control point line width modification function.
↓Redraw vector line
↓Redraw vector line width
I looked into vector line functions that are useful for drawing lines like this.
Although it is a line that has already been drawn, its thickness can be modified and its position can be freely changed, which is very convenient!
Even if the pen pressure is not as desired, corrections are made in this way. You can create the lines you want even with post-editing in this way.
3.Vector Eraser
Unlike regular erasers, vector erasers can cleanly erase with one click.
In the erase option, number 1 erases as much as the intersection point, and number 2 erases one line.
no. 1
No.2

This concludes the useful vector line and vector eraser functions, and for detailed information on other quality-enhancing vector functions, please refer to the official description here!
(If the language does not change when reading, change the language at the top and read)
Clip Studio features [character]
A vector layer is sufficient to draw the desired line, but it was added for special situations. Among the rulers, we will end by introducing the special ruler Curved Ruler. I just used a curved ruler as an example, but in fact, other rulers are also widely used. For a detailed explanation of the ruler, see here! +Explanation of special characters
I will focus on how to adjust the ruler to the desired line. Please note that correction is possible even if the ruler is not a vector layer!
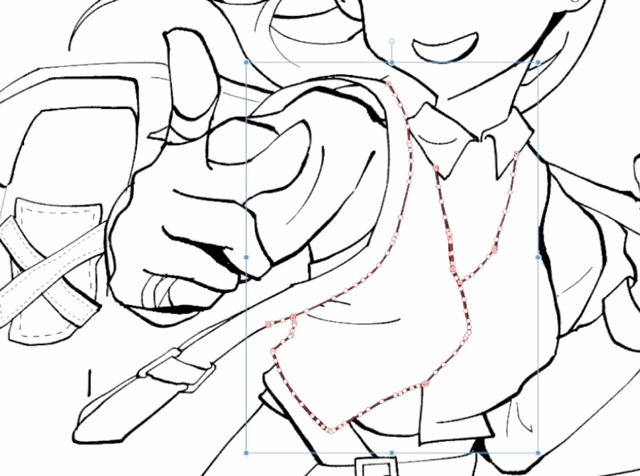
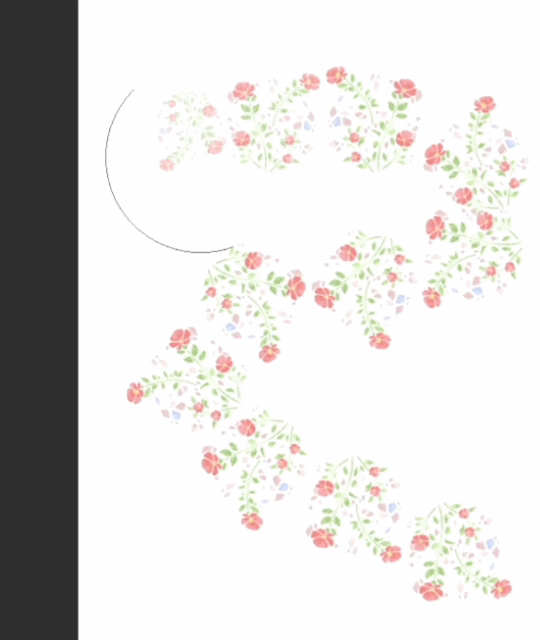
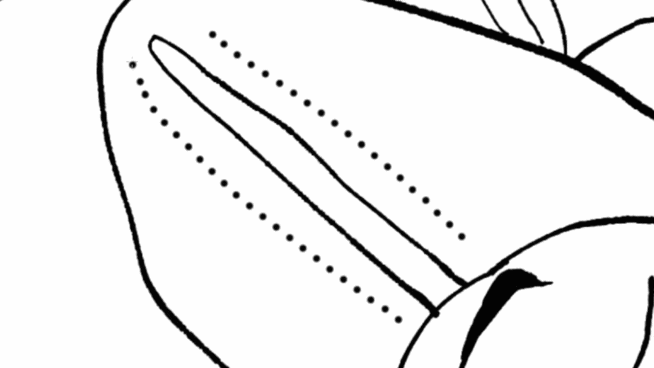
Even though vector lines are easy to edit, when you draw two or more lines in a row, it's cumbersome to edit them one by one, right? In such cases, the easiest way to draw is with a curved ruler.
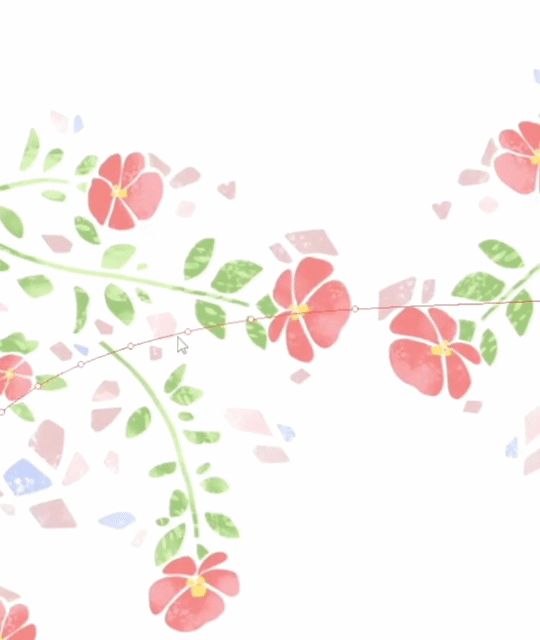
First, draw a multi-curve in a place where it can be used.
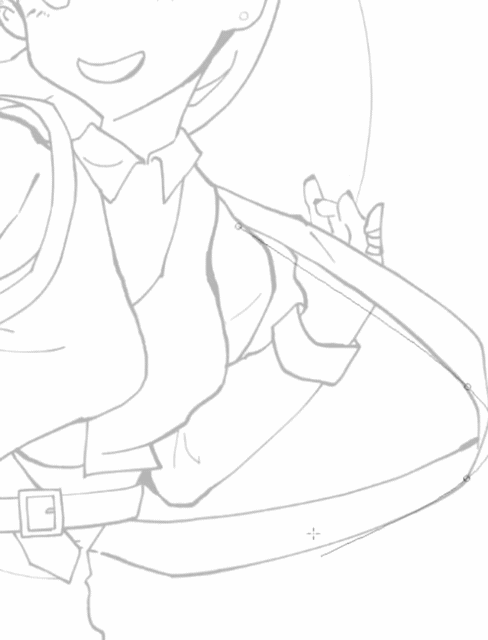
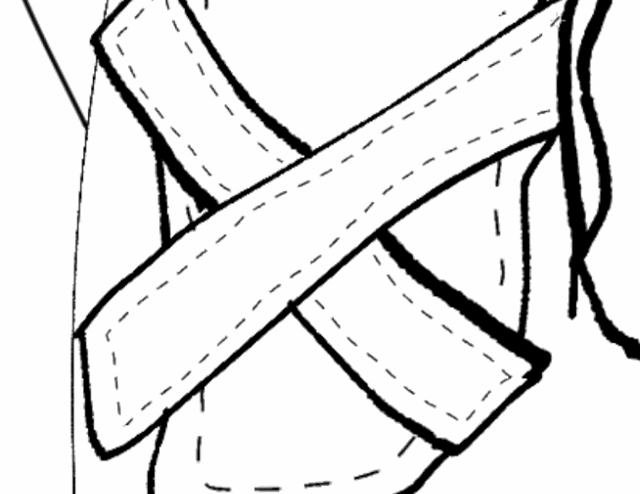
When you complete the ruler, go into the object and click the ruler. Then it becomes editable.
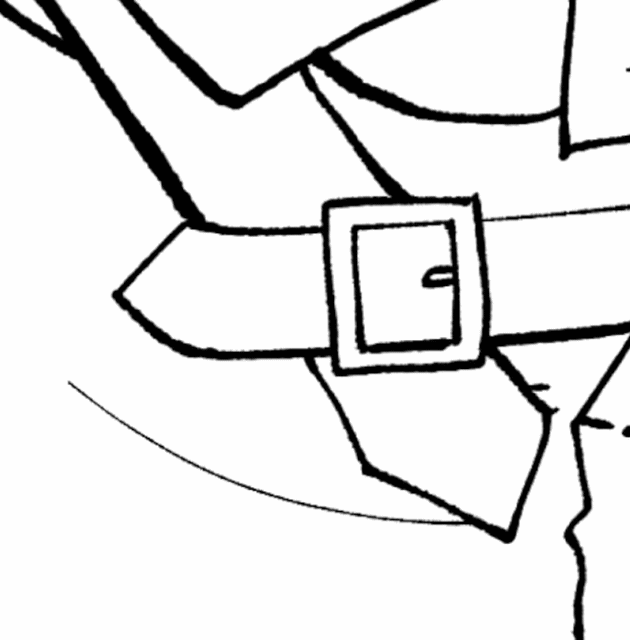
Then you can adjust the angle using the central cursor. I will set it at a similar angle to the bag strap. I'll also change the shape I don't like.

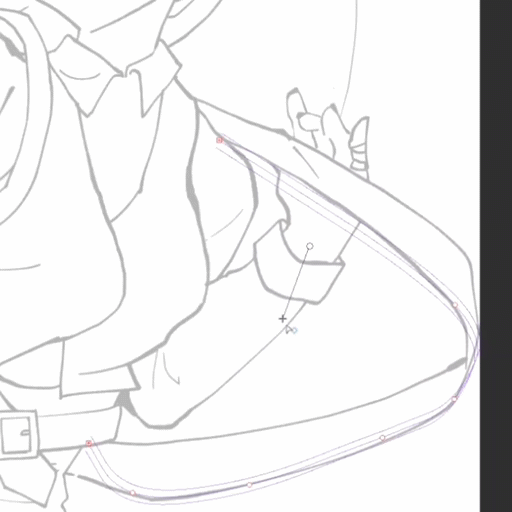
Once the correction is made, all you have to do is draw a line with a brush! You can use material brushes as well as lines, so feel free to use them.
And if you want to draw a line without being affected by the ruler, you can turn off the snap function. Then it will turn into a green line and you can freely draw the line.
In conclusion
So far, we have looked at how to draw the line you want and how to correct it to get closer to the line you want.
I hope this helps you draw the line.
Thanks for reading!
Users who liked this post


Comment