
Introduction
This time, I will explain about workspace for efficient work.
"I haven't changed the default settings" "I don't really understand what a workspace is"
I would like you to read it as well.
We have also prepared a video, so please take a look.
What is a workspace?
A "workspace" is a registration of the following items in CLIP STUDIO PAINT.
·Palette layout
·“Shortcut key settings”
・Arrangement of “command bar”
·[Units] set in "Ruler/Units" in the [Preferences] dialog box
If you create an easy-to-use workspace and register it in CLIP STUDIO PAINT,
Even if you customize the arrangement of the palette,
You can return to the registered workspace layout.
In addition, you can work while switching workspaces according to your work process and work environment.
Quoted from CLIP STUDIO PAINT User Guide
*Workspace registration and loading are PRO/EX-only functions.
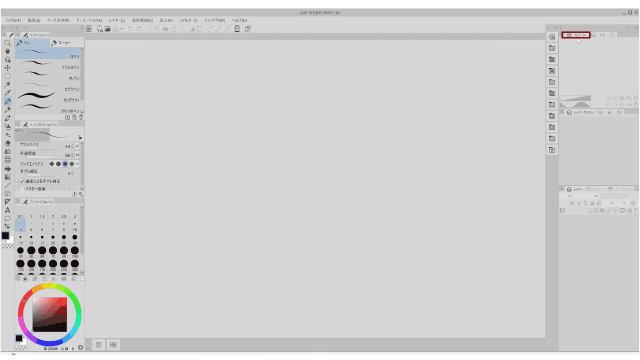
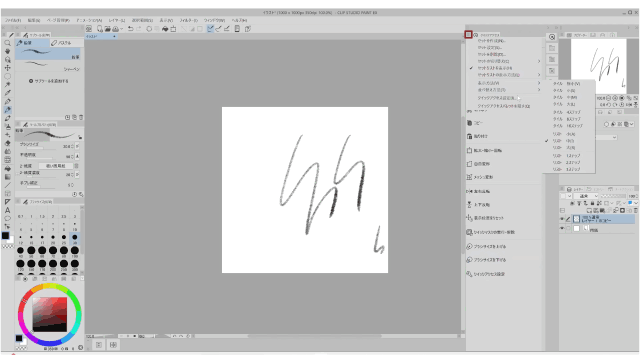
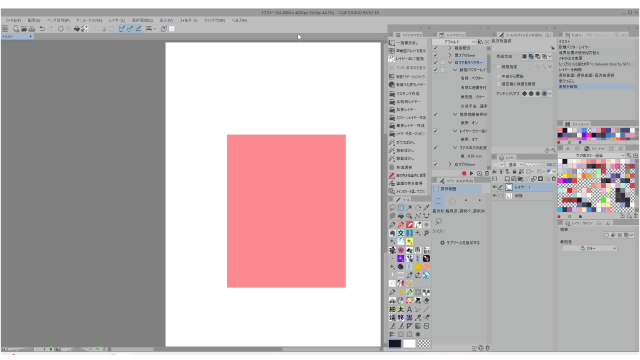
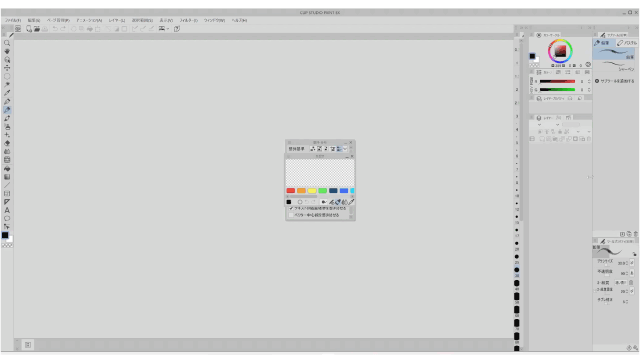
The initial state of the workspace looks like this.
While I was working, I realized, ``I don't use this palette often.''
"On the contrary, I don't use this palette very much"
I guess the frequency of use has been determined somehow.
In such cases, you can make your work more efficient by customizing it to your liking!
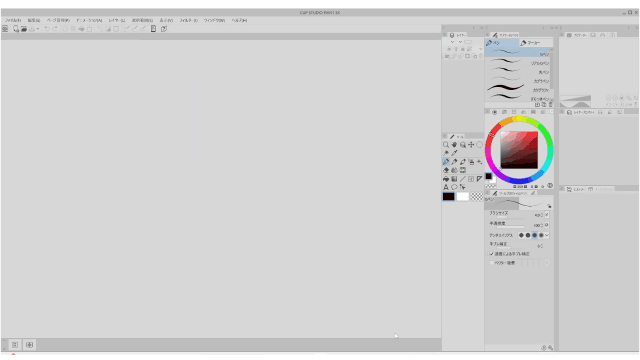
Customize your workspace
We will explain how to customize it.
Drag the title bar at the top of the palette.
Pallets can be moved.
You can move an entire row by dragging the top of the palette dock.
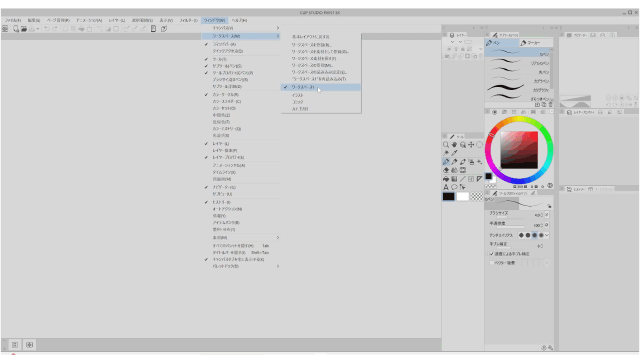
To register your customized workspace,
From the [Window] menu → [Workspace] → [Register workspace]
You can do it.
The workspace is now registered with the name you gave it earlier.
[Window] menu → [Workspace] → [Return to basic layout]
You can return to the initial state at any time.
Please feel free to try customization.
When you load the "Workspace 1" you registered earlier, it will be in the state it was in when it was registered.
Recommended functions
quick access palette
Here are two features recommended for increasing efficiency.
The first is the Quick Access Palette.
Frequently used tools, menu commands, auto actions,
You can register functions such as drawing colors.
In the initial state, it will be displayed when you click the icon on the right.
If you register frequently used functions here, you can execute them with the push of a button.
It is also recommended for those who are not good at memorizing shortcut keys.
Click the three-shaped icon at the top left of the palette.
You can change the way buttons are displayed.
When you want to register any function in the quick access palette,
Do this from [Quick Access Settings].
By default, there is a button at the bottom of the quick access palette.
Click [Quick Access Settings]
The [Quick Access Settings] dialog is displayed.
Register your favorite functions here.
Select a tool and click [Add].
That button has been added below the quick access palette.
You can also use auto actions and your favorite tools and brushes.
You can also register it for quick access by dragging it.
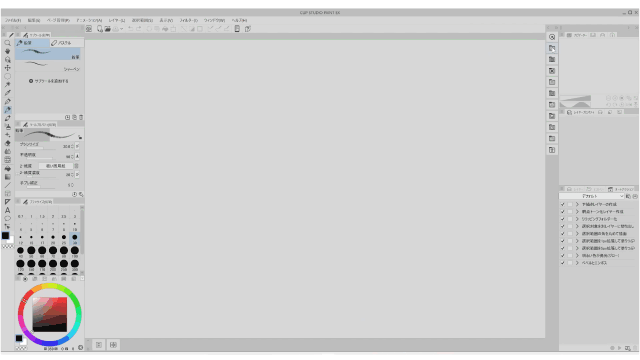
auto action
Auto action is a function that allows you to record multiple operations.
In the initial state, it is in the same palette as the layer.
Click on the title bar that says [Auto action]
The auto action palette will be displayed.
[Create draft layer] auto action
A draft layer has been created.
“Auto action” with CLIP STUDIO ASSETS
There are many useful auto action materials if you search.
Please look for it.
You can also create your own auto actions.
This auto action has
①Create vector layer
②Boundary effect on
③ Change layer color to white
④ Change the edge thickness to 0.5mm
The operation is registered.
When I played it back, the registered action was executed instantly. **
If you register frequently performed operations with many steps as auto actions,
You can do it with just one button, which saves you a lot of time.
Make use of the auto action palette to work efficiently.
Concept of customization
This will be my workspace.
I will tell you how I thought about this arrangement.
Please refer to it for customization.
I'm right-handed, so I move all my palettes to the right.
The material window and sub tool details window that are sometimes displayed are displayed on the left.
You can use shortcut keys for quick operation.
I'm using a left hand device, so
The brush size palette etc. that can be operated there are hidden.
The tool palette is roughly categorized by use.
The more frequently used items are moved to the left.
The top row contains frequently used basic functions.
The second row is the functions used for monochrome drawing.
The third row is brush materials divided by genre such as trees, plants, clouds, rain, etc.
The fourth row is the function used for color drawing.
The bottom row contains vector editing tools, saturated line/streamline tools, etc.
Drag the tool icon to the palette and drop it where the red horizontal line appears.
You can create a separator line for the tool palette.
It's a tool icon, but it's a downloadable material.
There is a mixture of things that were originally set up and things that I created myself.
You can create your own tool icons or set your favorite colors.
Click the icon at the top left of the sub tool palette,
Click [Sub tool settings].
You can select an icon prepared by Crysta from the tool icon.
In the checkbox to the left of [Icon background color]
When checked, the button that allows you to select a color will be activated,
You can choose the background color from that button.
When you press the OK button and close the dialog,
The background color of the icon has been changed to red.

Next is how to register your own icon.
As before, open [Sub tool settings]
Click on the ◯ displayed on the left side of [User Settings].
You can choose an icon image from your PC.
It's a little difficult to make it yourself, but at a glance there are many icons.
Knowing which tool to use will save you time.

If you find it difficult to make your own, try CLIP STUDIO ASSETS.
How about looking for tool icon materials?
Not sure how to customize it yourself?
If you don't know how to customize it yourself,
Workspace materials distributed at CLIP STUDIO ASSETS
Let's use it.
You can see the work environment set by other artists.
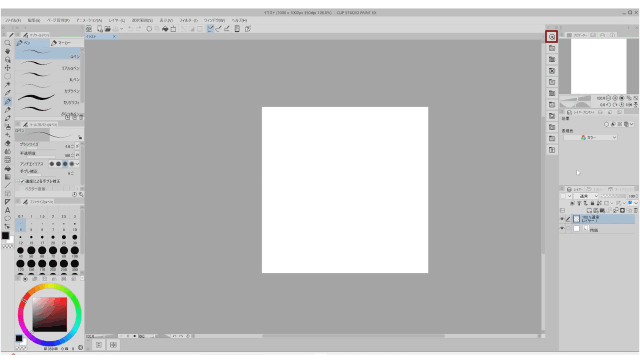
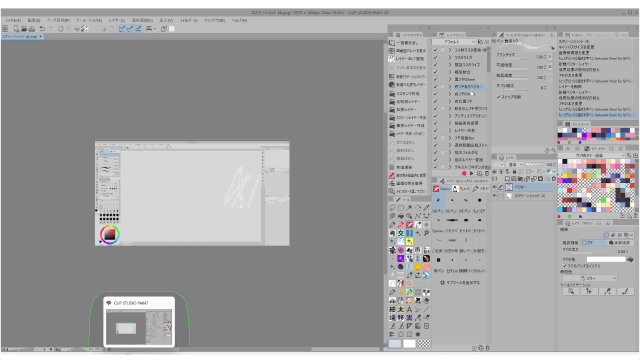
Let's load the downloaded workspace material.
Select workspace material from material palette
Drag and drop it onto the canvas.
The [Workspace Load Settings] dialog will be displayed, so click [OK].
The workspace material has been loaded and the palette arrangement has changed.
Change the width and height of the pallet dock to make it easier to use.
Also, from the [Window] menu → [Palette dock]
You can also set the width and height of the pallet dock and the arrangement of the pallets to be fixed.
This will prevent you from moving it by mistake.
At the end
The above is a workspace for working efficiently.
How was that?
I'm still making changes little by little, so I think I can still pursue greater efficiency.
I would like to keep improving.
Users who liked this post


Comment