Give Life To Your Illustrations Using Filters
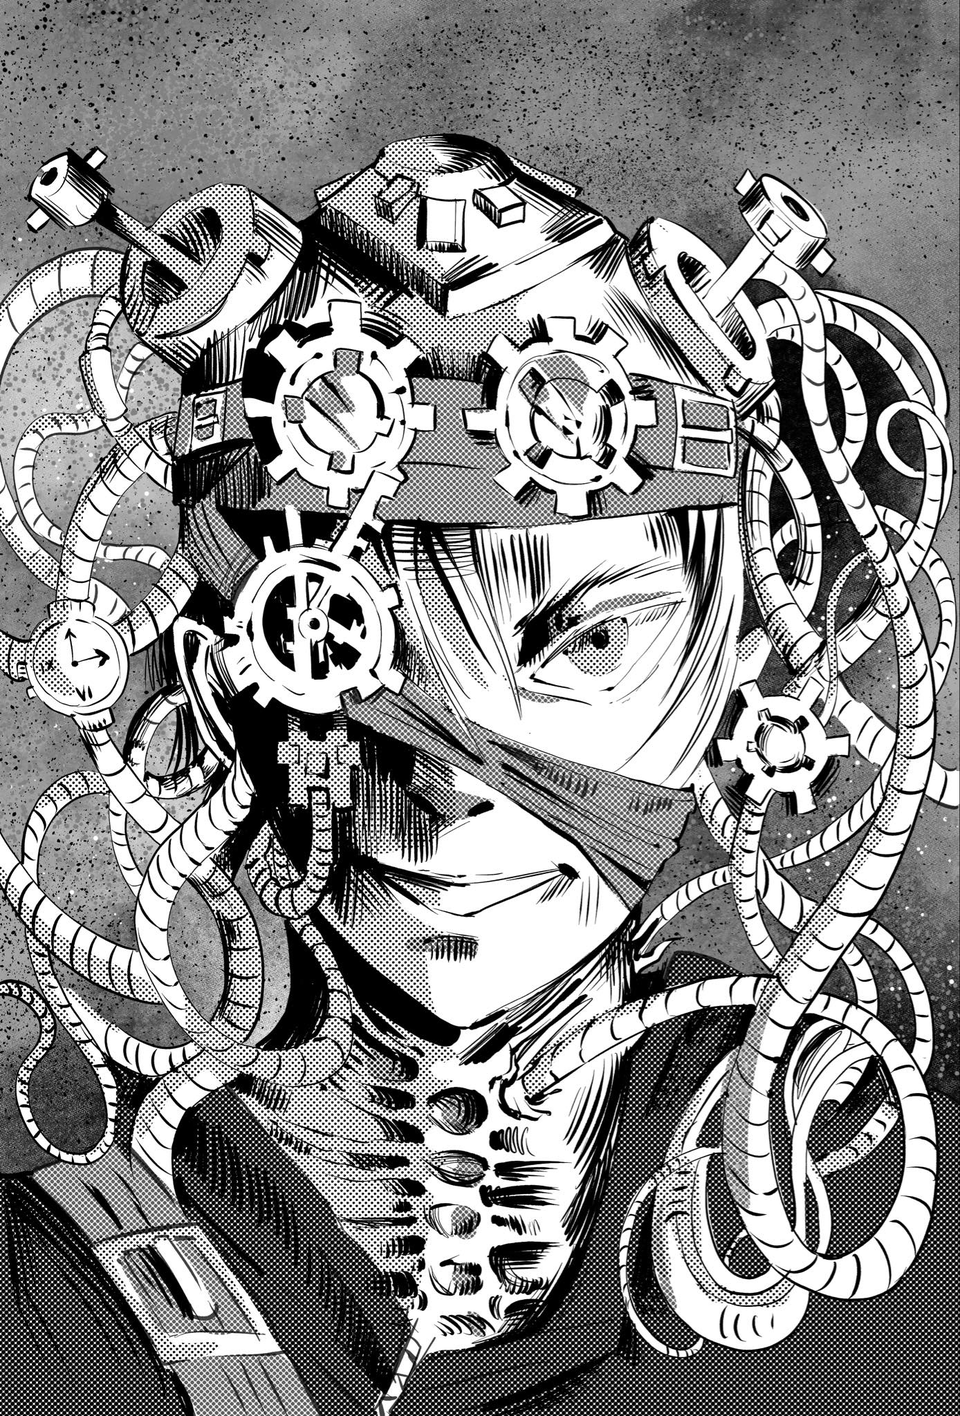
Hi, I’m Ren and in this tutorial we’re going to see how to use filter effects to give your illustrations life .
I’ll explain basics of filters ,so everyone can learn .I’m not going in advance since it’s for beginners so let’s get started.
Finish Your Clean Drawing
First thing to do is finish your clean drawing and then add colors as you like to do, just keep everything simple.
Step-2 Coloring
Color your line art with the colors you want with different layers like- Hair, skin , clothes etc. Use clip to layer below option for shading and lighting and you’re done.
Note : Clip to layer below option helps to stop your color from going outside from your base color
I make Background and done some finishing touches .you can also make background for your art if you want .
So, this what it looks like now.
Using Filters
Go to Filter> Effects
I use chromatic aberration and retro film .
This filter is used to make image looks sci-fi or making it feels like some movement is happening.
Retro film - It can make your art’s lighting effect better ,just play with values on these filters and see which looks good with your illustration.
1.Chromatic Aberration
For a feeling of movement and to make a illusion of distance between background ,midground and foreground I have use this filter. It looks a little 3d movement now.
This circled red cross is for to set a direction for your filter effects to go from a point to that circled point, in short that red cross attracts the effects towards it. If you play around with this red cross, you can see how this affects your filter effects.
2. Retro Film
For better lighting lets use this
You can see that yellow bounce light wasn’t there ,but after using this effect now it’s there and it looks so good. This bounce light is have done so nicley
why yellow light?
Because its have some yellow BG , MG and FG. This is light’s bouncing nature , for more details you can read about lights hence we’re learning about effects here for now :)
You can see now it looks so much better with the help of these effects .
Before
After
I hope this was helpful to you for how these effects works and how you can use these filter effects in Clip Studio Paint .
Thank You All.


Comment