
Introduction
Hello fellow artists,
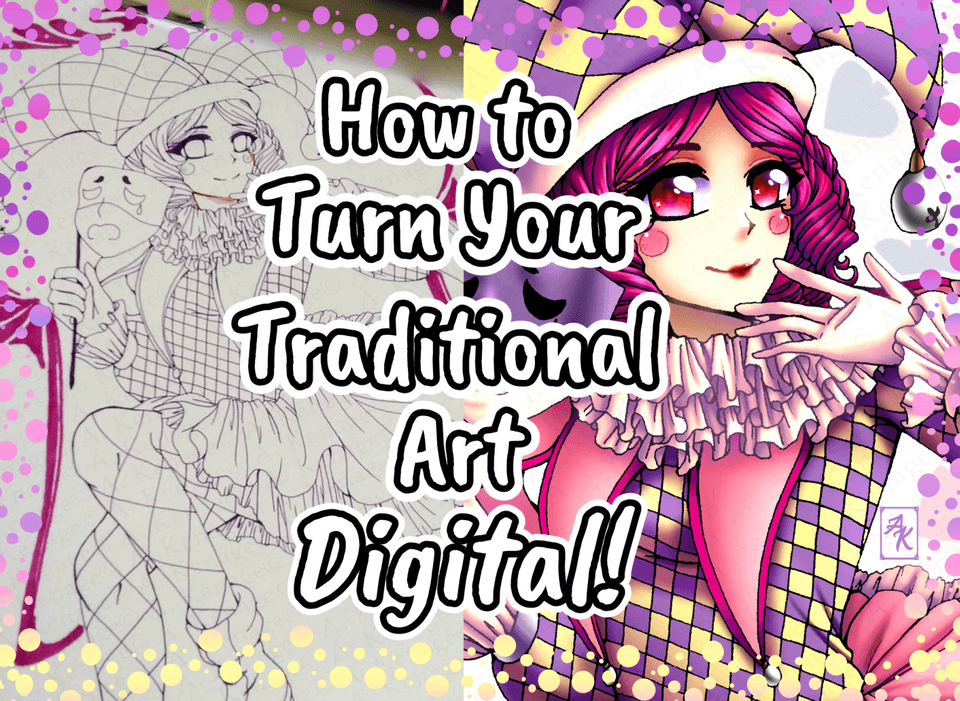
Today we will learn how to convert a drawing of your OC (original character) from traditional (meaning a drawing you did on a physical piece of paper) to digital form - comic book style! This was a process I used to do constantly years ago before I became more proficient in doing everything in Clip Studio Paint - from pencilling to inking and colouring. If you’re interested, perhaps I can do another tutorial on it but for now, it’s time for the main event.
In this tutorial, we will feature my OC Müsnah. Don’t worry, she won’t bite. She’s more than happy to teach you how to digitize your very own OC so here we go!
Start Drawing!
Step 1
Draw your OC on a piece of paper. How detailed you want it to be is up to you. For me, I tend to keep my pencils loose and focus more on getting the basic shapes, poses, and moods right. I don’t worry about getting the details right at this stage; I’ll save that on the inking so that way, I don’t have to do the same things twice.
Step 2
Once you’re satisfied with the drawing, take a picture of it with your smartphone (or use a scanner). Be sure that it’s not crooked or blurry. Take as many pics as needed until you’re satisfied with the quality. I’m using an iPhone 15 Pro Max and even though the photo is crystal clear, it took me 4-5 shots to get the angle right.
Step 3
Upload the photo to your PC/Mac using Airdrop or Dropbox and launch your CSP program.
When you see the opening page, click Draw to start.
Step 4
On the New screen, I normally use these settings. Feel free to use them, too. The timelapse recording is optional but since the process is seamless and it doesn’t take too much space, why not?
Step 5
You will now see a blank canvas on the screen. It's time to add the photo. Go to File —> Import —> Image. Locate the photo on your computer and click Open.
Automatically, the photo will appear on the canvas. However, the photo is too big for what I'm looking so I will need to resize it.
Click this icon to resize the photo if needed. Then, click OK to confirm.
REMINDER:
Before we proceed, it's best to save your work in case something bad might happen. Once you've done that, let's proceed to the next step.
Step 6
On the Layer section, lower the opacity of the photo (in which I've renamed it as "Reference") below 50%.
Rename Layer 1 (or create a new layer) as “Ink” and drag it to the top of the list.
Step 7
Now the inking starts. On the Pen setting, select "G Pen” (hotkey P), choose Brush Size 15, and start inking!
One of the best things about the G-pen is its sensitivity. You can get what we call "taper” where the end of the line has some feathering to it rather than a big blot of ink like typical brushes do.
Part of the inking process is mostly tracing the pencil work to give it more depth. Take it slow and if you make a mistake, hit undo (Ctrl Z) and do it again. The brush thickness entirely depends on your artistic sensibility but try not to make it too thin. Otherwise, the character will look odd.
For Müsnah, I use size 15 for the outlines and size 10 for her nose, mouth, and teeth. It’s also normal to go against the pencil work when inking. If you see the image below, I deliberately did not ink her shoulders as per the pencil work as it was too broad and I wanted to make the character appear smaller. Most inkers may object to this method, but hey, that’s what Akira Toriyama did when he inked Dragon Ball, so who are you to argue with a legend?
Notice I haven’t blackened out her hair and eyes yet. That’s because I want to make sure I nail the outline first; the black spots may cause too much noise and be distracting.
Once I’m satisfied with the outline, I will hide the reference photo as I no longer need it.
Before:
After!
Step 8
Now fill in the blank spots with black ink. To do that, use the bucket or Fill (G) and click on the spots you want to fill in. Be sure to select the right layer to do so. For this, I created a new one and put it under the Ink layer.
Sometimes, the fill won't work as intended; as you can see, there are a few missing pixels on her hair. No worries; use a small-sized brush and fill them up.
Step 9
This is my favourite part - crosshatching! There are many ways to do it, but this is how I crosshatch my art:
1. Create a new layer and call it "crosshatch."
2. Use a smaller brush size. For this artwork, I use size 7.
3. Understand where the light source is coming from. I typically make it come from the left so, therefore, there's less crosshatching on Müsnah's left side and more on her right side.
Crosshatching may look complicated at first but really, it's not that hard once you get the hang of it. I start with a set of lines that predominantly go to the right, but some go to the left like the ones on her nose and her left chin area.
Next is to add another layer of crosshatching to give it some depth.
Lastly, add some black spots for the shadowy areas.
This is what it looks like after the entire artwork has been crosshatched.
Step 10
Now for the final step - add your signature. That's important to validate your artwork, but for Müsnah, I go above and beyond by putting her logo, my BioLink, and copyright since Müsnah is a trademarked character legally owned by yours truly.
For these items, I created them beforehand as PNG files and all I have to do is import them like so:
Once it's all ready, save it as a JPEG like this:
Conclusion
So there you have it! I hope you've learned something today. Be sure to like, comment, and share this tutorial. Don't forget to follow my Clip Studio profile and if you want, you can also follow me on social media. I'm everywhere! Instagram, Facebook, Cara, TikTok, you name it. All the links can be found here.
Until next time!
Phear
Users who liked this post


Comment